Clone and Setup Front-End
Clone Project from Github Repository
1. Clone the Project using the Github Repository link
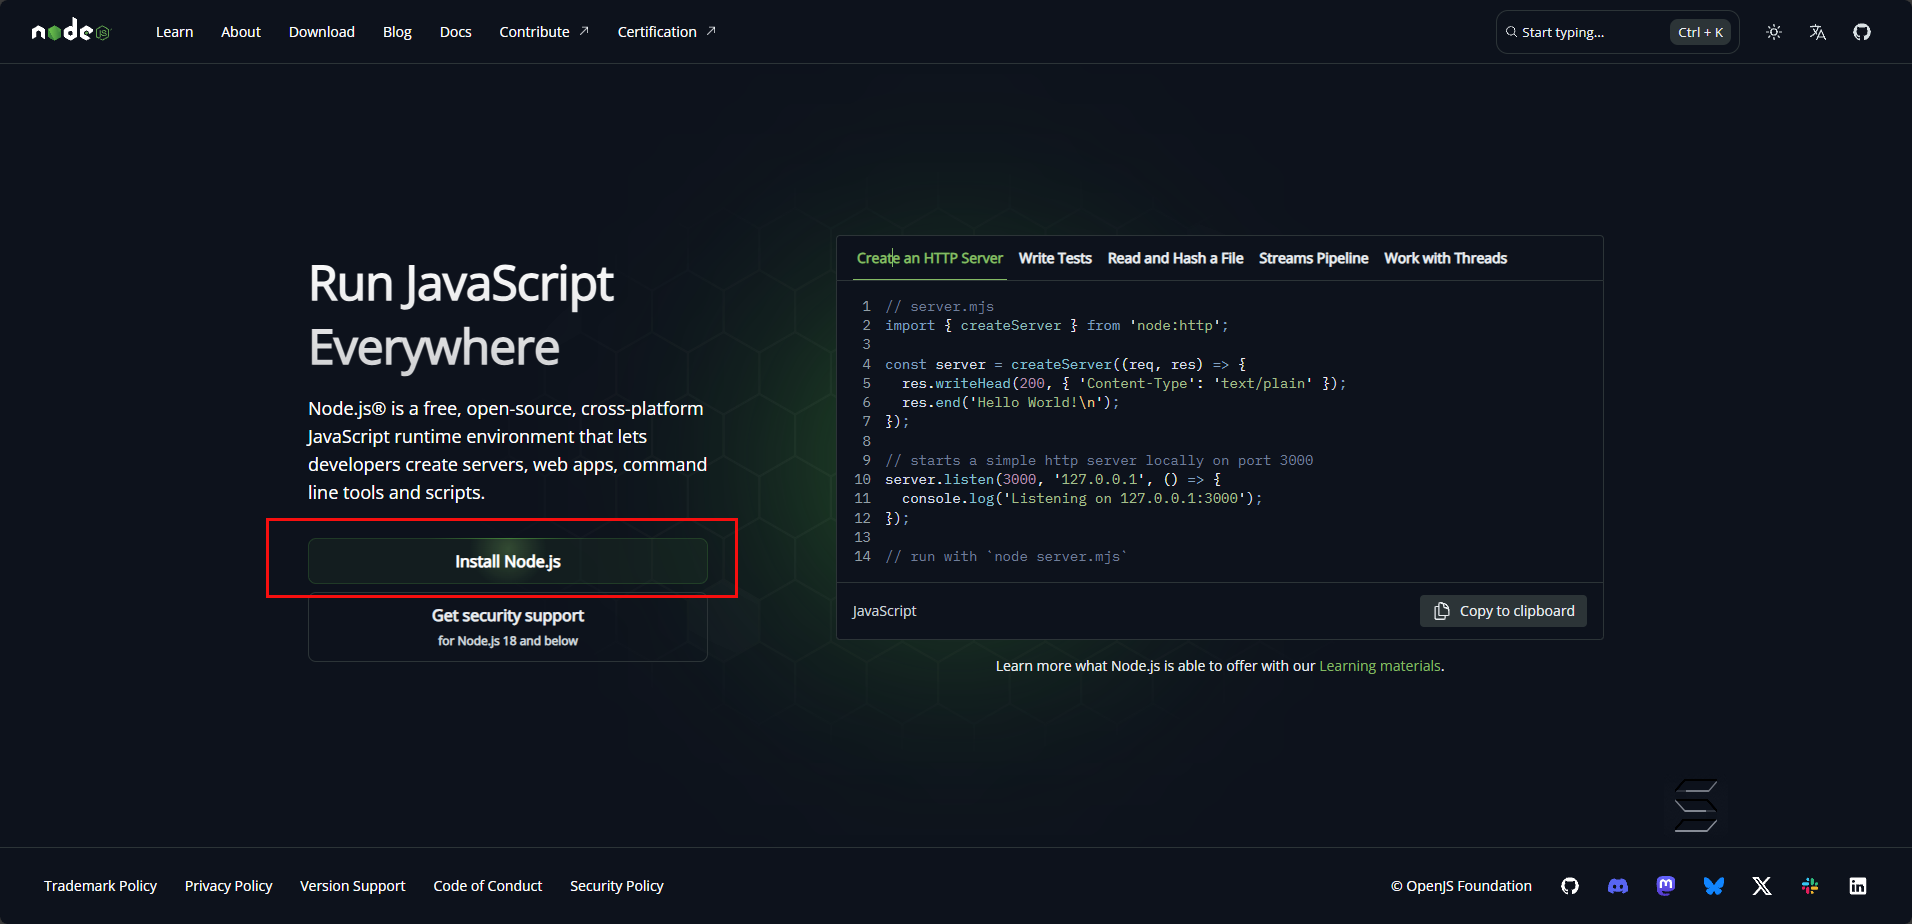
First, please download and install the Javascript runtime environment to be able to run the project.
- Reference installation link: node.js
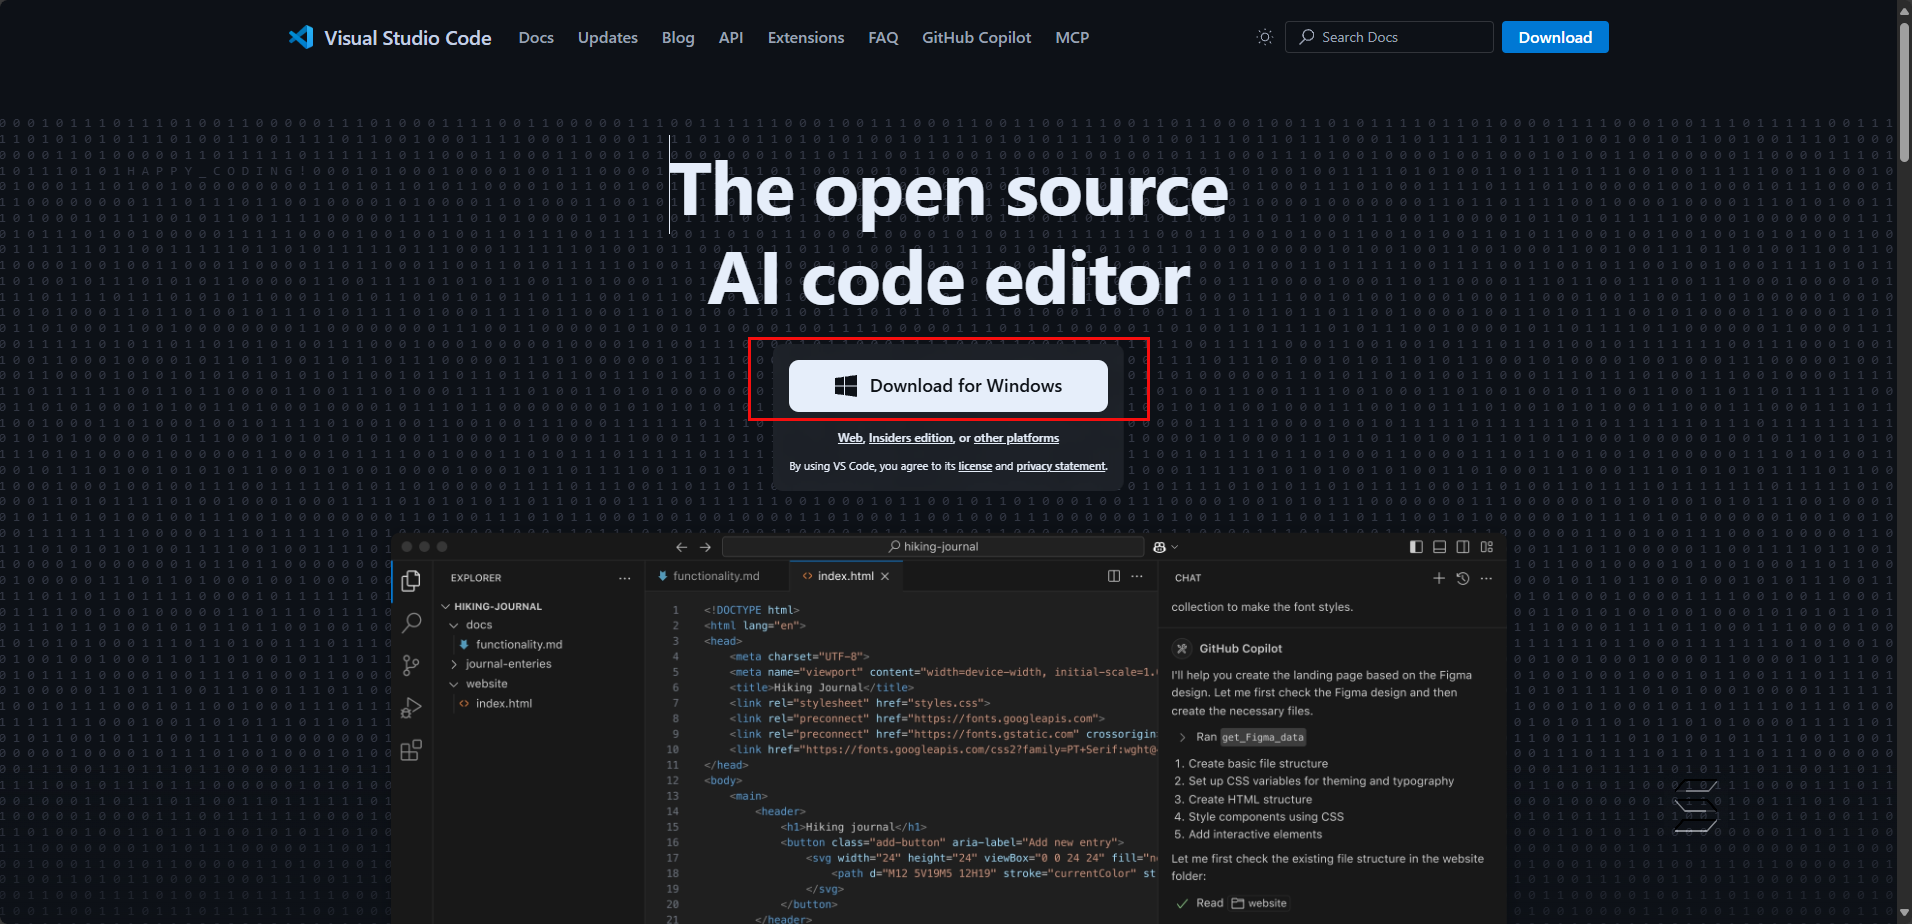
Next, please download and install a popular code editor such as Visual Studio Code or any equivalent code editor.
- Reference installation link: Visual Studio Code
- Next, go to the project’s github link
- Click the green Code button and copy the Repository link as shown below:
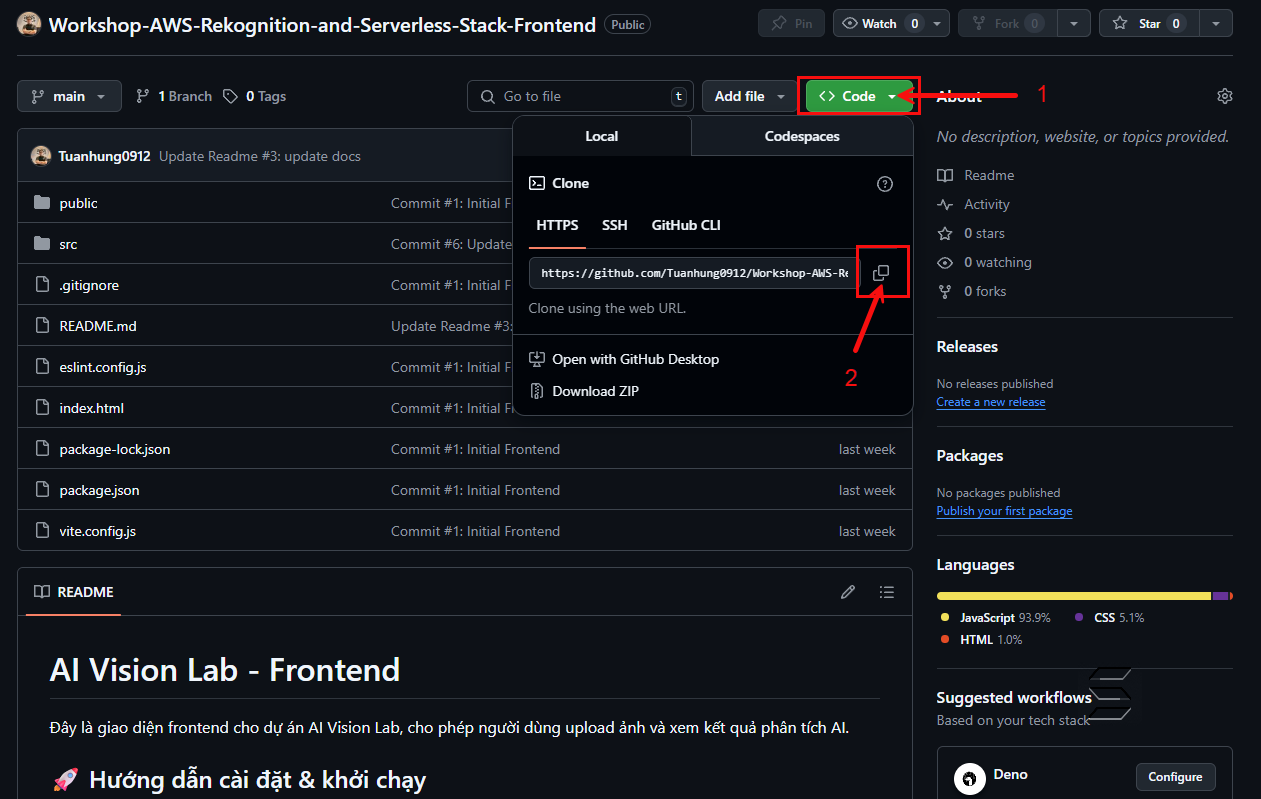
- After accessing and copying the Repository link,
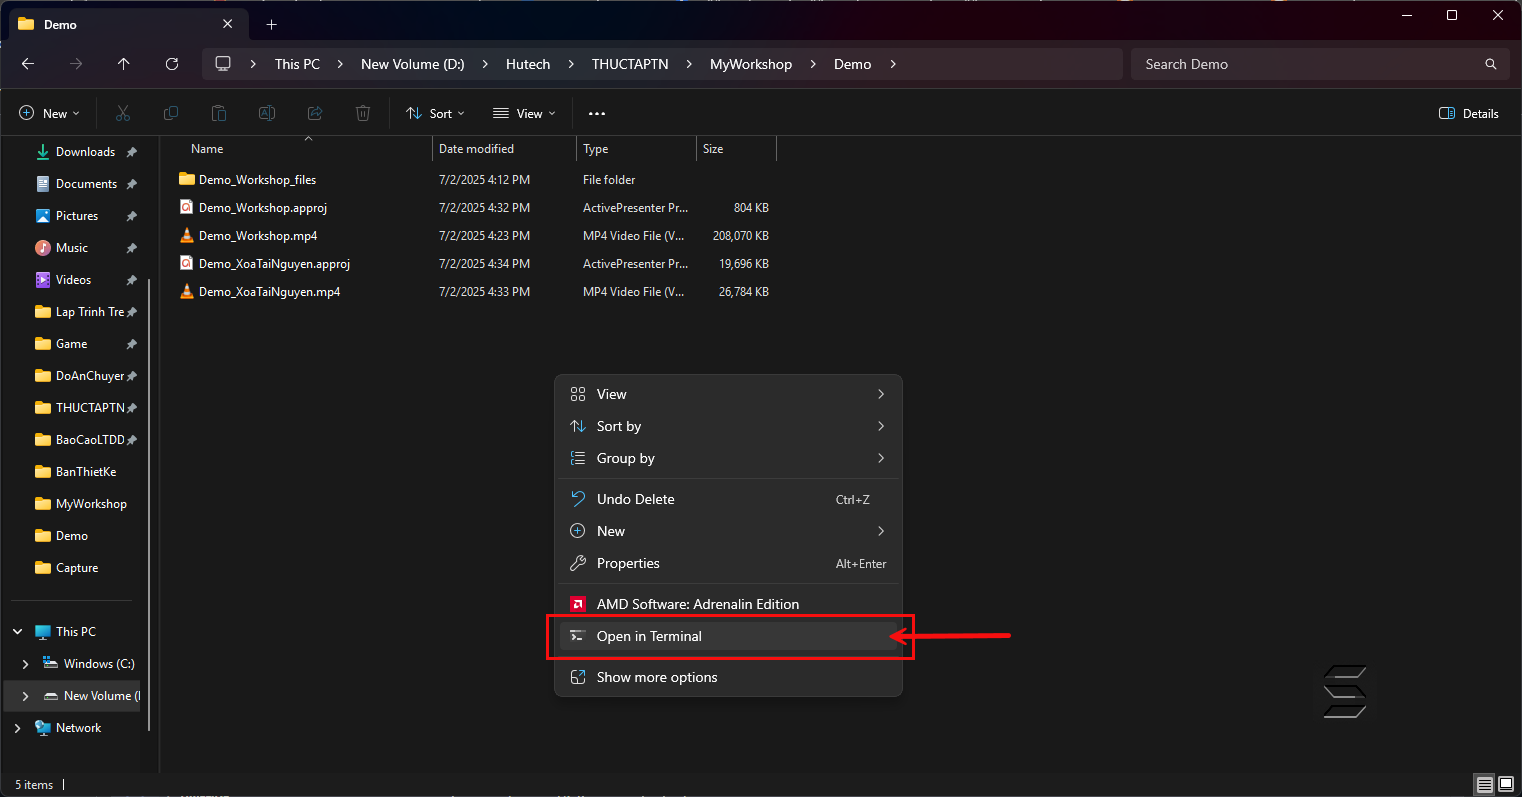
- Open Command Prompt in the folder where you want to store the Project as shown below
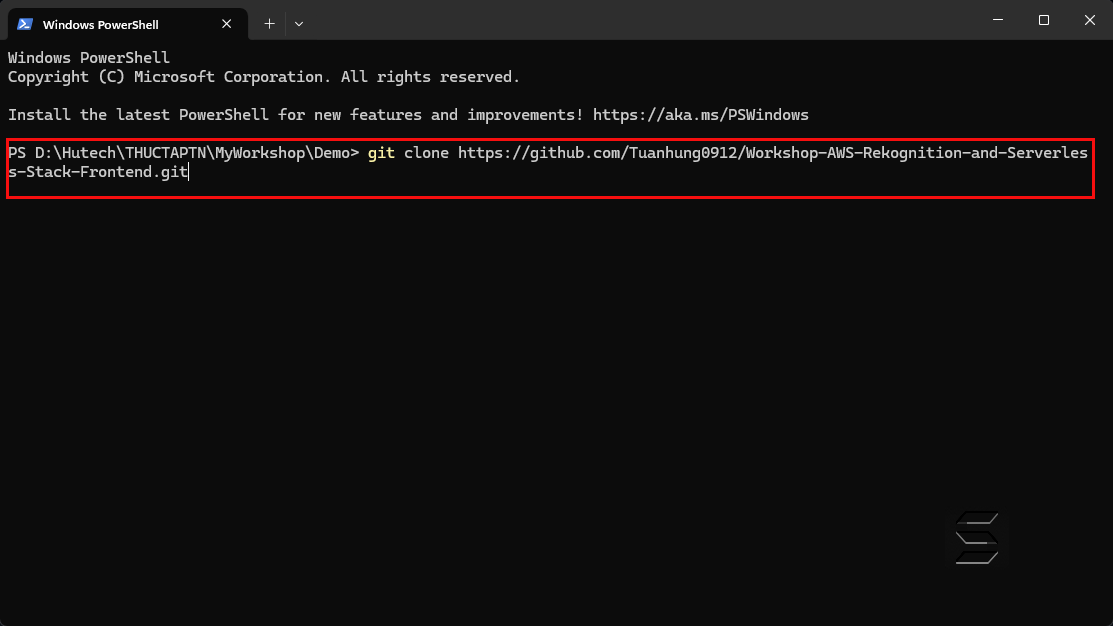
- Clone the Project into your desired folder with the following command:
git clone https://github.com/Tuanhung0912/Workshop-AWS-Rekognition-and-Serverless-Stack-Frontend.git
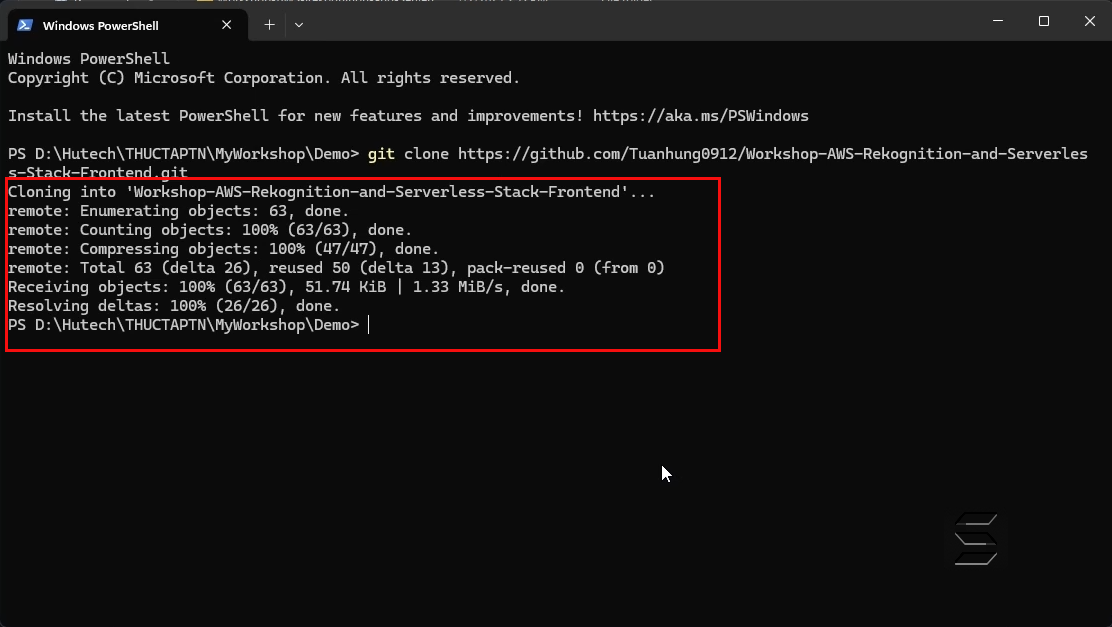
- After cloning the Project from the Repository, you will see the result as shown below:
2. Open the Project and Setup
- After successfully cloning the Project from the Repository,
- Now, quickly open the Project using Command Prompt as shown below:
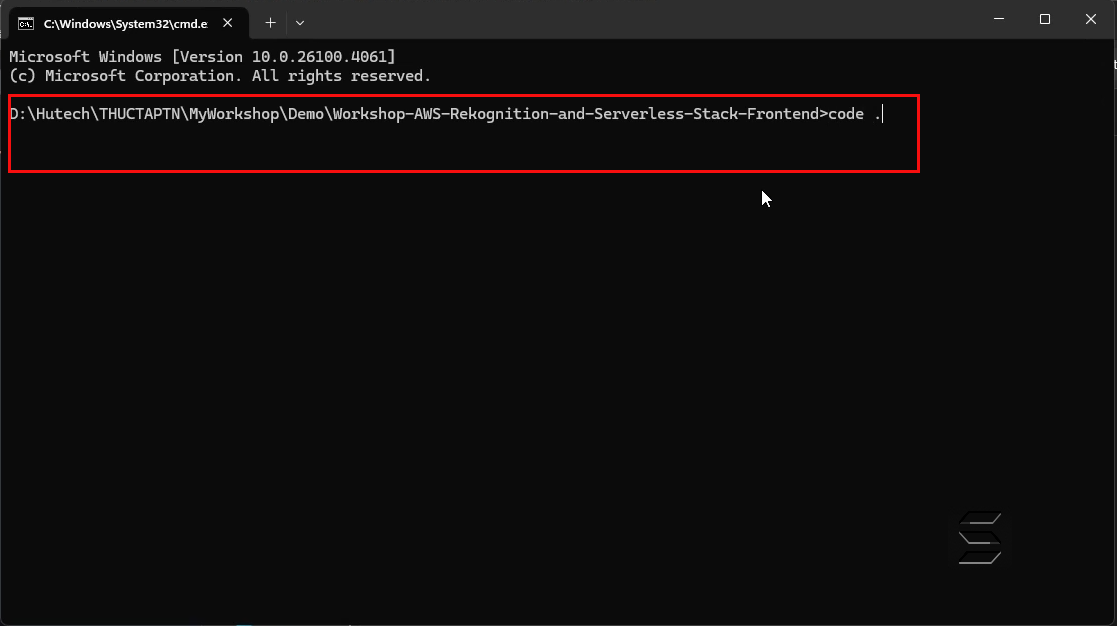
- After entering the command in Command Prompt to open the project, you will see the result as shown below:

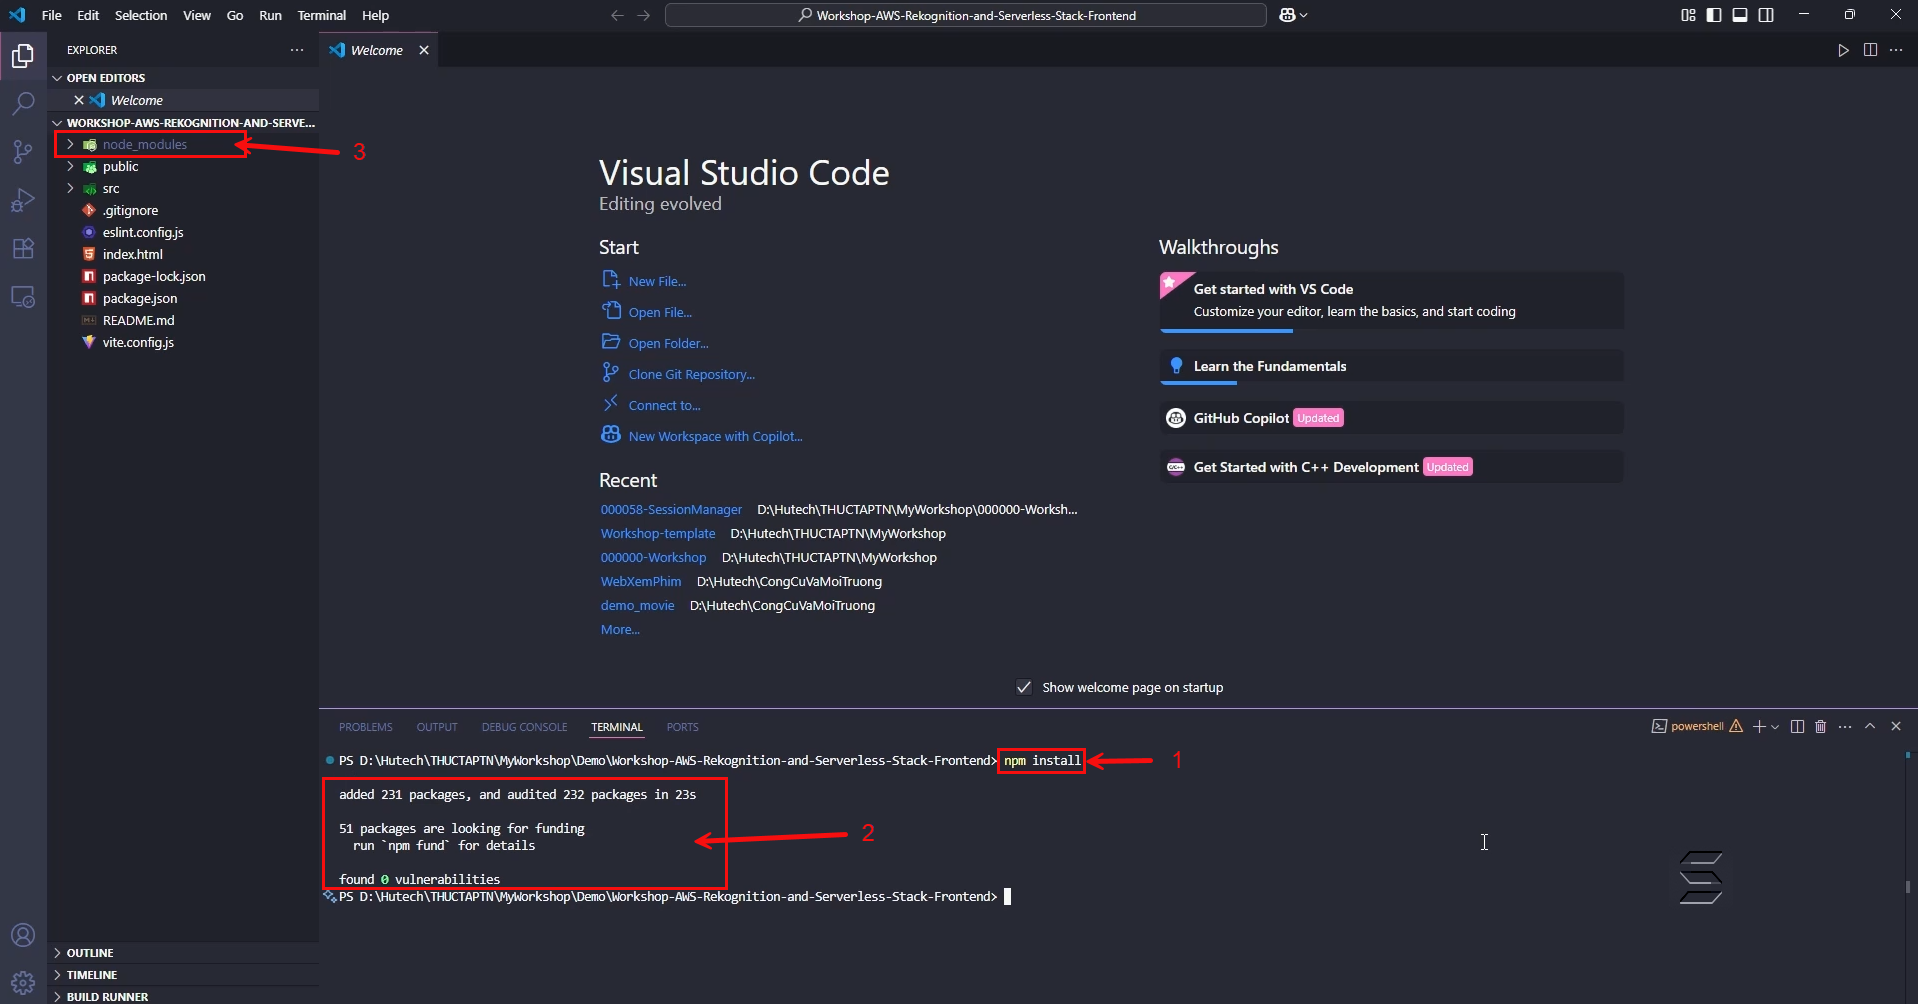
- Next, install the necessary dependencies and libraries for the project to run in the node.js runtime environment.
- Open a Terminal in the Project and enter the following command:
npm install
- Wait 1-2 minutes for the installation to complete.
- After installing the necessary libraries, a node_modules folder will appear in the Project as shown below:
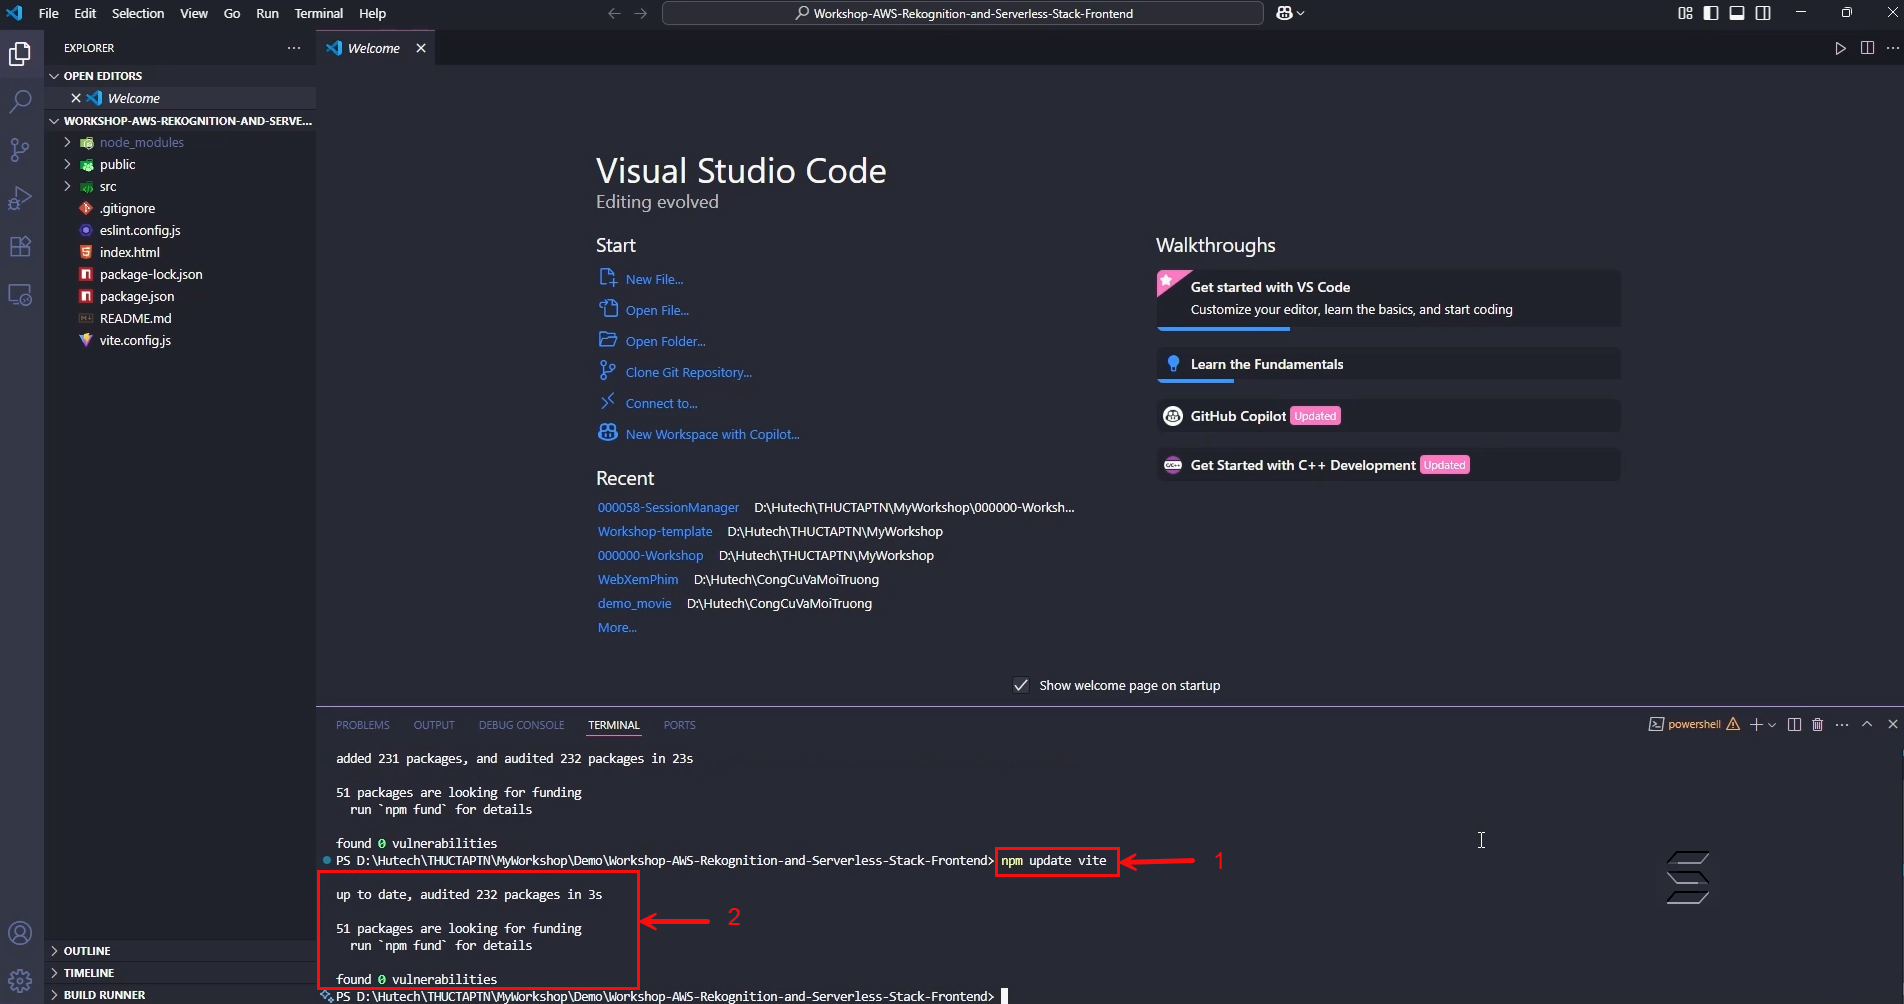
- Next, update the libraries for Vite with the following command:
npm update vite
- After running the above command to update the necessary libraries for Vite, you will see the result as shown below:
3. Run the Project
- Next, enter the following command to start the website:
npm run dev
- After running the above command, the Terminal will display the following result:
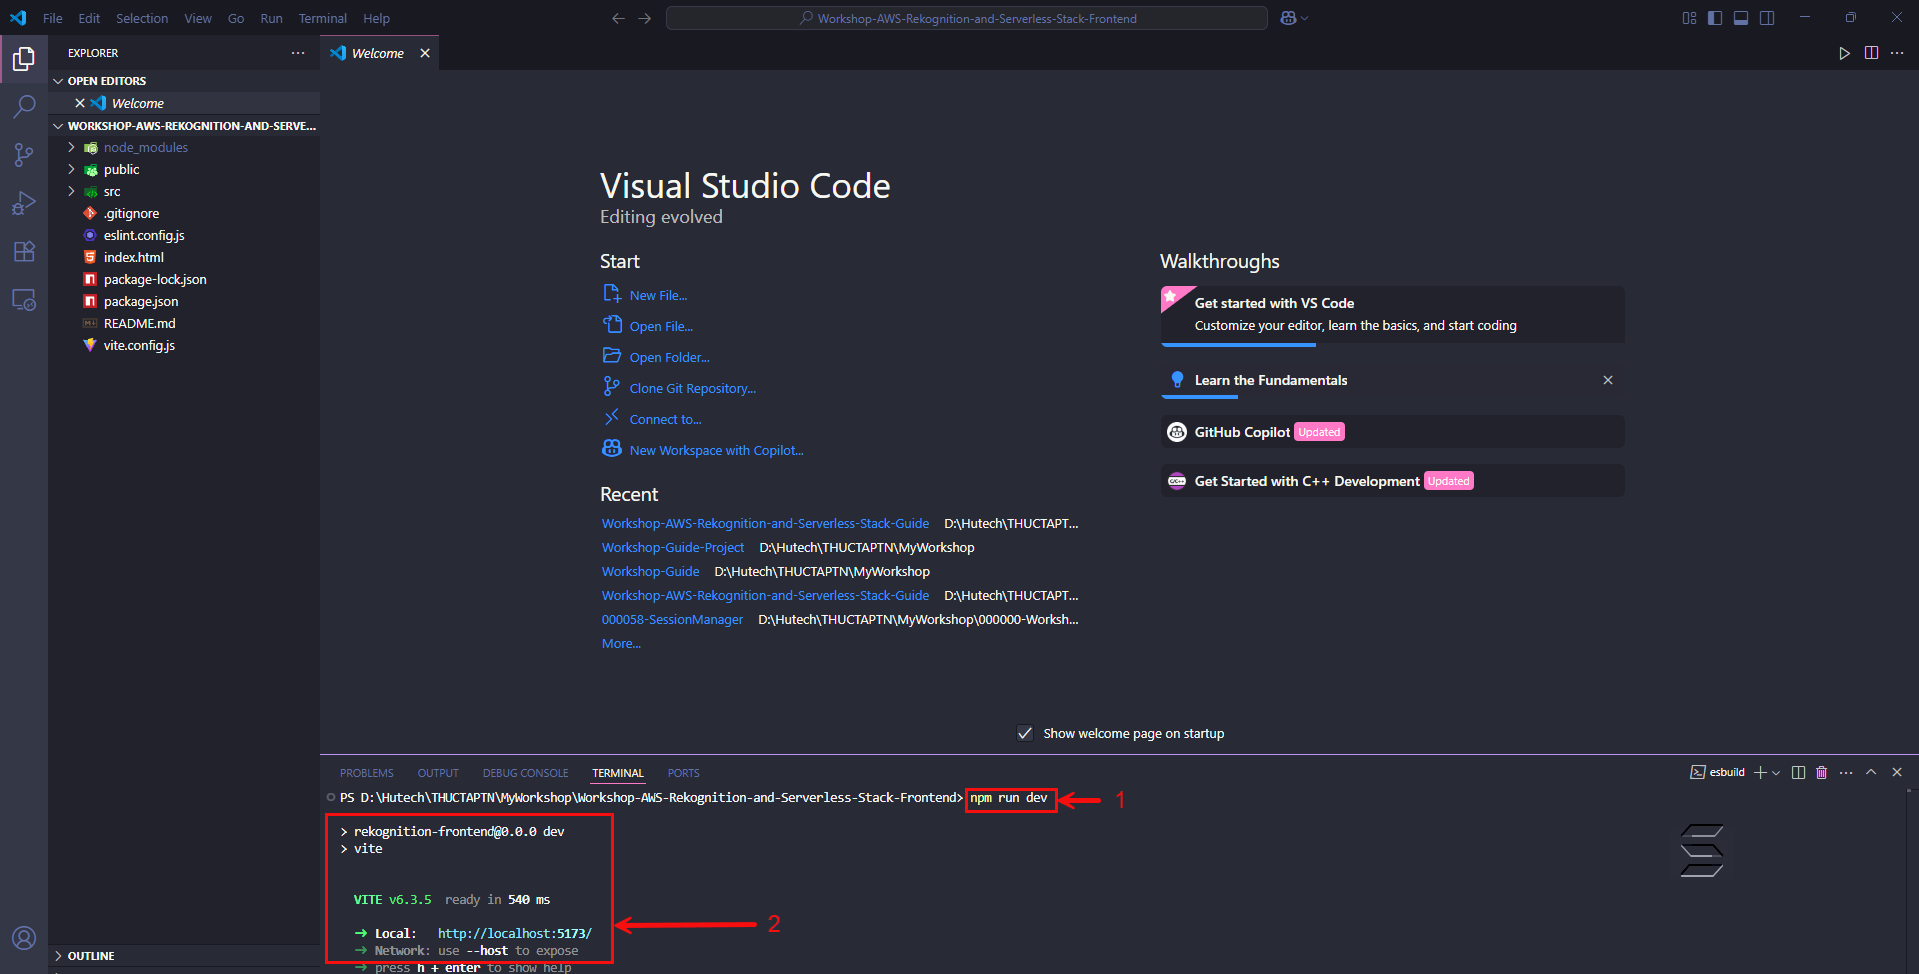
- Visit http://localhost:5173/ to launch the website.
- Wait 1-2 minutes for the Project to build on the first run.
- After the build is complete, the website will be displayed as shown below:
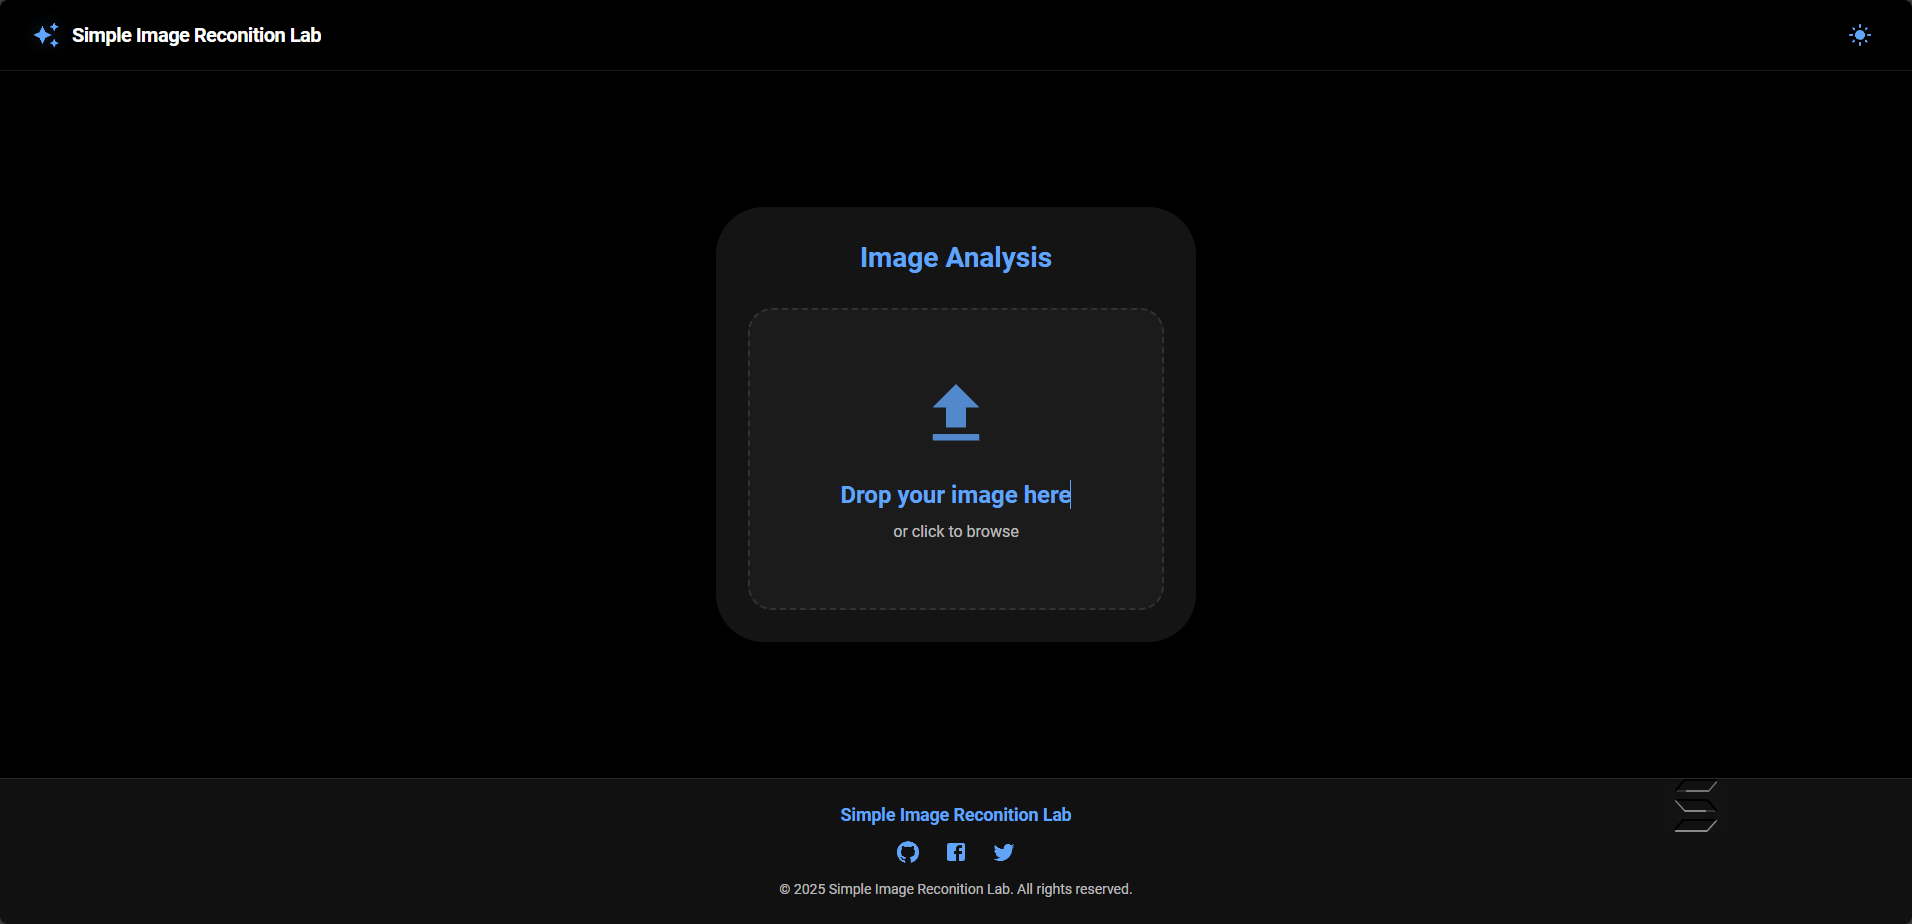
You have completed the first step to set up and launch