Create IAM Role and Attach Policy
Create a new IAM Role and Attach Policy to the Role
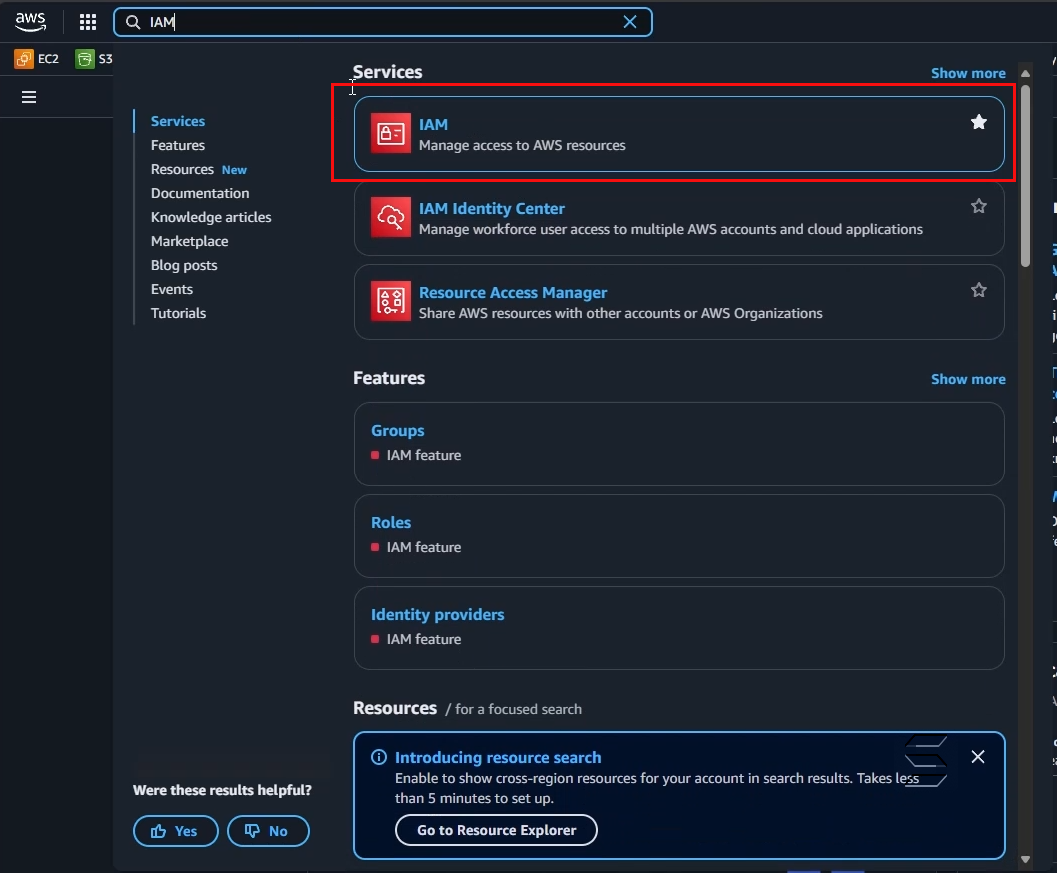
1. Search for and access the IAM service to create a Role
- In the search bar, enter IAM
- After searching, click on the IAM service as shown below:
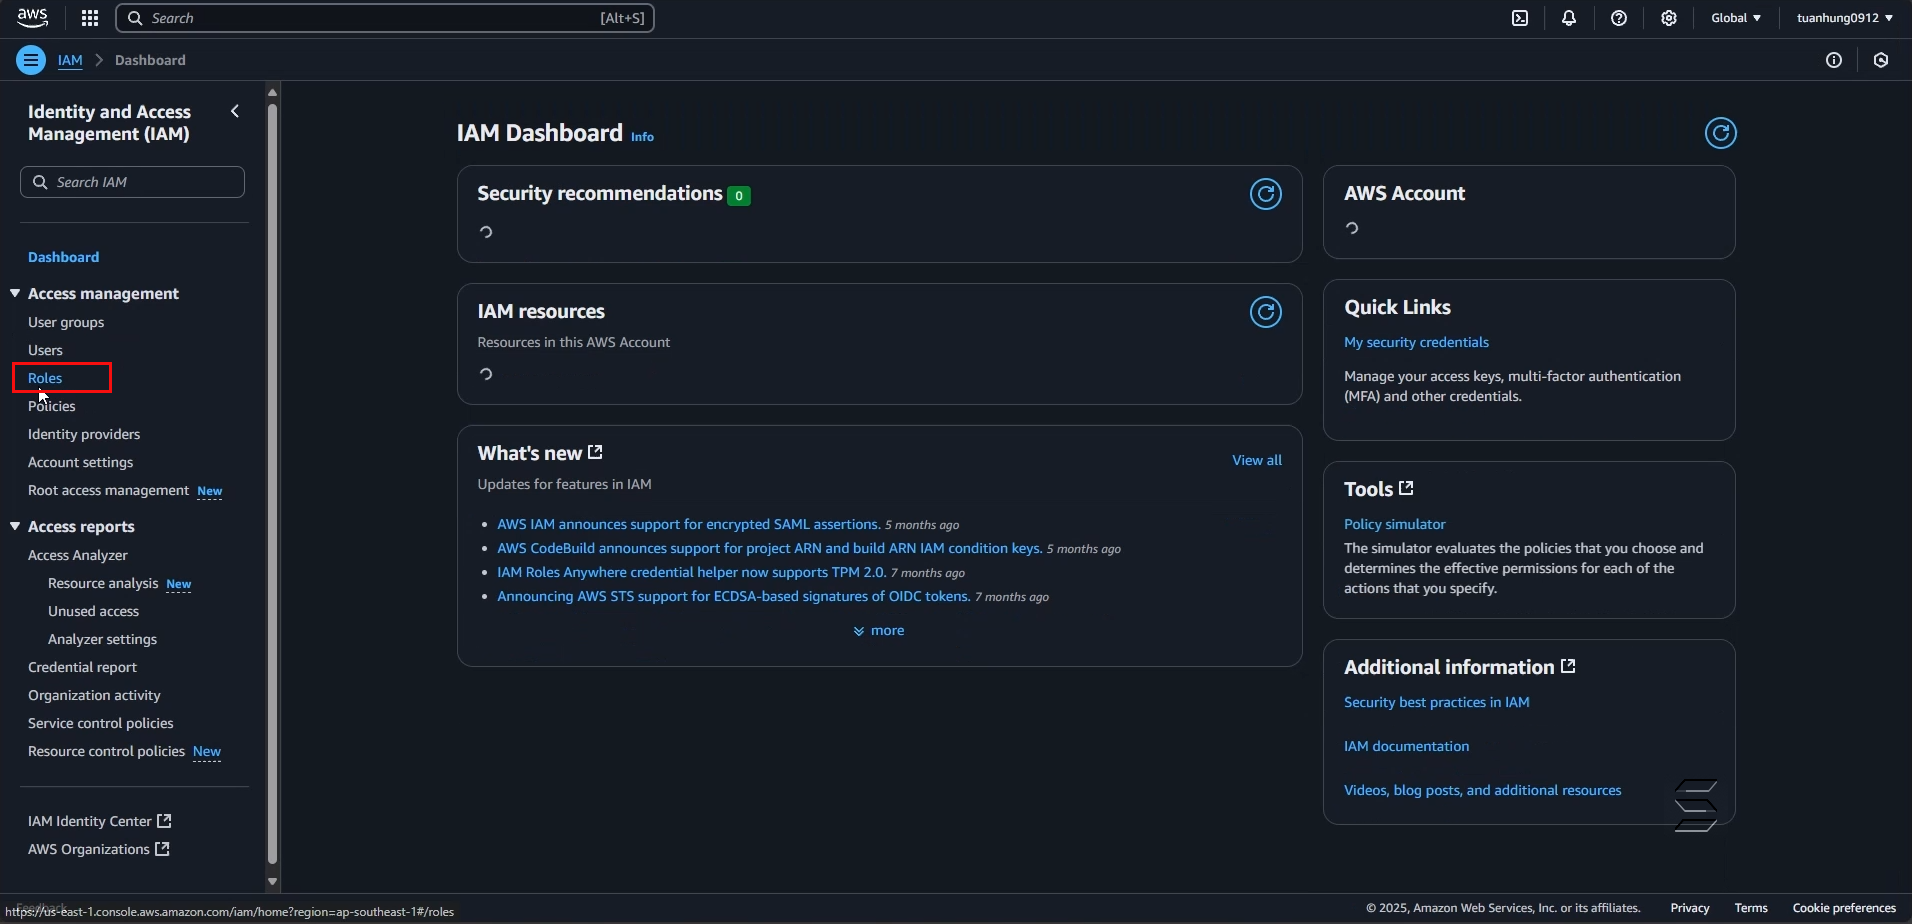
- On the IAM service page, in the left Navigation Panel
- Select Roles as shown below:
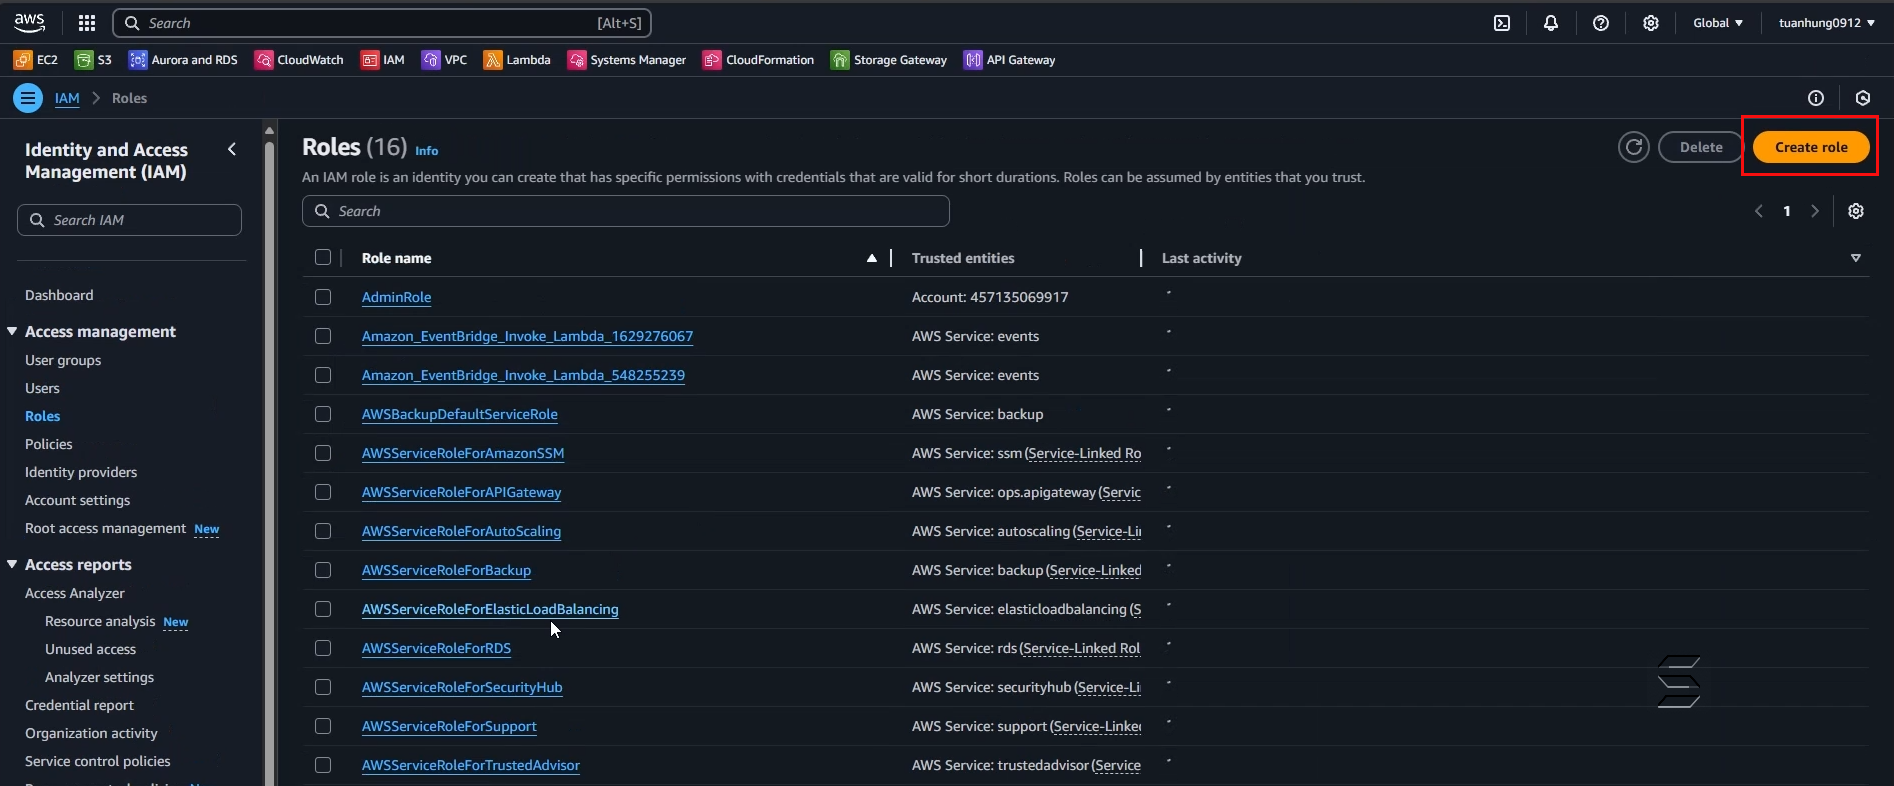
- On the Roles page, you can see a list of many popular and frequently used AWS Roles
- On the right side, click the Create Role button as follows:
2. Create a new Role and configure details
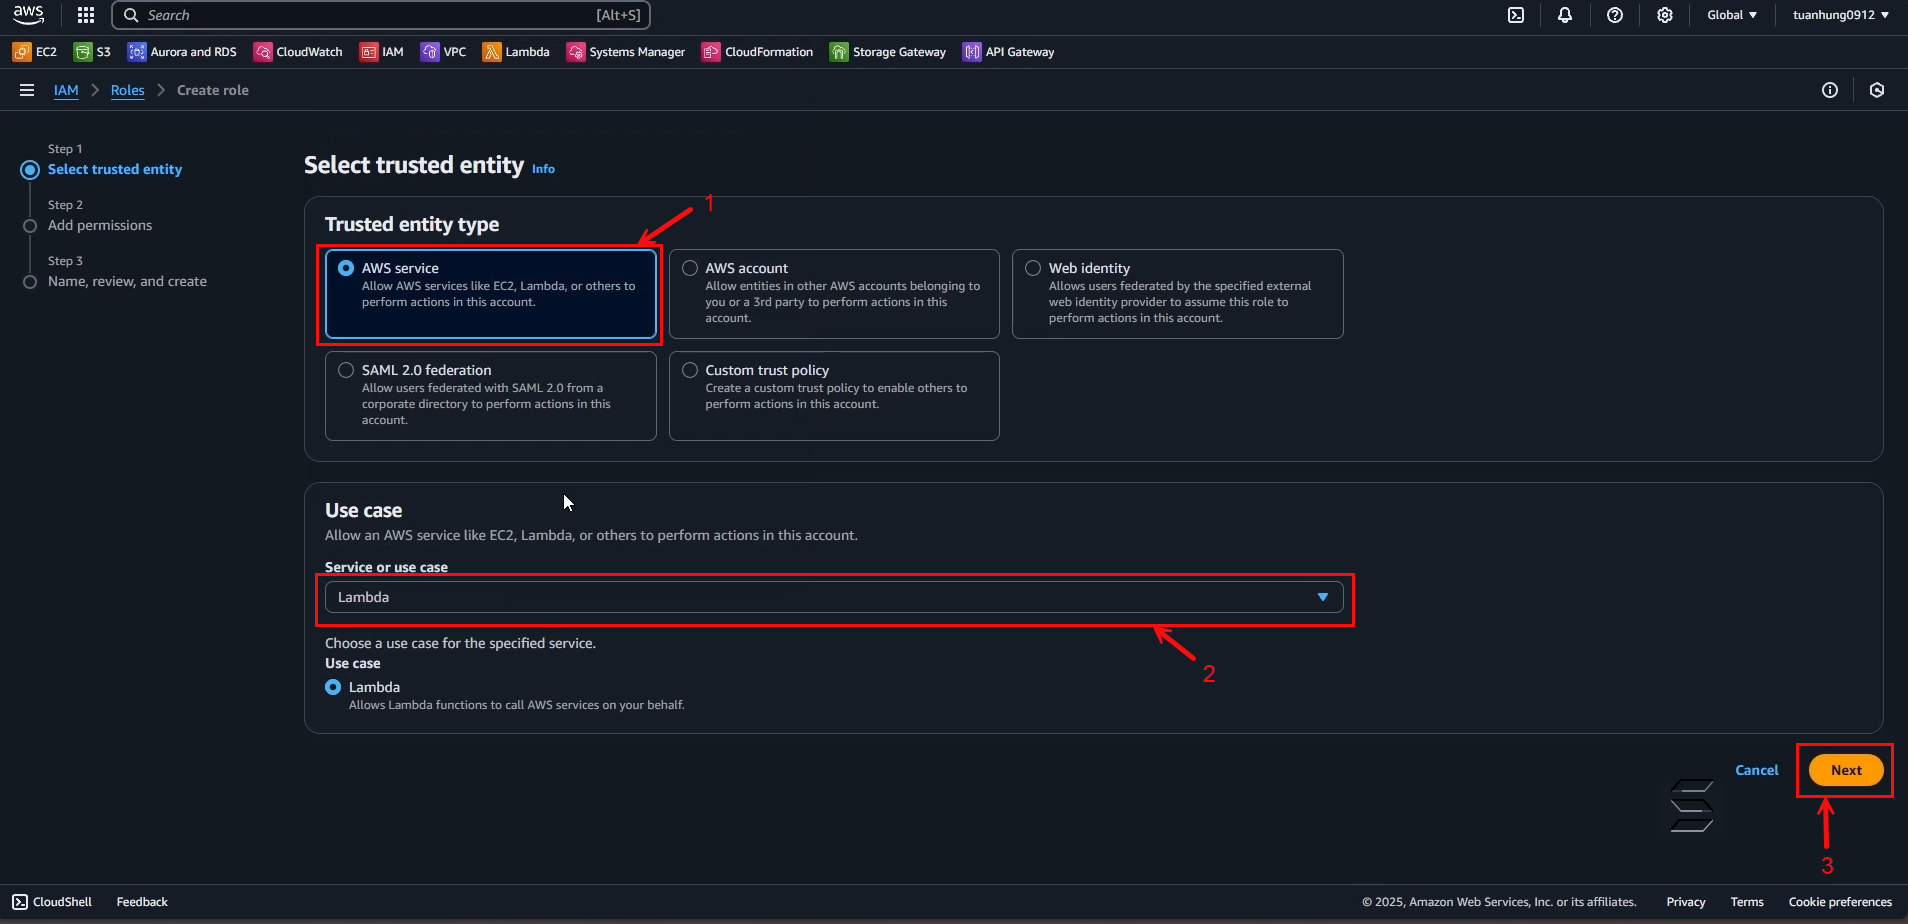
- On the Create Role page, you can see that creating a Role involves 3 main steps as shown below:
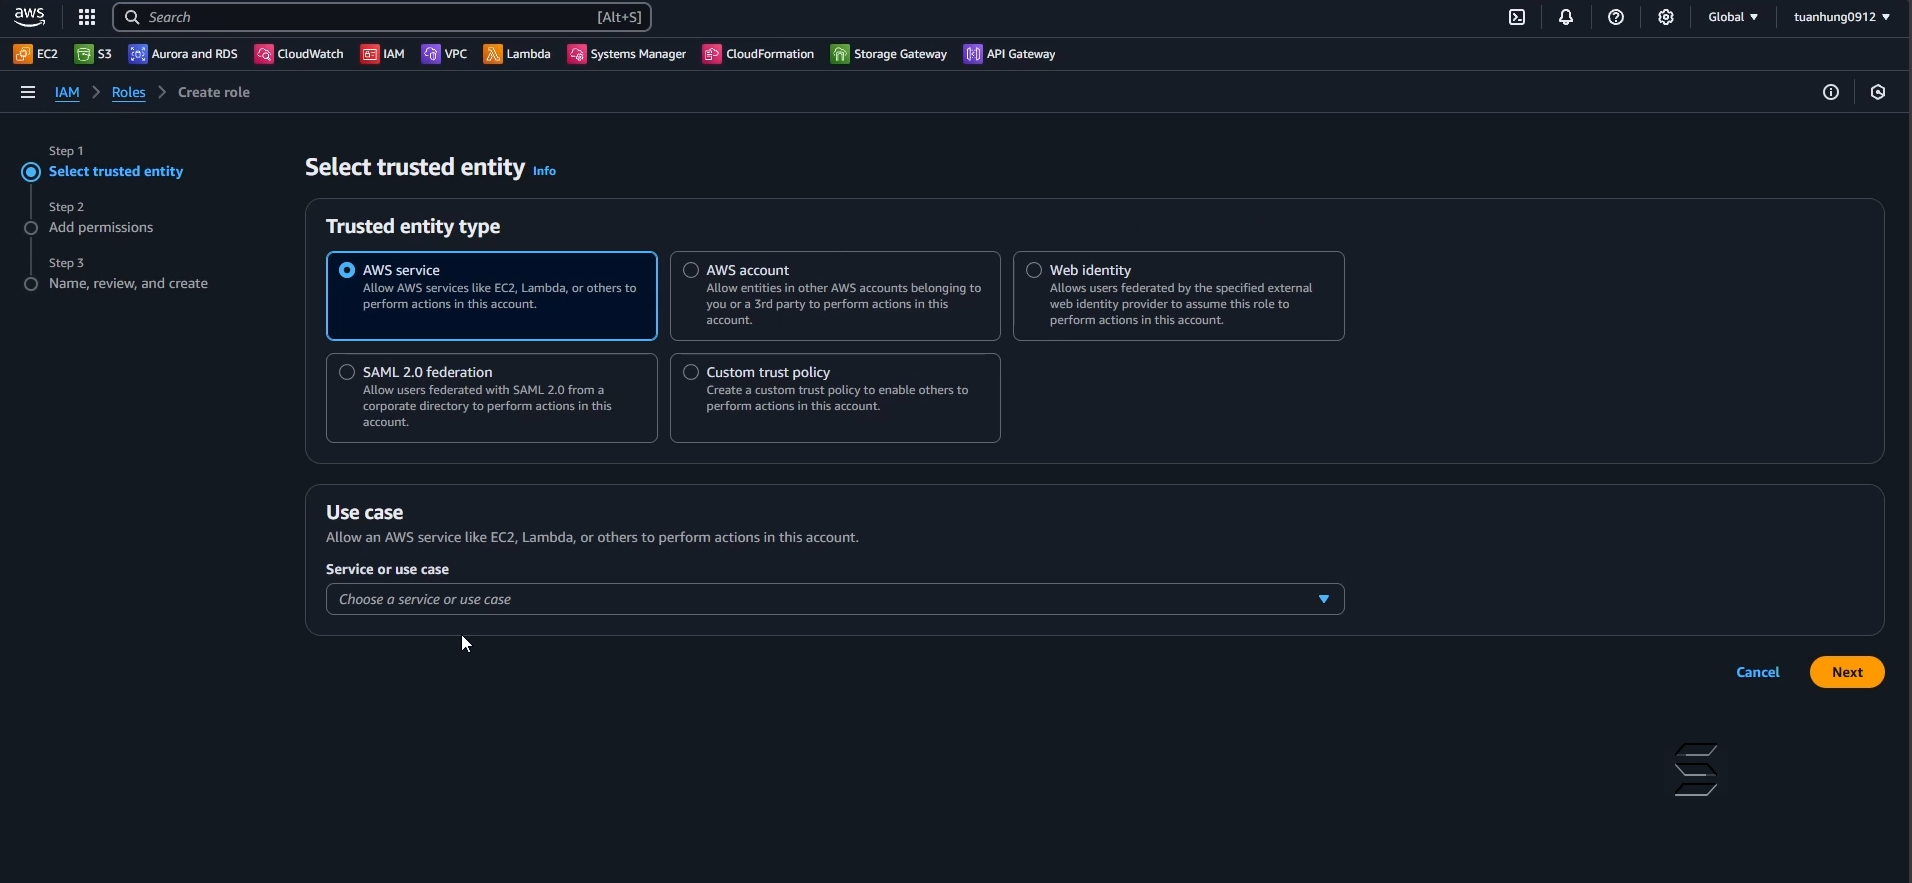
In the Select Trusted entity section:
- Trusted entity type: Select AWS Service
In the Use Case section:
- Service or use case: select Lambda
- Then click the Next button
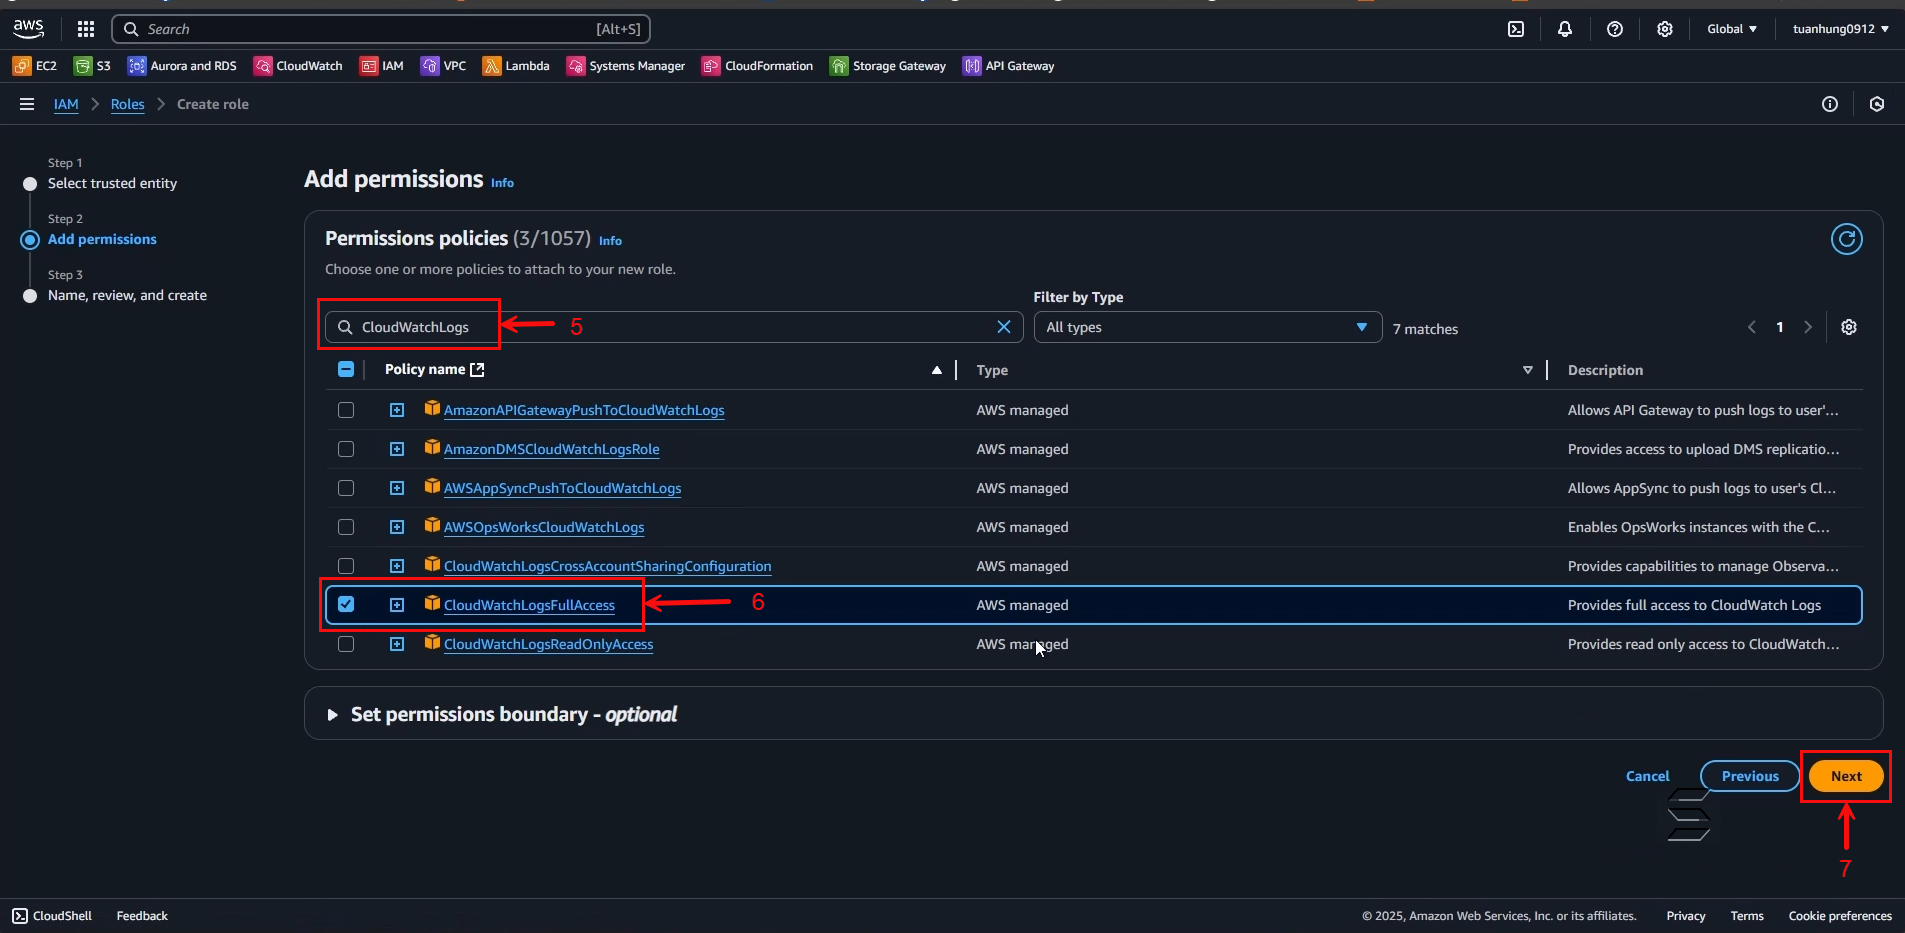
- On the Step 2 Add permissions to Role page, you can see more than 1000+ Permission Policies as shown below:
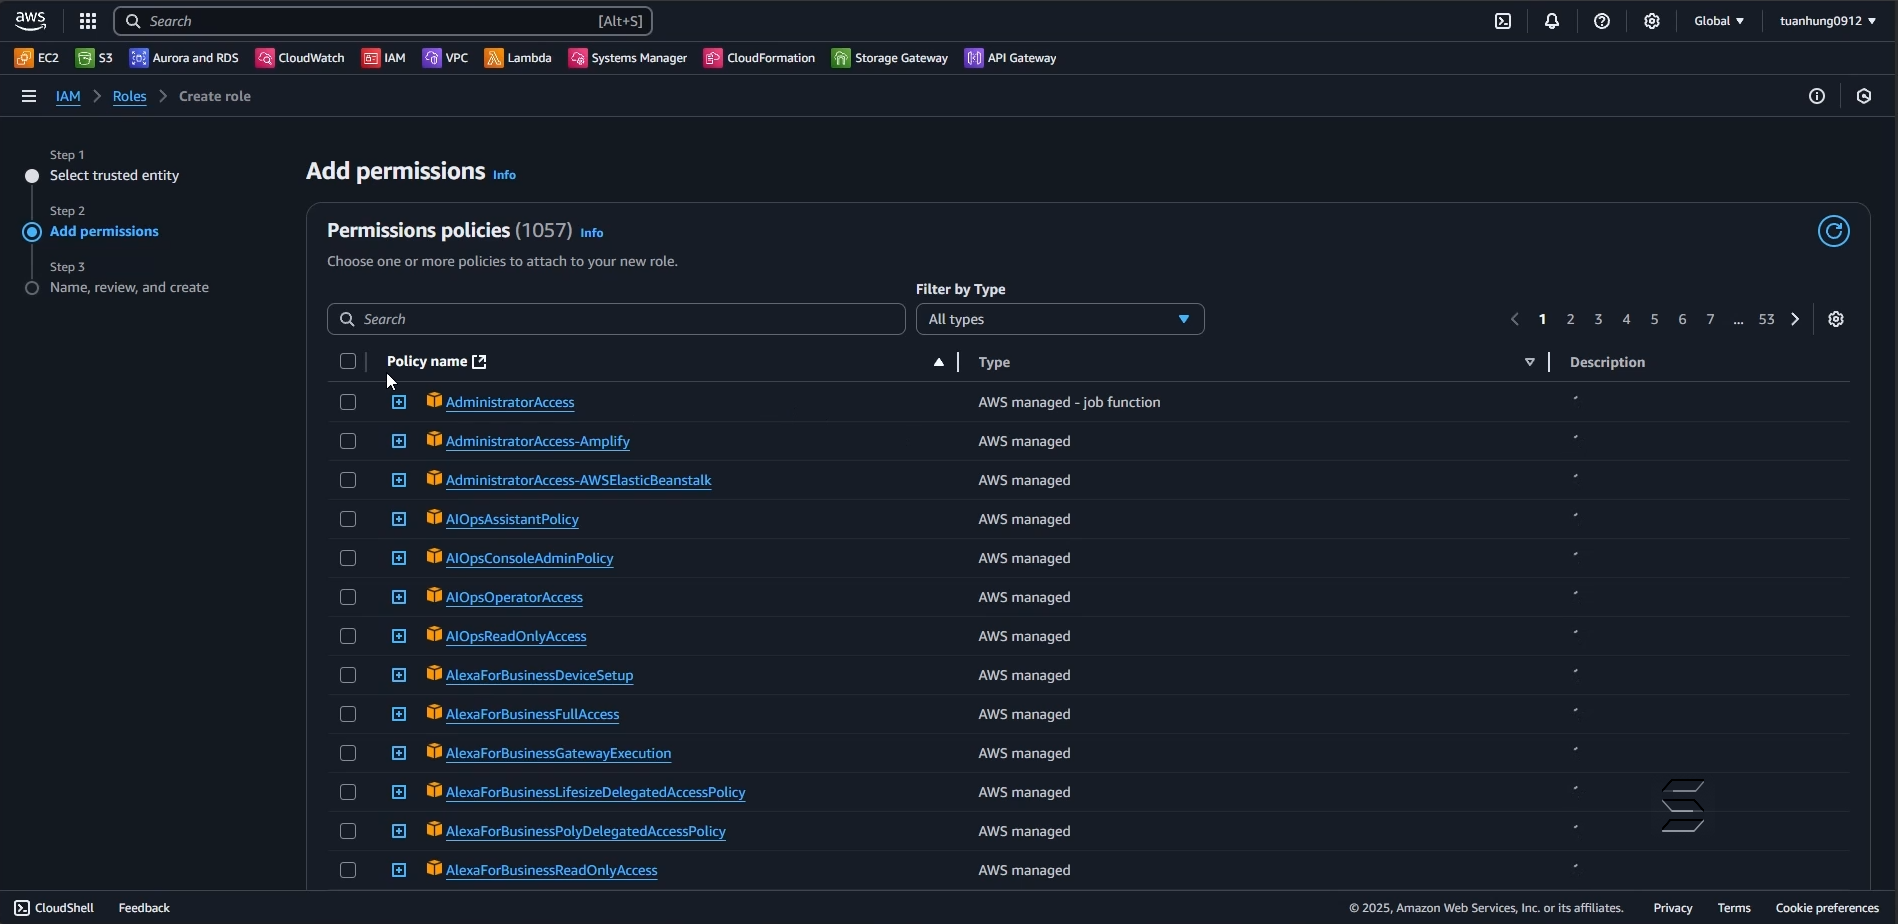
- However, you only need to find a few Policies suitable for the Lab
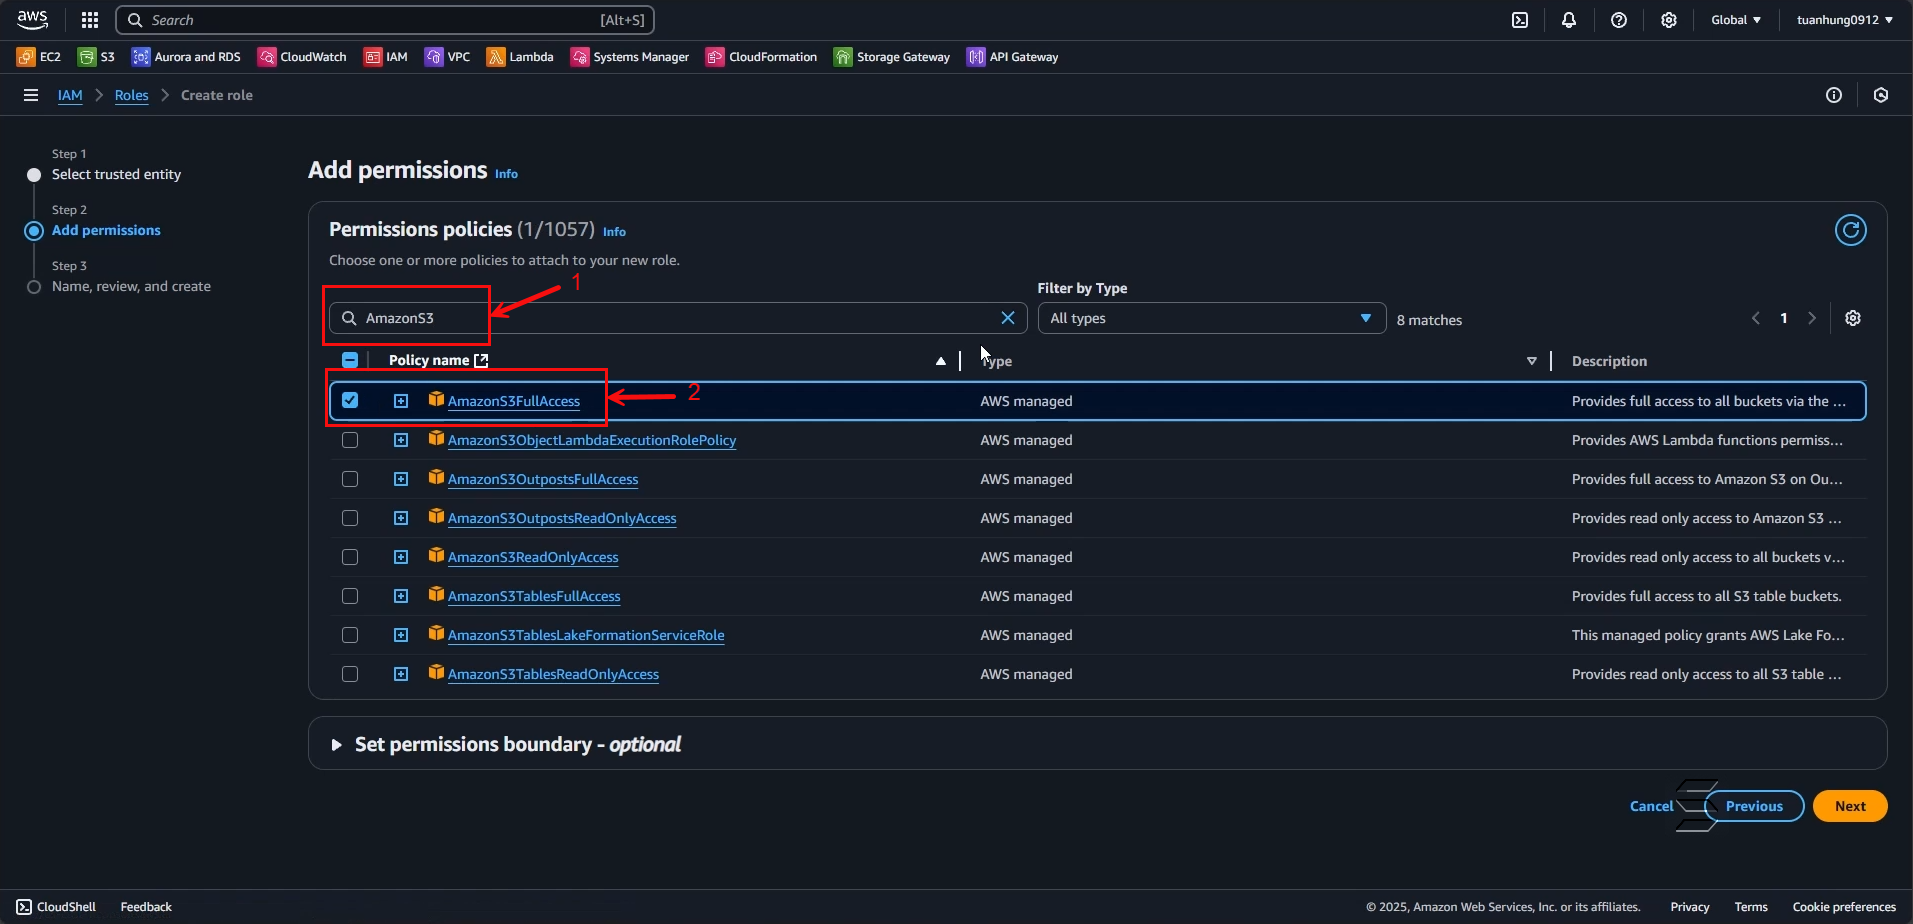
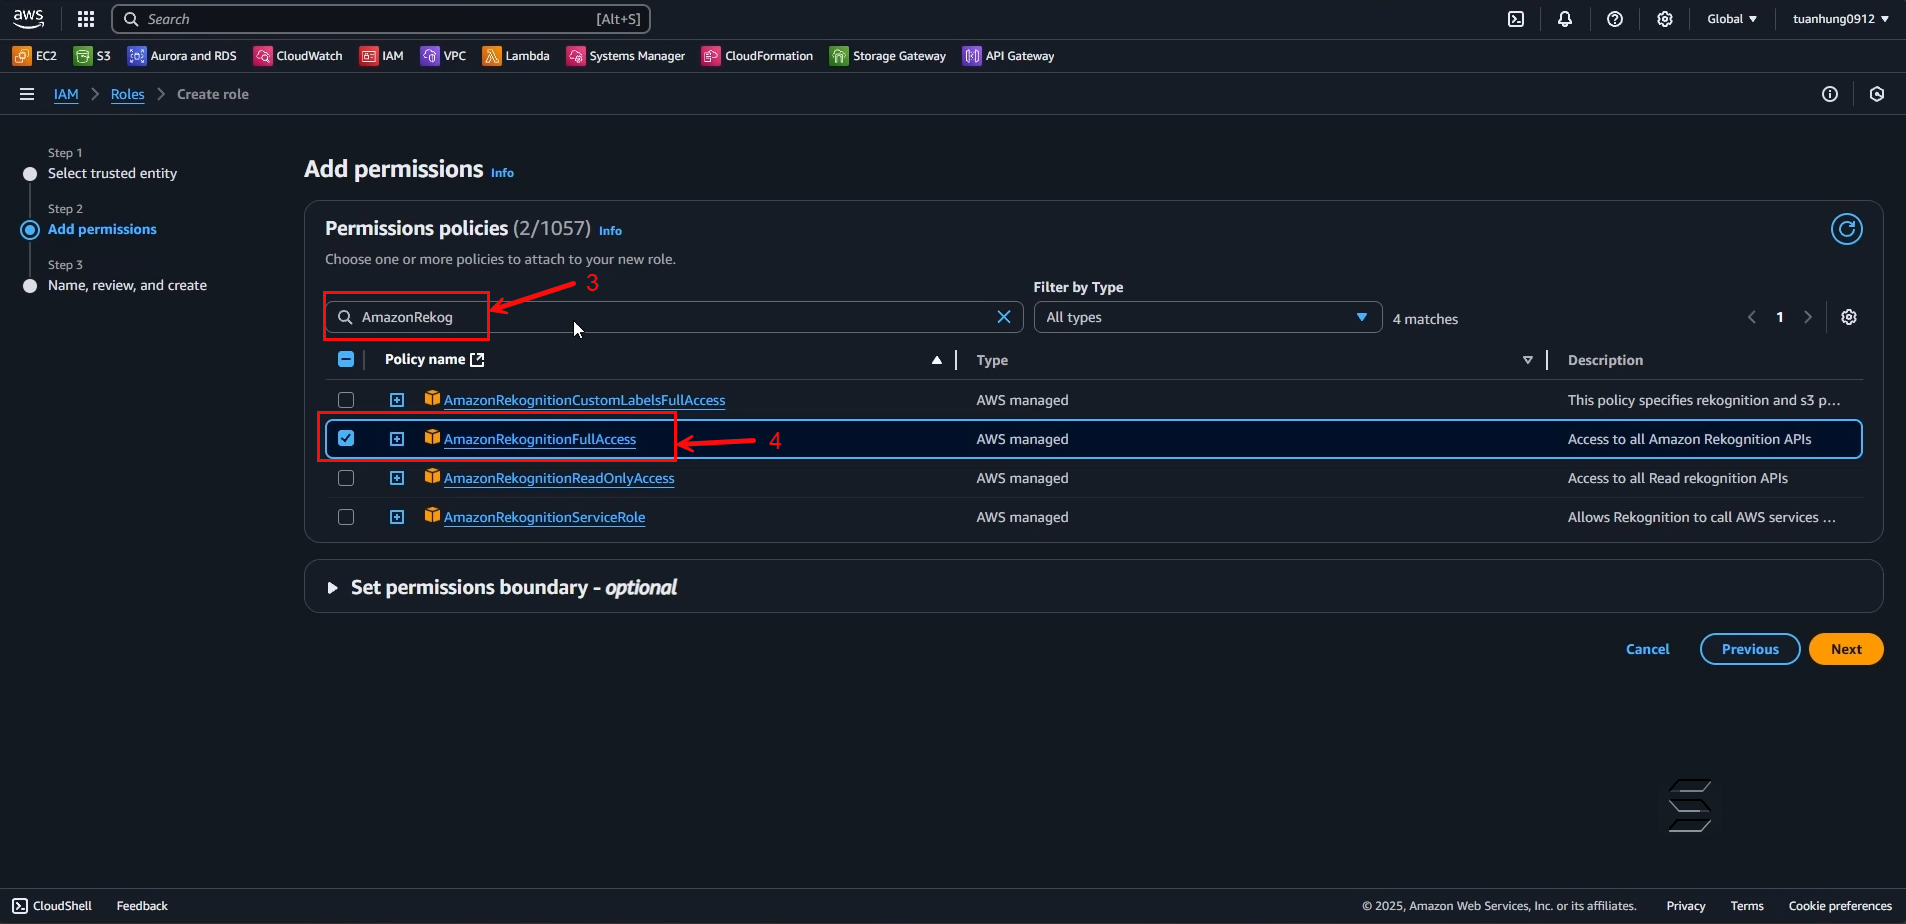
- Here, we will search for and select 3 Policies to use: AmazonS3FullAccess, AmazonRekognitionFullAccess, CloudWatchLogsFullAccess.
- After selecting, click the Next button
- Results as shown in the images below:
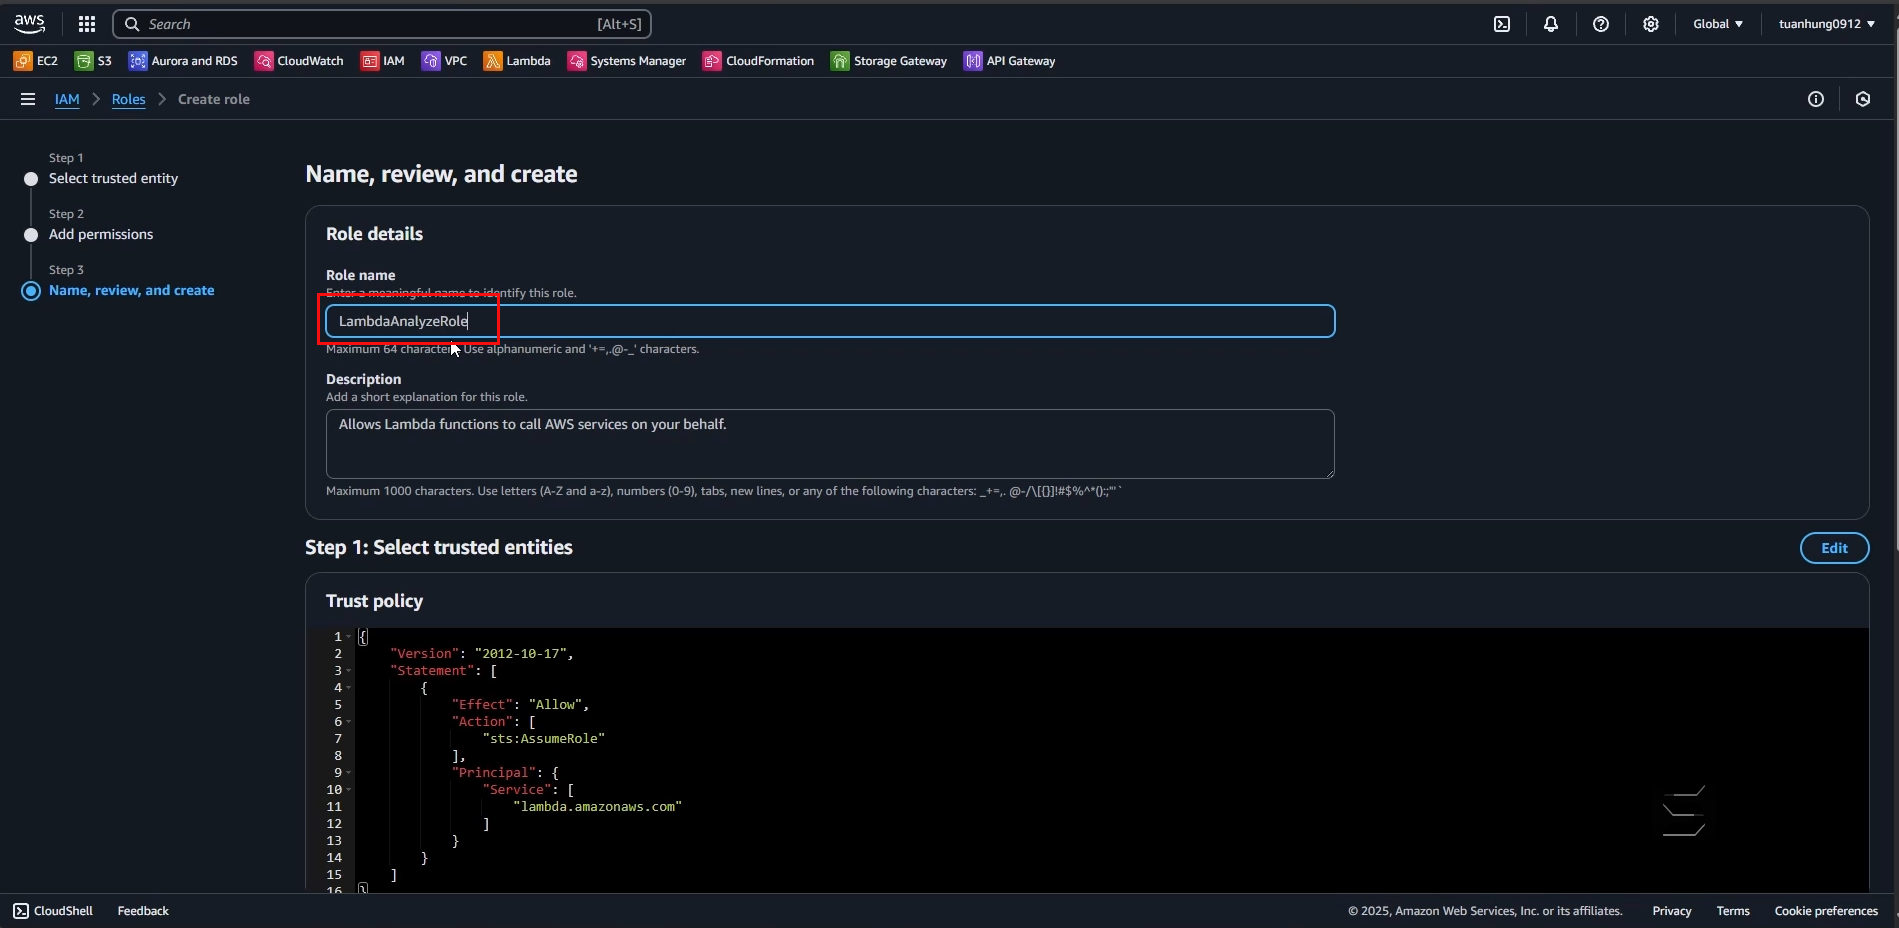
- On the Step 3: Name, review, and create page, you will review all configurations from the previous two steps
In the Role details section:
- Role name: set a name for the Role, e.g., LambdaAnalyzeRole
- Description: you can leave it as default or add notes as you wish
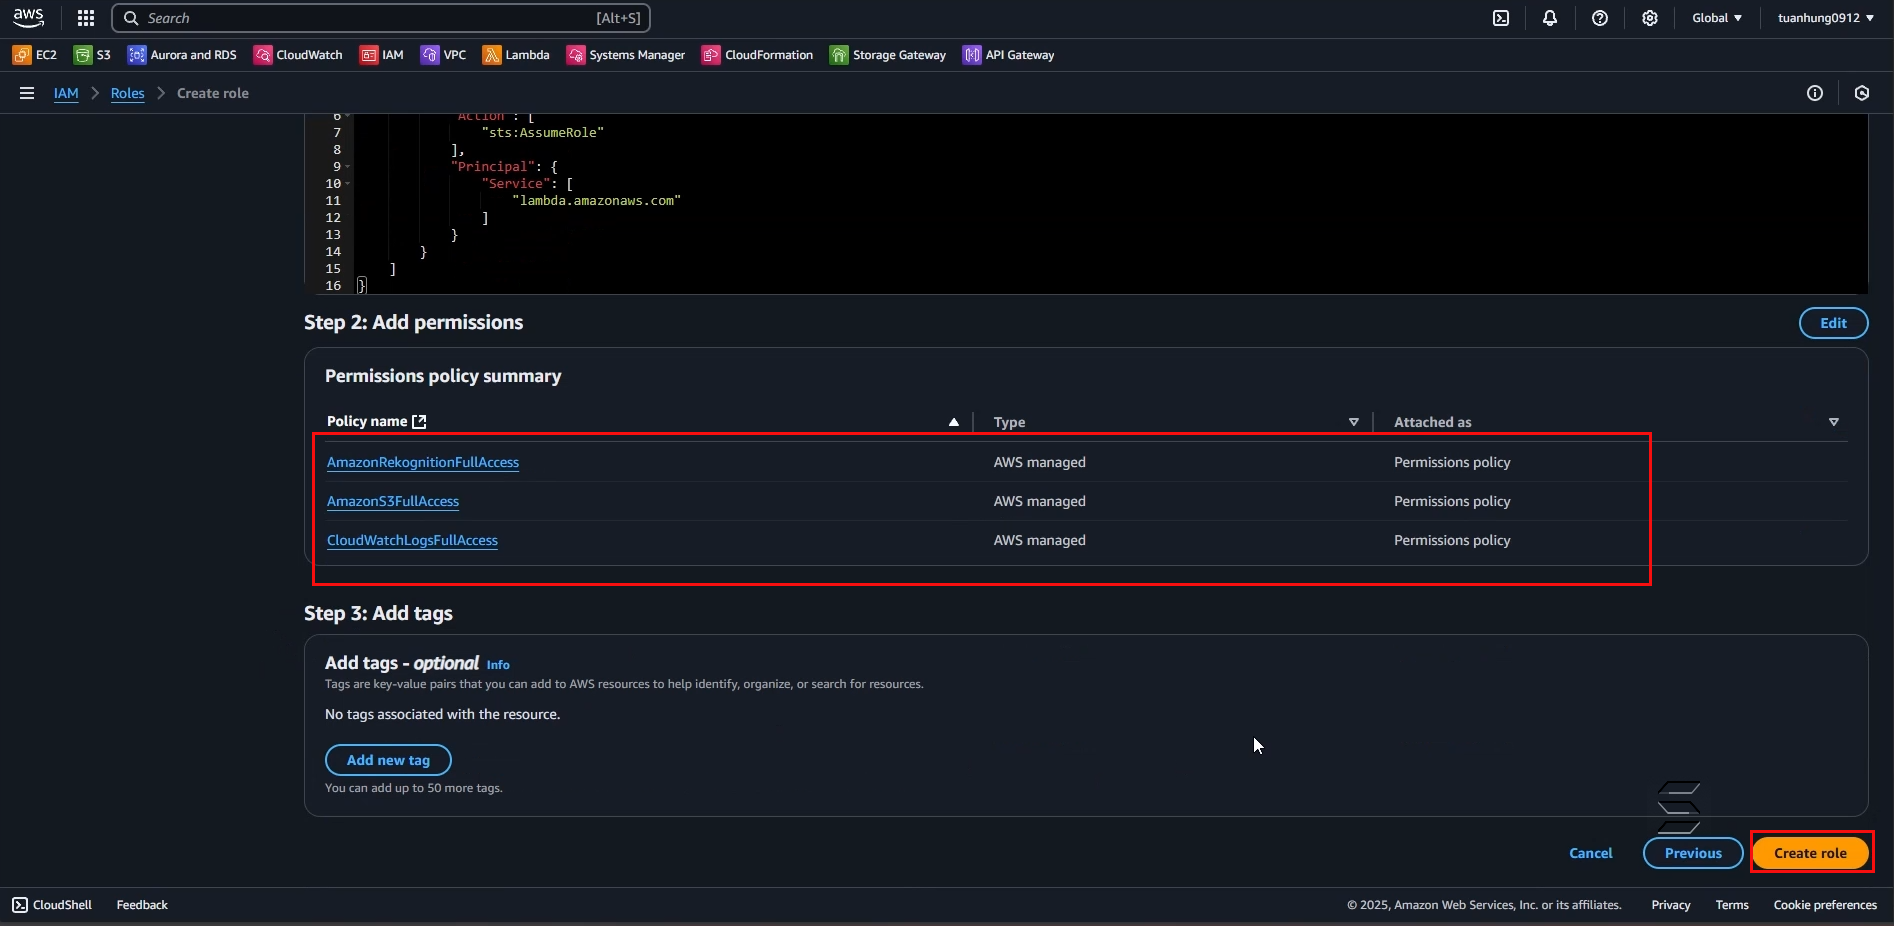
- In the Step 2: Add Permission section, you can review the Policies you added in detail
- After checking all the information, click Create Role to proceed
- Wait a few seconds, after creation the system will redirect you to the main Roles page and display a success notification as shown below:
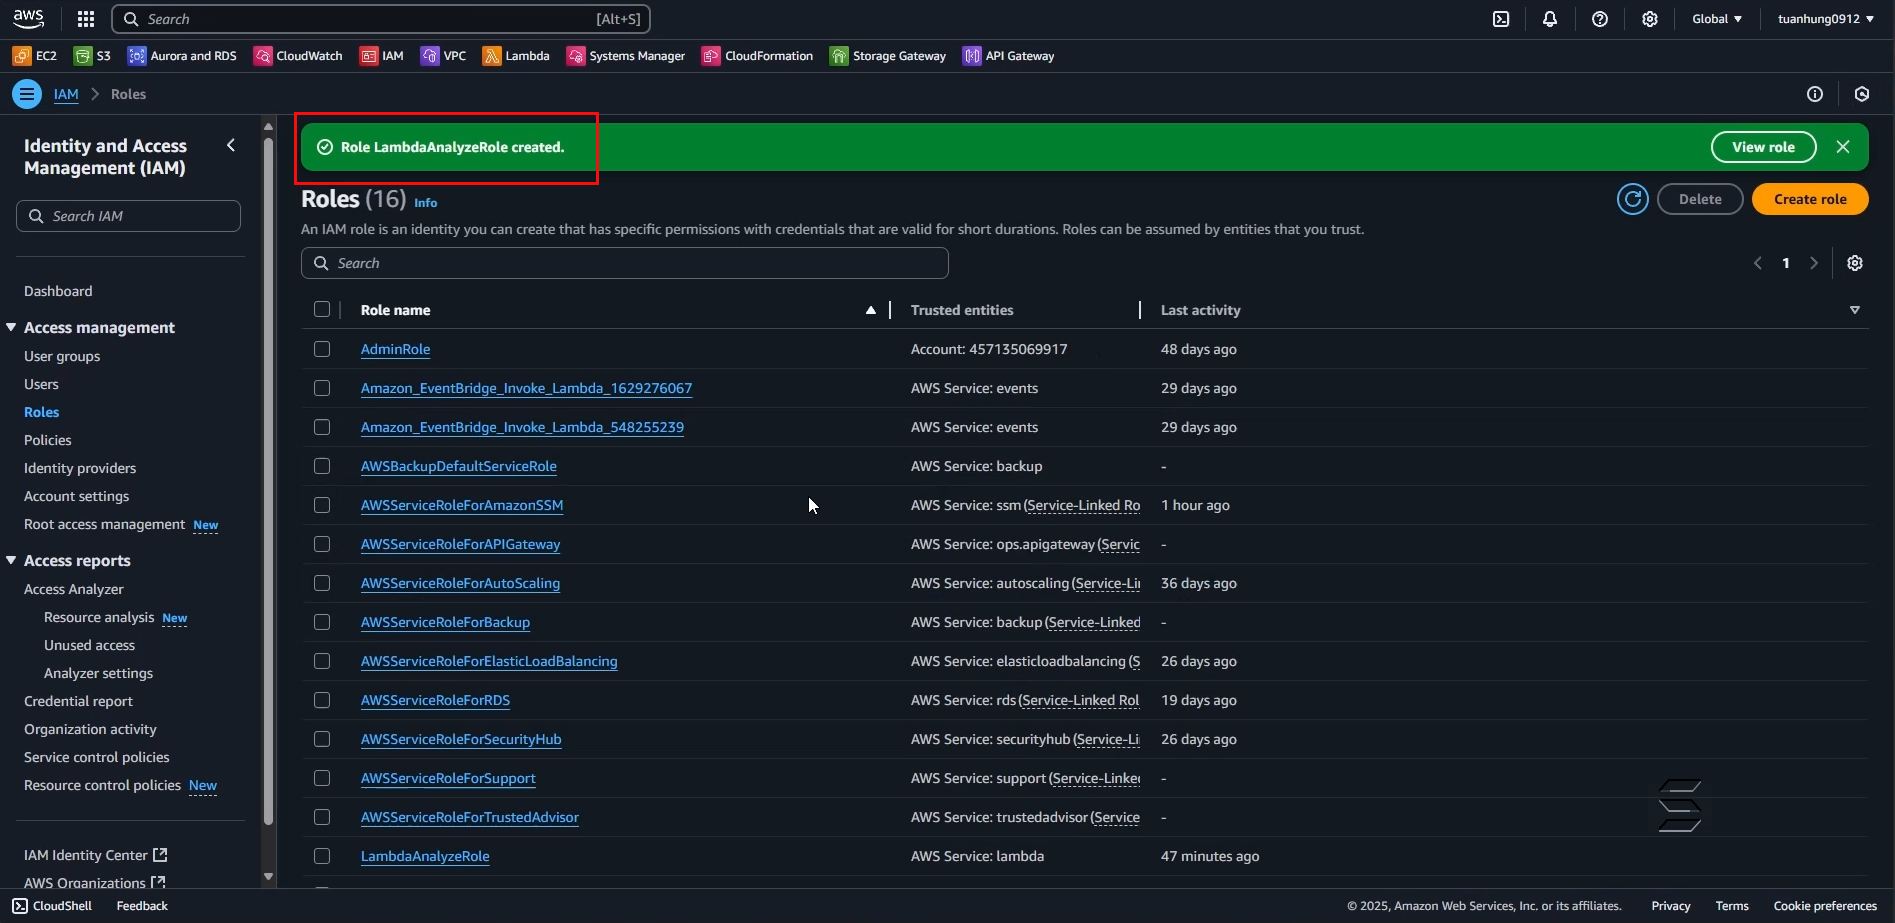
You have completed the necessary preparation steps to proceed to the next step.