Configure Upload Function
Configure the Upload Function to upload images and analysis results
1. Go to the list page containing Lambda functions
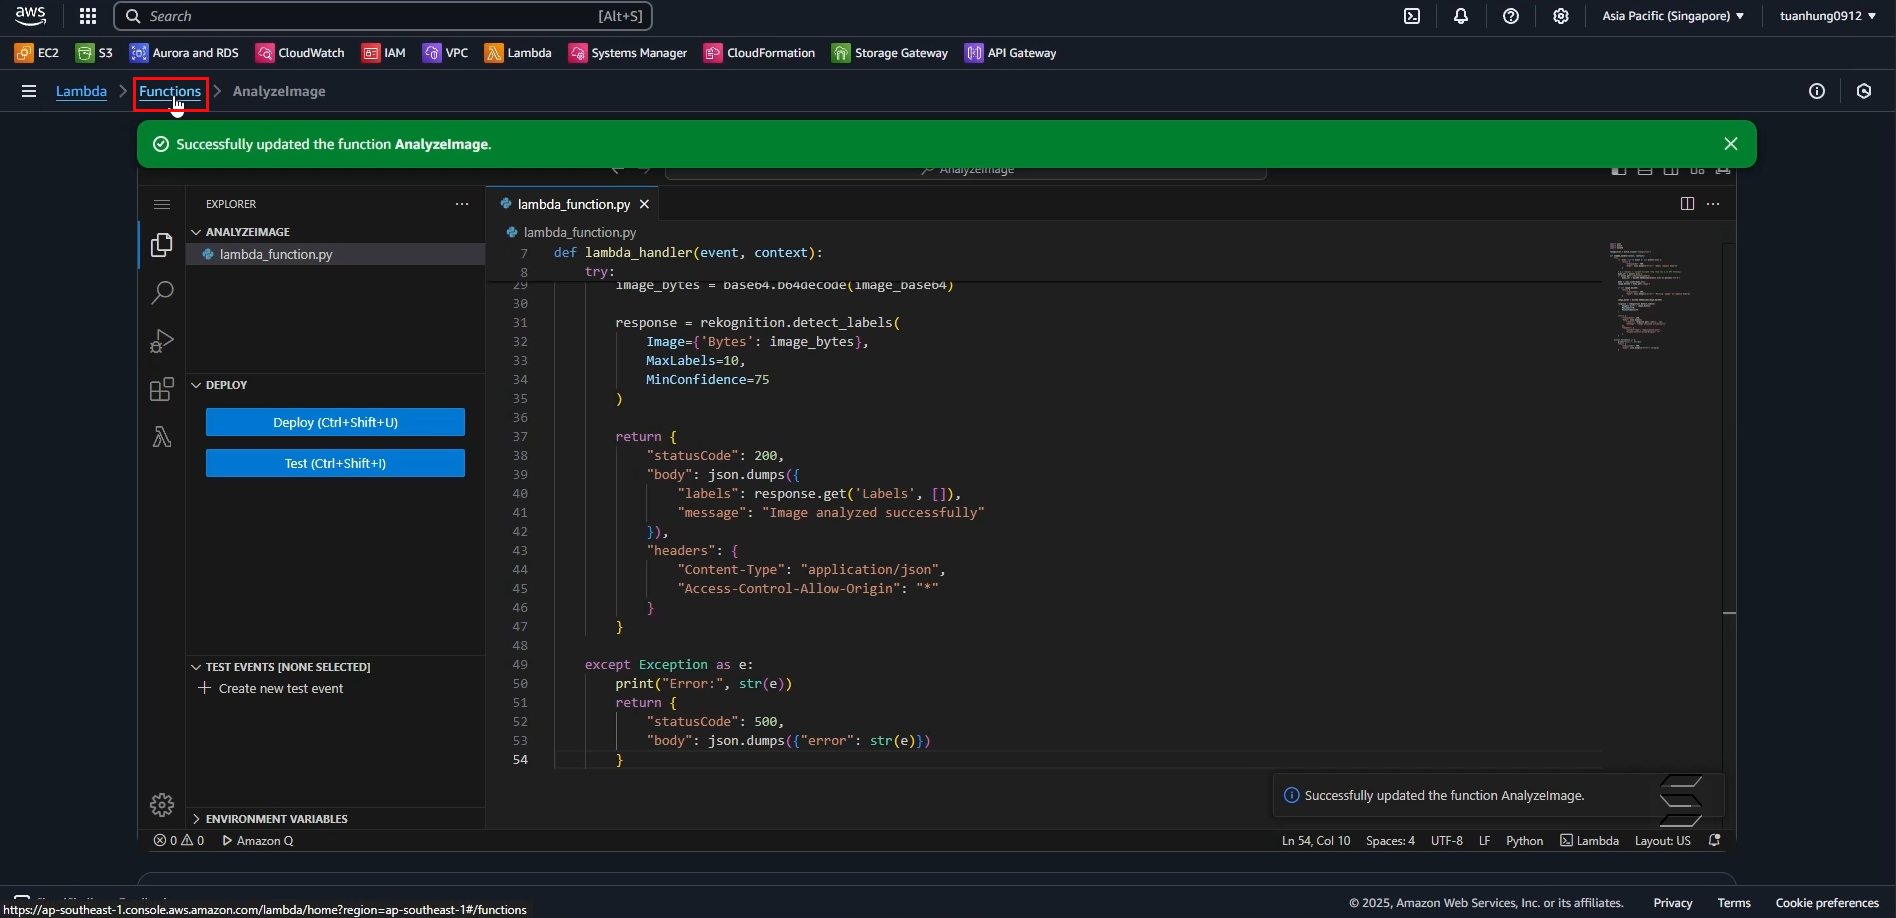
- In the previous section, after configuring the Analyze Function, you can quickly return to the list of existing Lambda Functions as follows:
- Look at the top left corner, you will see the Functions section
- Result as shown below:
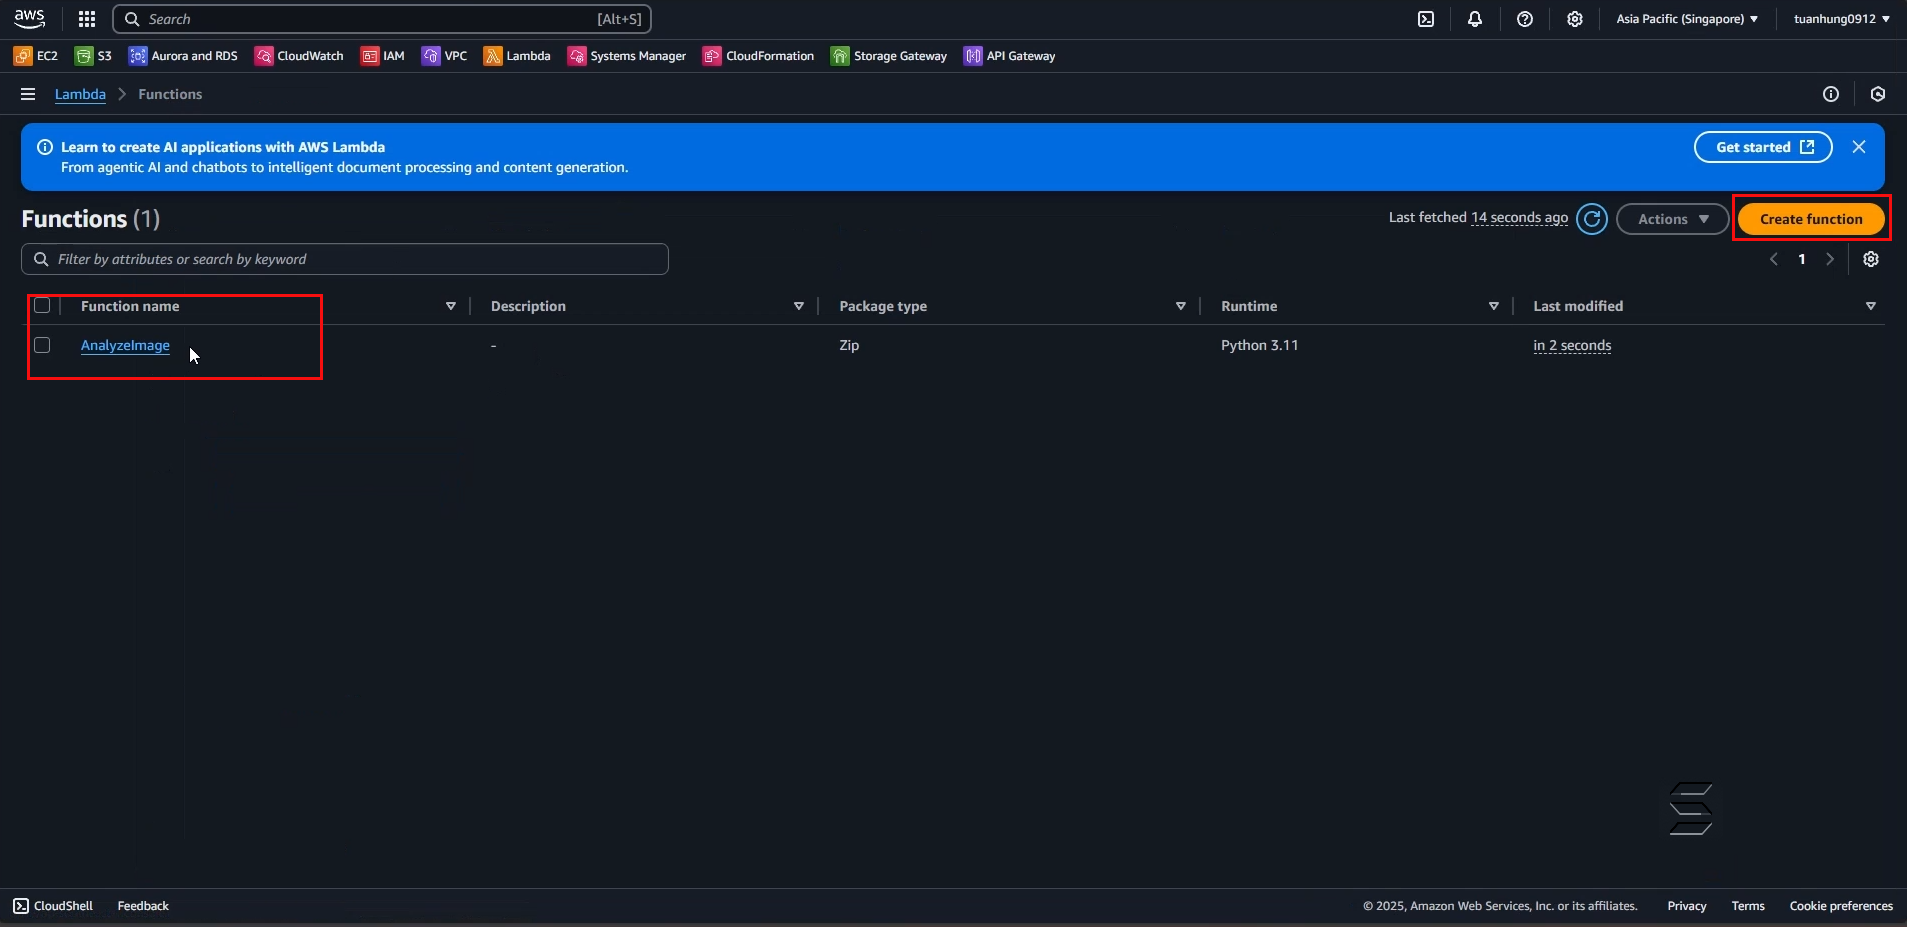
- On the page displaying all existing Functions, you can see the Analyze Function that you configured earlier
- Next, click the Create function button on the right corner to create a new function as shown below:
2. Configure the Upload Function on the Create function page
- On the creation page, to configure the function you are about to create,
- You need to enter information and select the most suitable configurations for the lab. Please follow these steps:
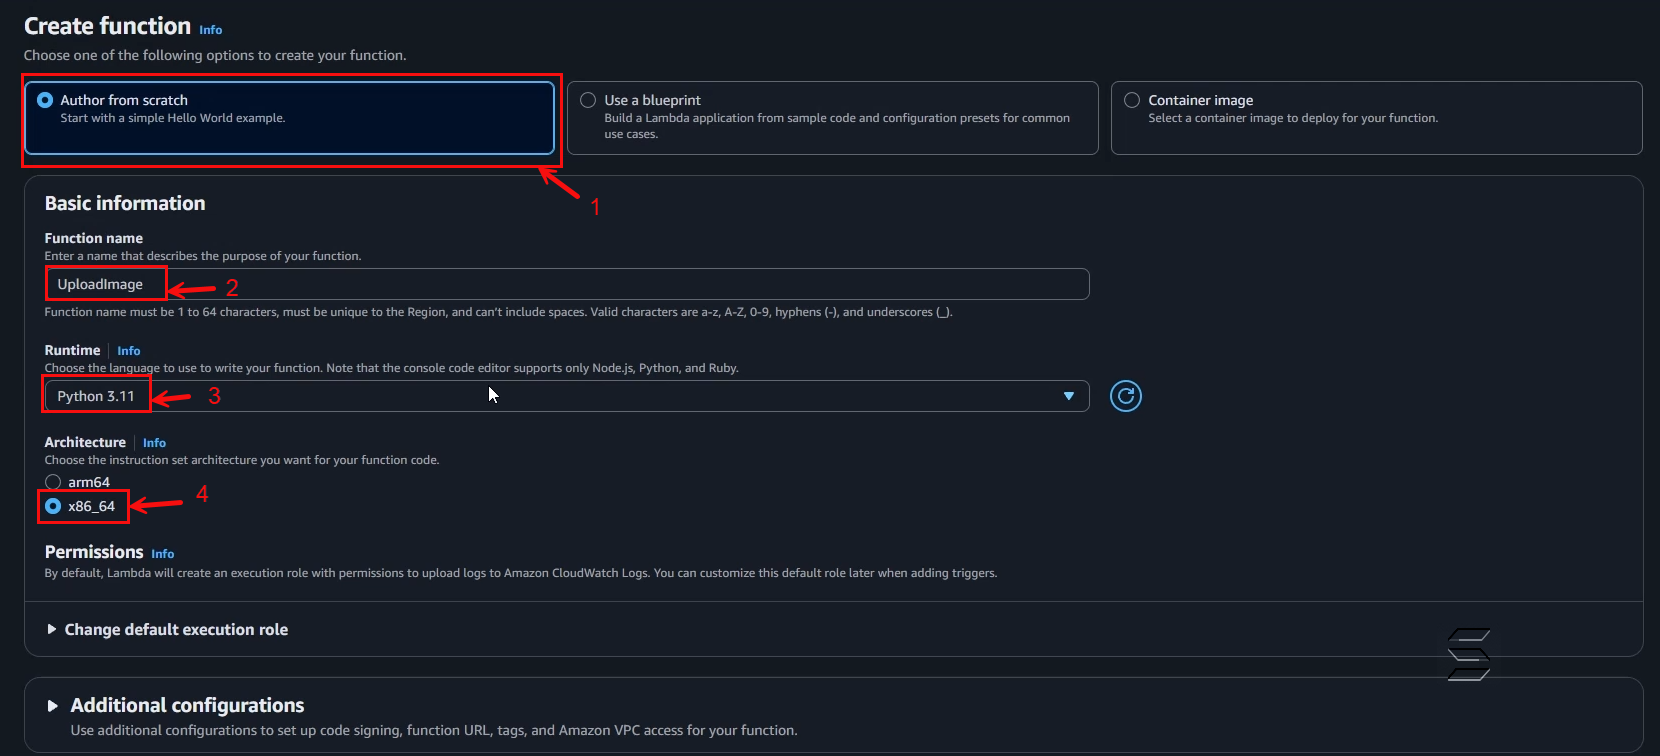
In the first section, there are 3 options to create a template for the Lambda Function: Author from scratch, Use a blueprint, Container image
- Select Author from scratch, this will create a simple code structure with a sample content that prints Hello World
In the Basic information section:
- Function name: enter a name for the function. For example: UploadImage (or any name you prefer)
- Runtime: select Python 3.11
- Architecture: select x86_64
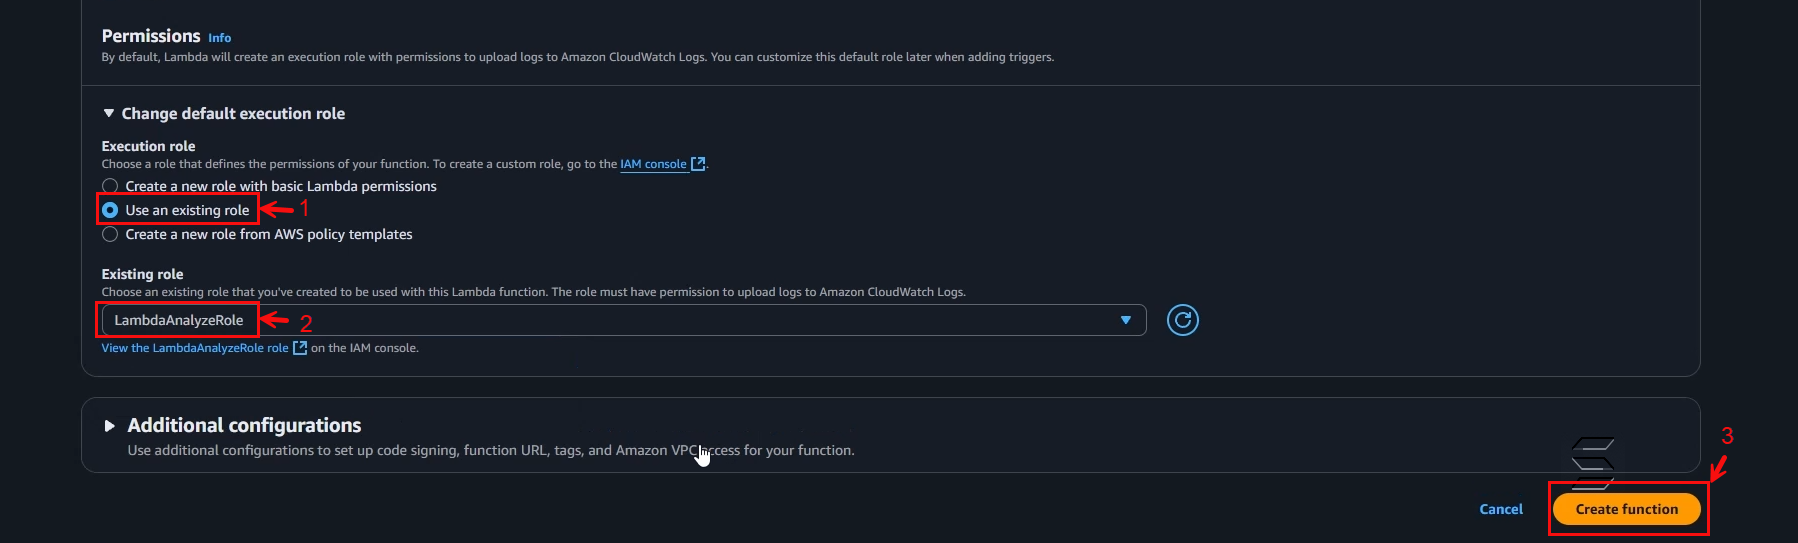
In the Change default execution role section:
- Execution role: select Use an existing role, this allows you to choose a Role that was created earlier and is suitable for the Lambda Function
- Existing role: select LambdaAnalyzeRole, this is the Role created in the previous section
- After configuring, click the Create function button to create the Lambda function
- Result as shown below:
- Wait a few seconds for the system to create the Lambda function you have configured
- After creation, the system will return a successful creation notification for your Lambda function as shown below:
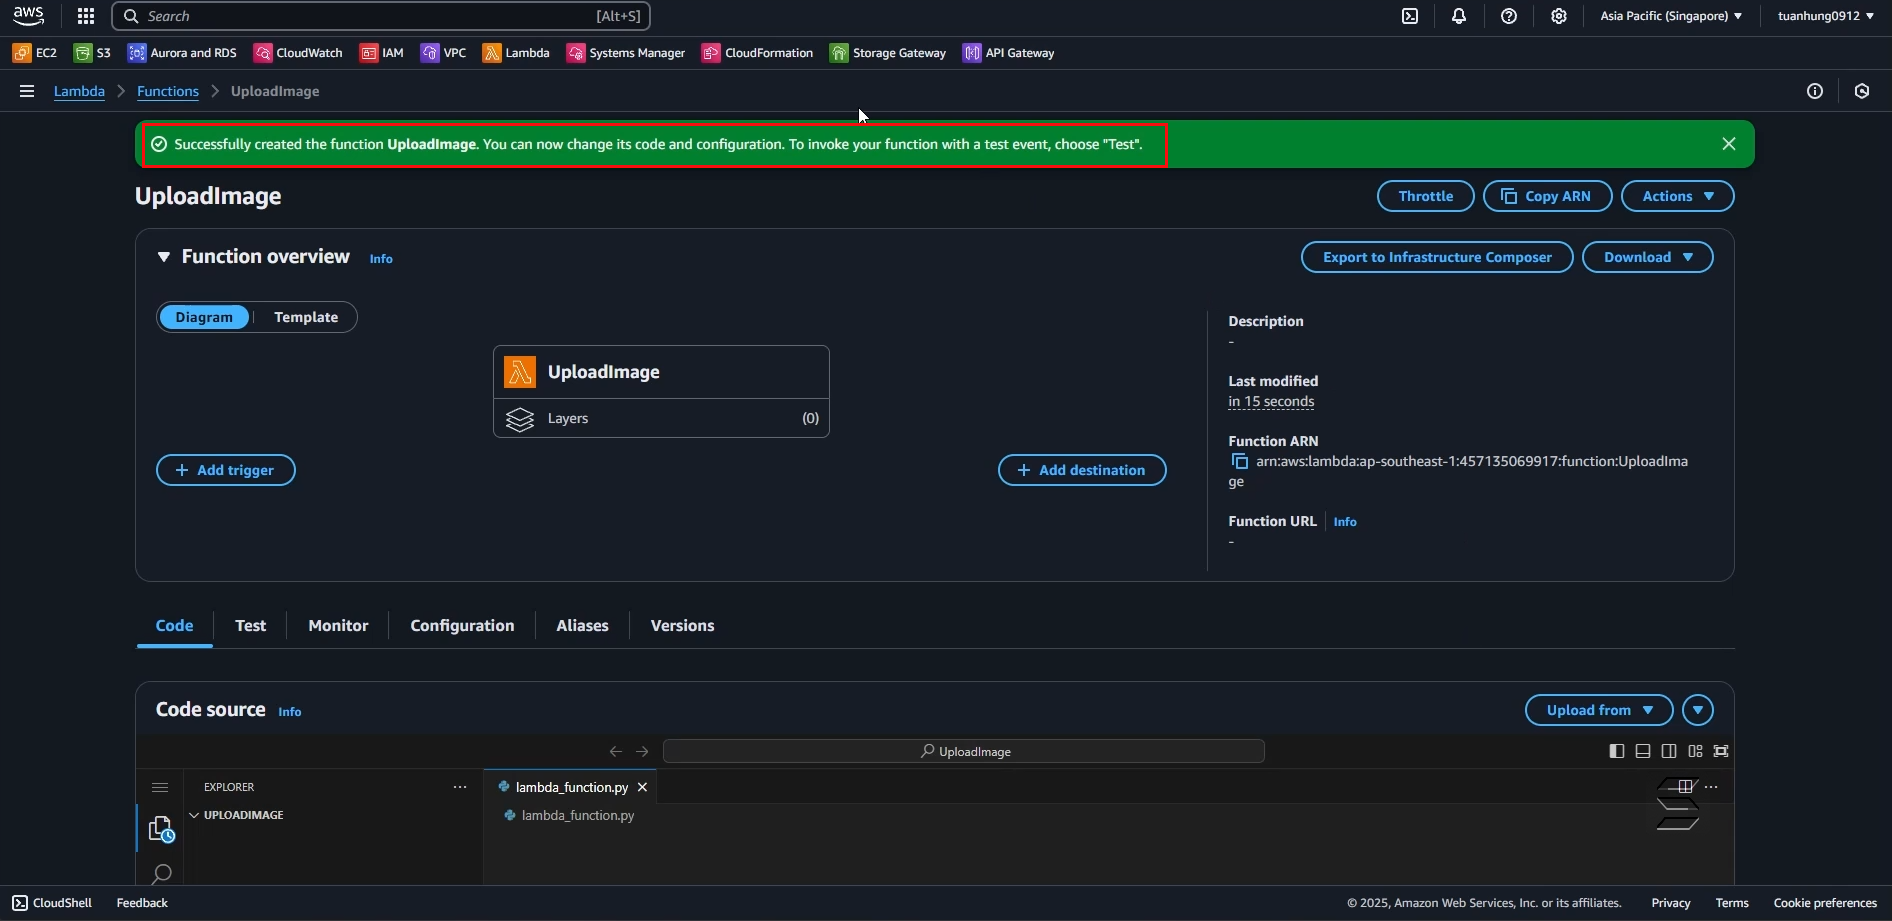
- Here is where you can write code in Python as configured earlier:
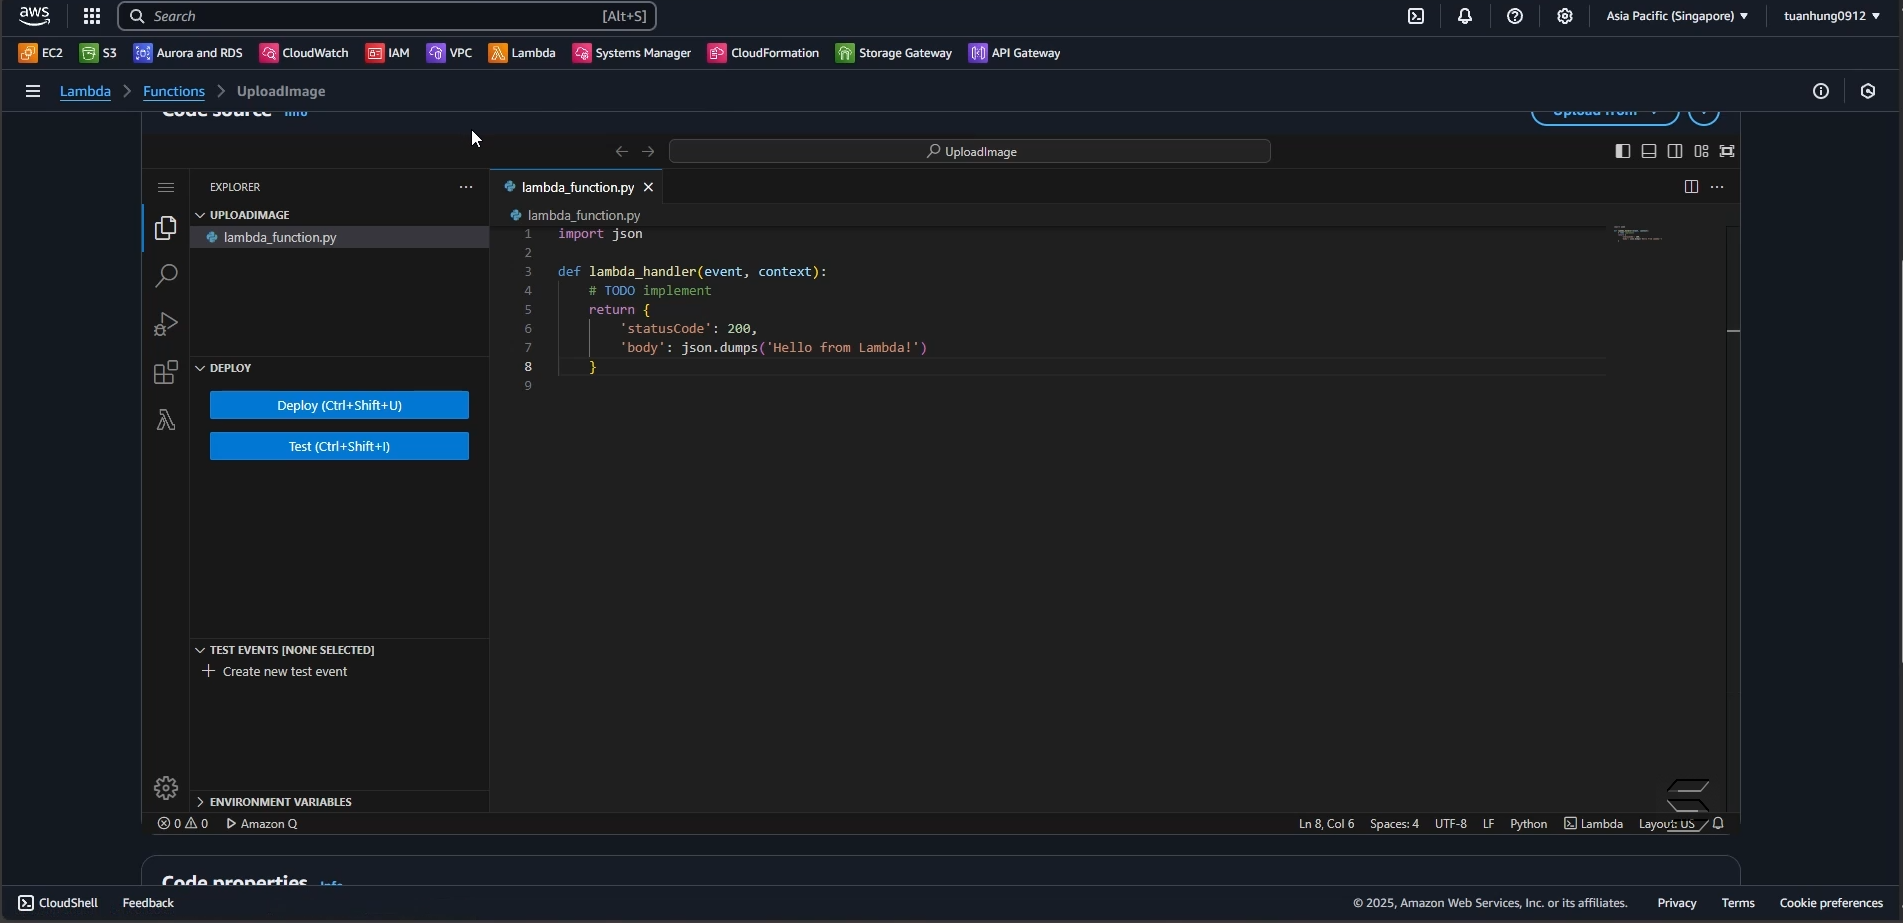
3. Configure the Upload Function code in the Code Source section
- Here you will enter the code so that the upload image and analysis result function can work
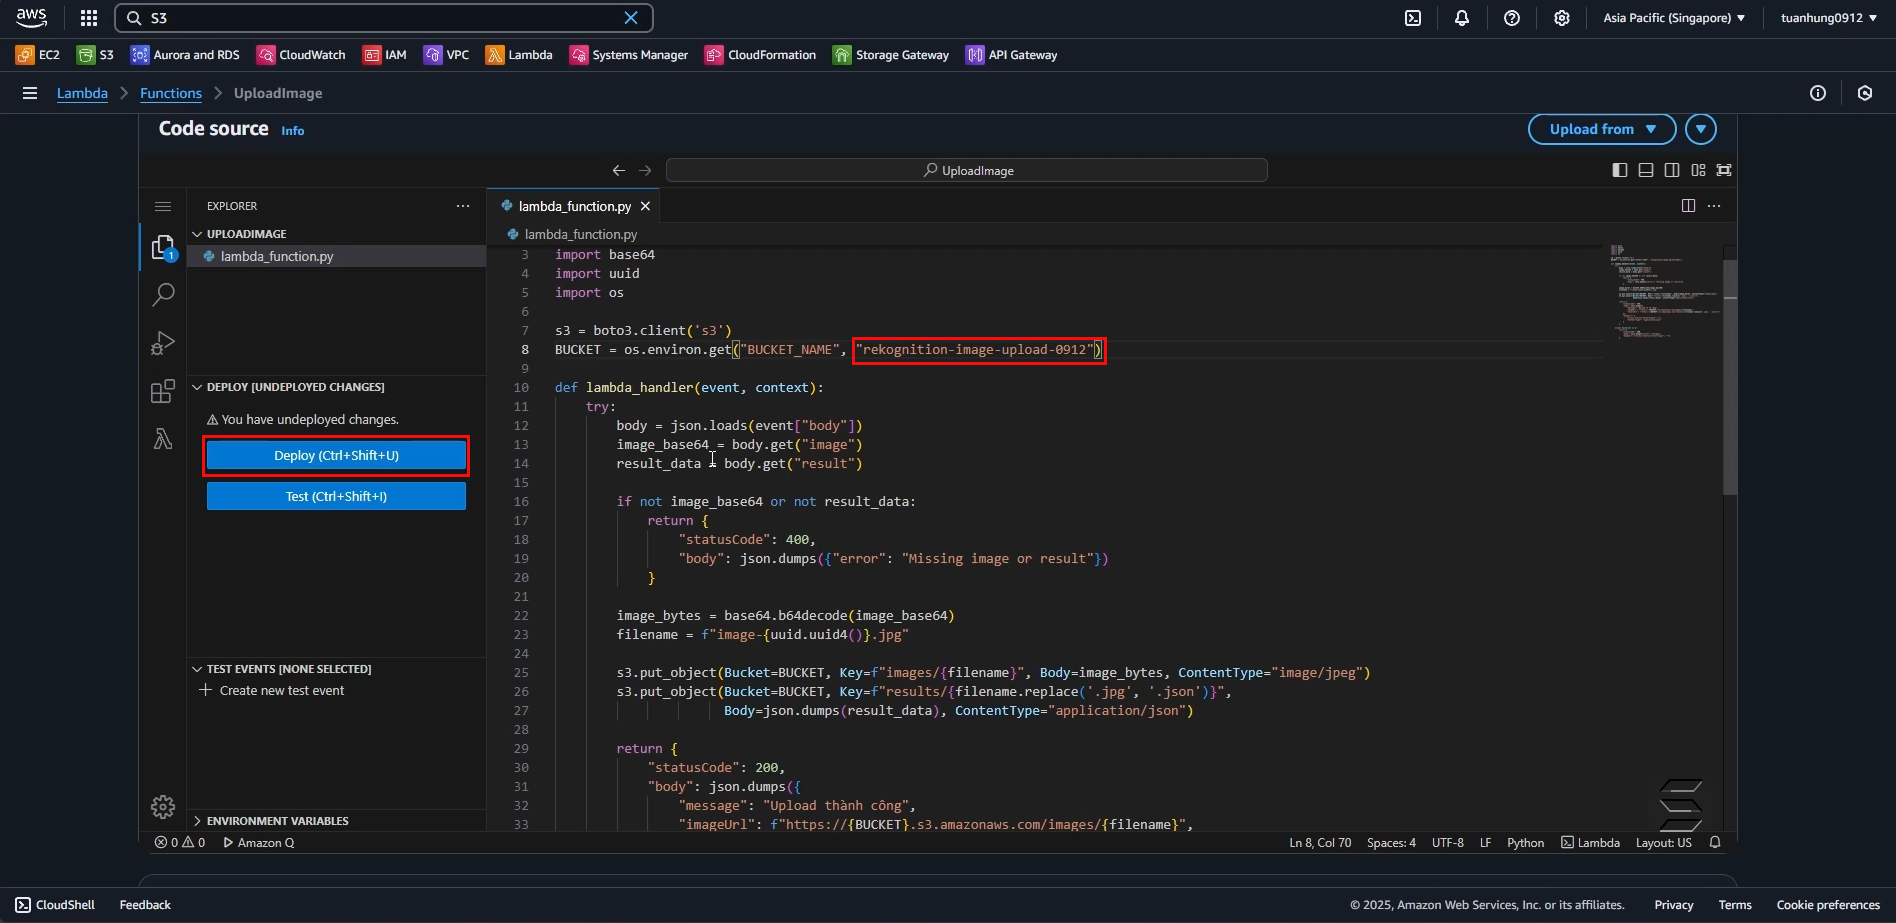
- Enter the code with the following structure:
import json
import boto3
import base64
import uuid
import os

# Initialize S3 client
s3 = boto3.client('s3')

# Get bucket name from environment variable (replace with your bucket name)
BUCKET = os.environ.get("BUCKET_NAME", "your-bucket-name")

def lambda_handler(event, context):
    try:
        # Parse body content from HTTP request (JSON format)
        body = json.loads(event["body"])

        # Get image data (base64) and analysis result sent from frontend
        image_base64 = body.get("image")
        result_data = body.get("result")

        # Check if image or result is missing, return error
        if not image_base64 or not result_data:
            return {
                "statusCode": 400,
                "body": json.dumps({"error": "Missing image or result"})
            }

        # Decode base64 image to bytes
        image_bytes = base64.b64decode(image_base64)

        # Generate random image filename using UUID
        filename = f"image-{uuid.uuid4()}.jpg"

        # Upload original image to 'images/' folder in S3 bucket
        s3.put_object(
            Bucket=BUCKET,
            Key=f"images/{filename}",
            Body=image_bytes,
            ContentType="image/jpeg"
        )

        # Generate corresponding JSON filename and upload analysis result to 'results/' folder
        s3.put_object(
            Bucket=BUCKET,
            Key=f"results/{filename.replace('.jpg', '.json')}",
            Body=json.dumps(result_data),
            ContentType="application/json"
        )

        # Return success result to frontend, including image and JSON file links
        return {
            "statusCode": 200,
            "body": json.dumps({
                "message": "Upload successful",
                "imageUrl": f"https://{BUCKET}.s3.amazonaws.com/images/{filename}",
                "resultUrl": f"https://{BUCKET}.s3.amazonaws.com/results/{filename.replace('.jpg', '.json')}"
            }),
            "headers": {
                "Access-Control-Allow-Origin": "*",  # Allow access from any domain
                "Content-Type": "application/json"
            }
        }

    except Exception as e:
        # Return 500 error if exception occurs and allow CORS
        return {
            "statusCode": 500,
            "body": json.dumps({"error": str(e)}),
            "headers": {"Access-Control-Allow-Origin": "*"}
        }
- After entering the code in the Code Source section as above, you can save your changes by:
- Clicking the Deploy button or using the shortcut (Ctrl + Shift + U)
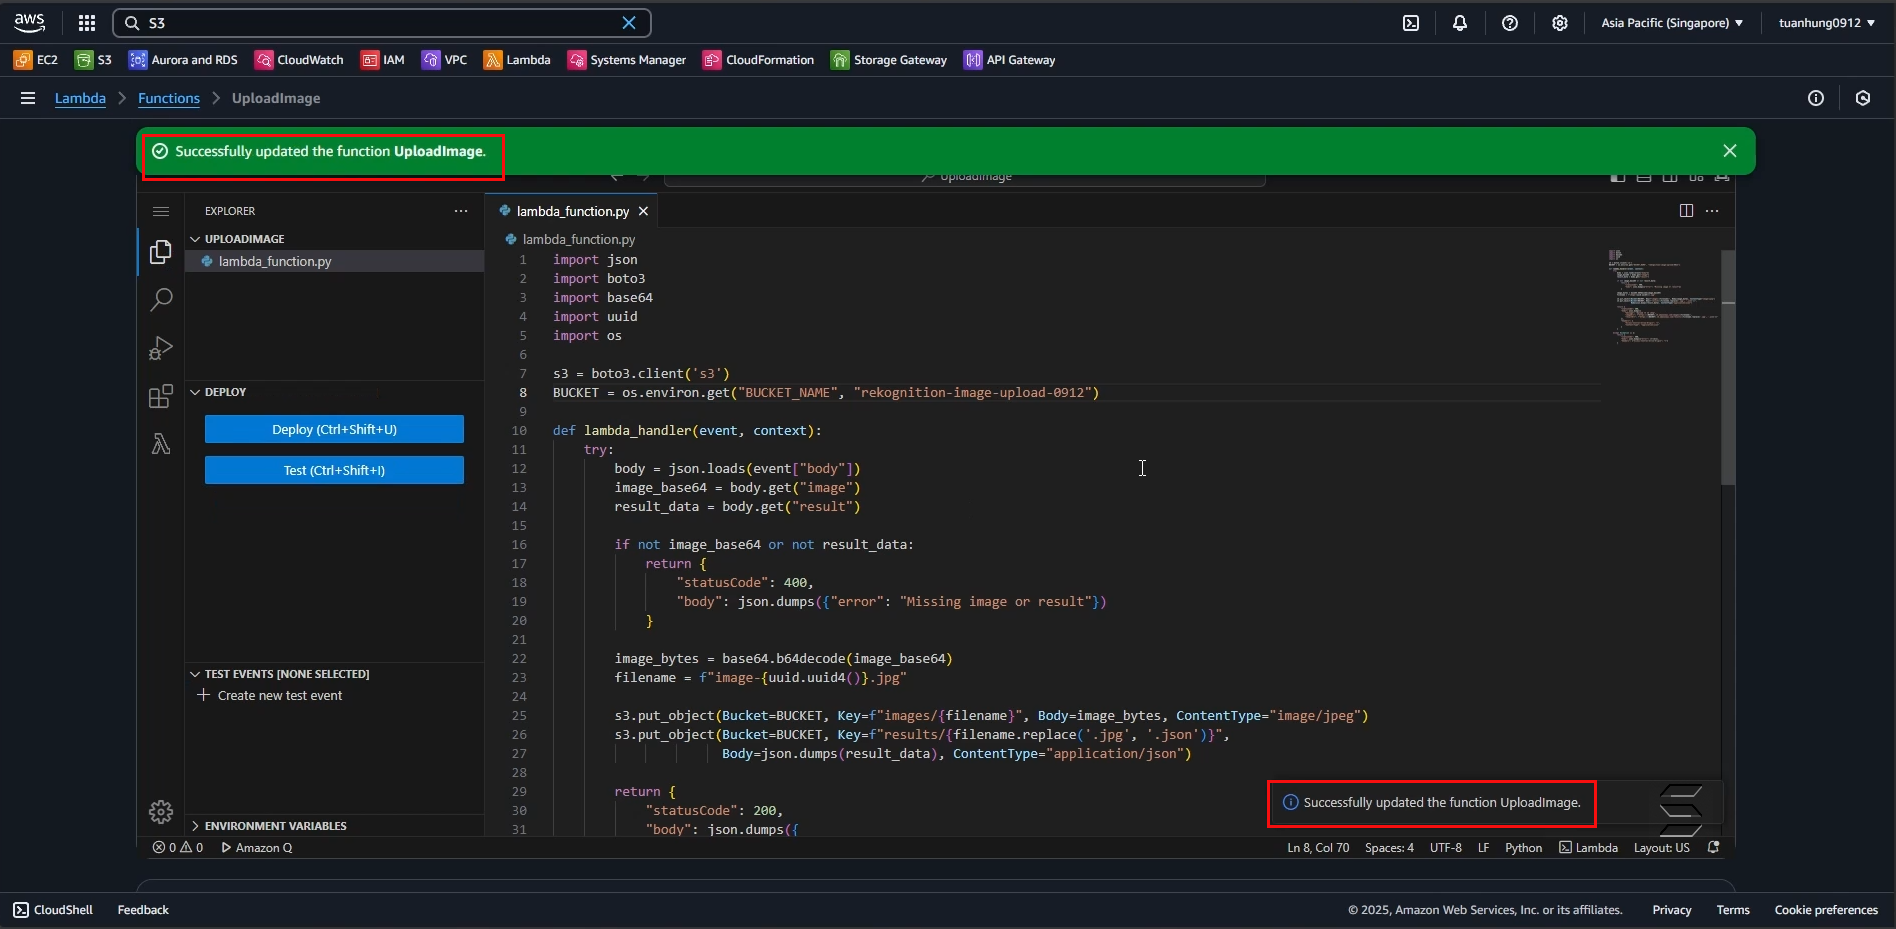
- Wait a few seconds, the system will save all your changes and return a successful save notification
Note, please replace your bucket name, do not duplicate the bucket name
- Result as shown in the images below:
You have completed the step of configuring the Lambda Function for uploading images and analysis results