Configure API Upload Image
Configure API Gateway for the function to upload images and analysis results to S3 Bucket
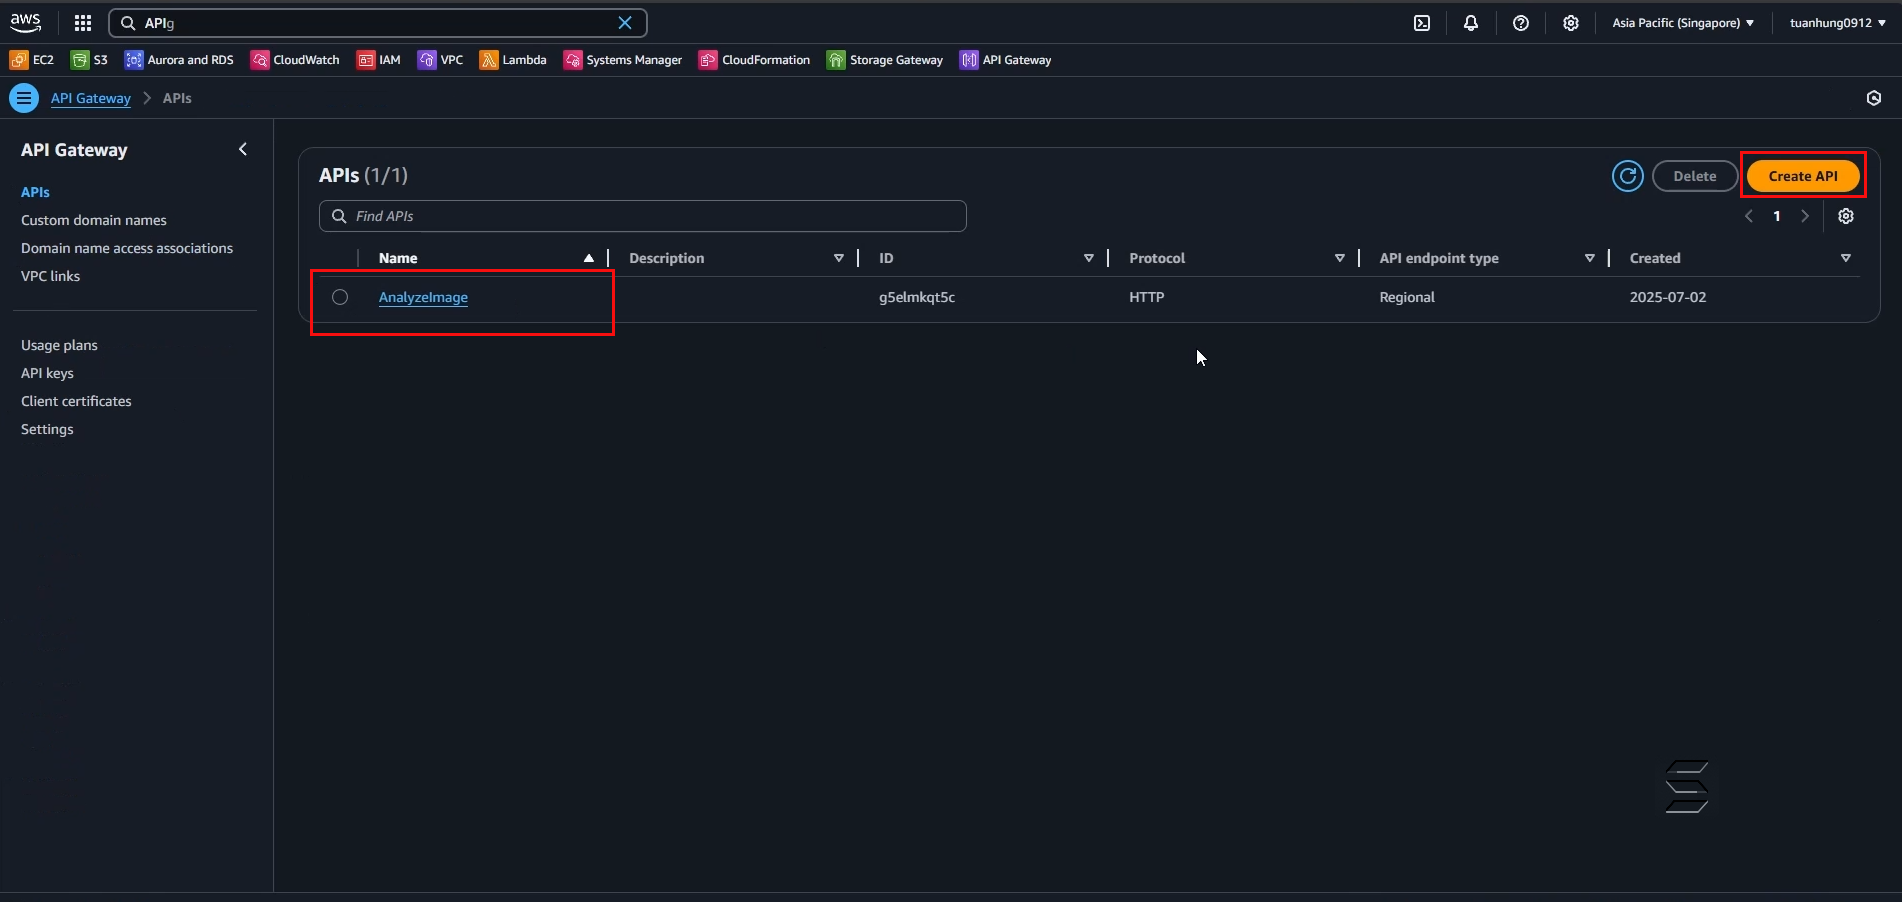
1. Return to the APIs page to view the list of existing APIs
- After configuring CORS for the API in the previous section, you can return to the APIs list page by:
- On the left Navigation Panel, select APIs
- On the APIs list page, you can see the AnalyzeImage API created in the previous step as shown below:
- In the top right corner, click Create API
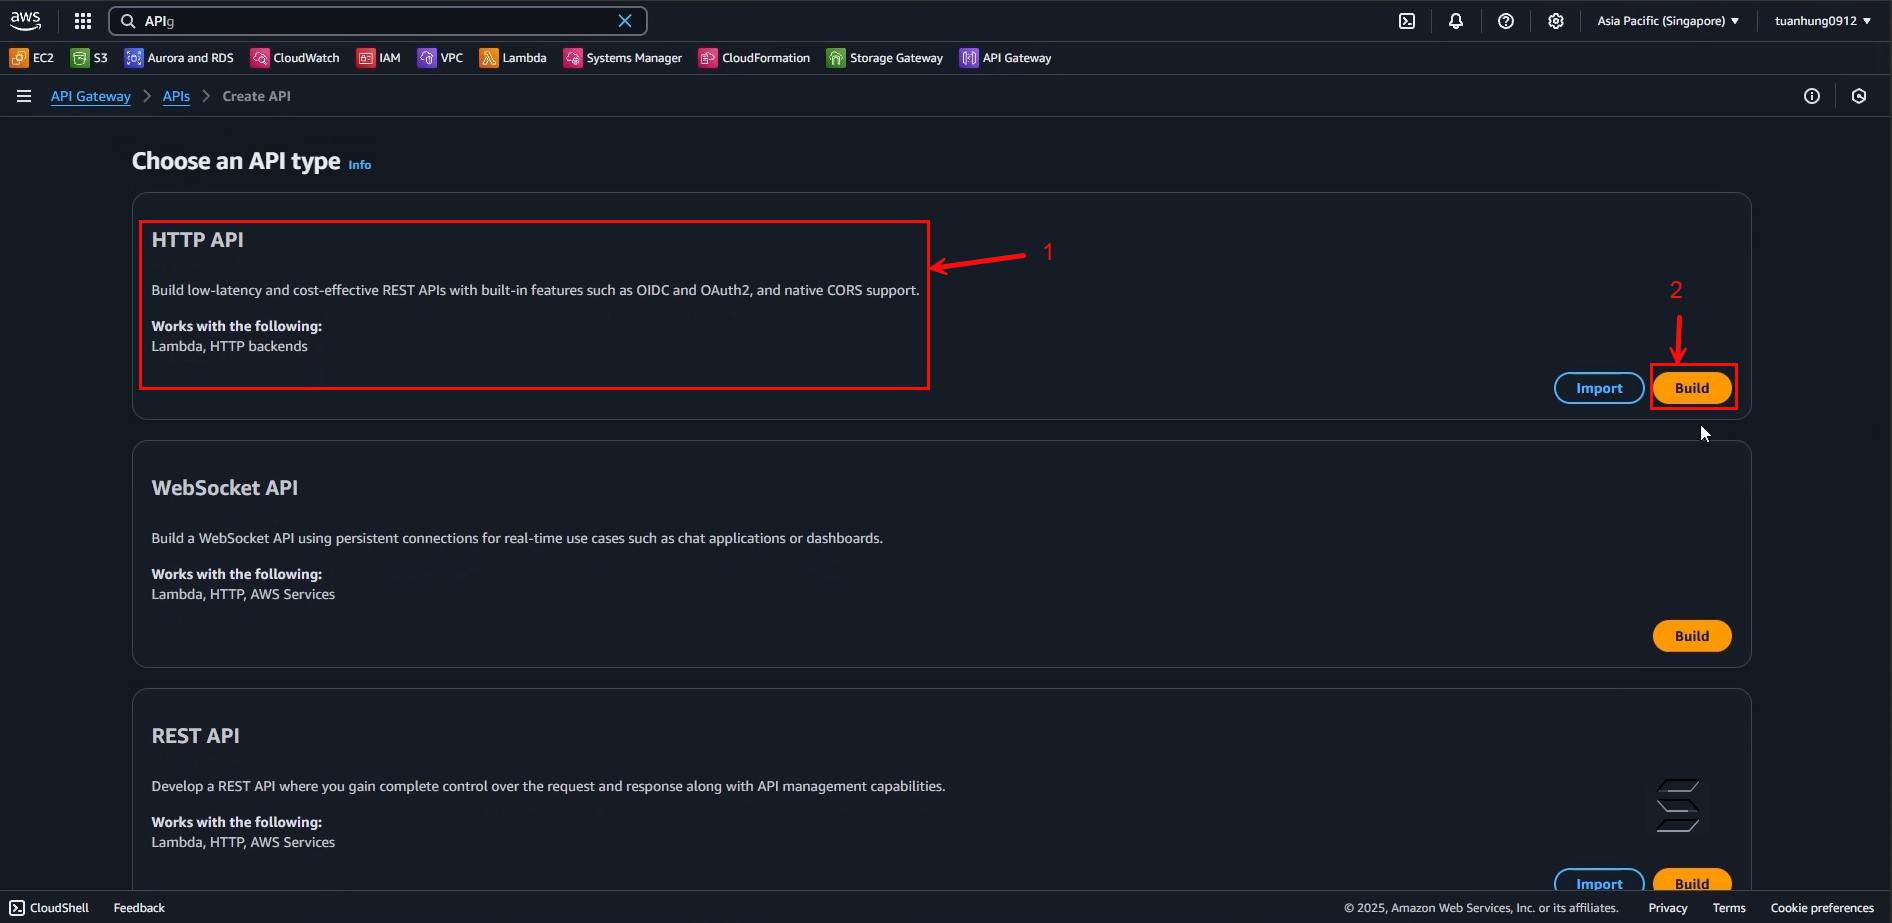
2. Configure API Gateway for the Upload Image function
- On the page to add a new API, you can see many types of APIs for different purposes such as: HTTP API, WebSocket API, REST API, etc.
- In this section, we will use HTTP API
In the Choose an API type: section:
- Select HTTP API
- Click the Build button
- The result is as shown below:
- Next, after performing the previous step, you will be taken to the API configuration page consisting of 4 steps: Configure API, Configure routes, Define Stages, Review and Create.
- Here, you will configure the API according to these 4 steps to Build an API Gateway
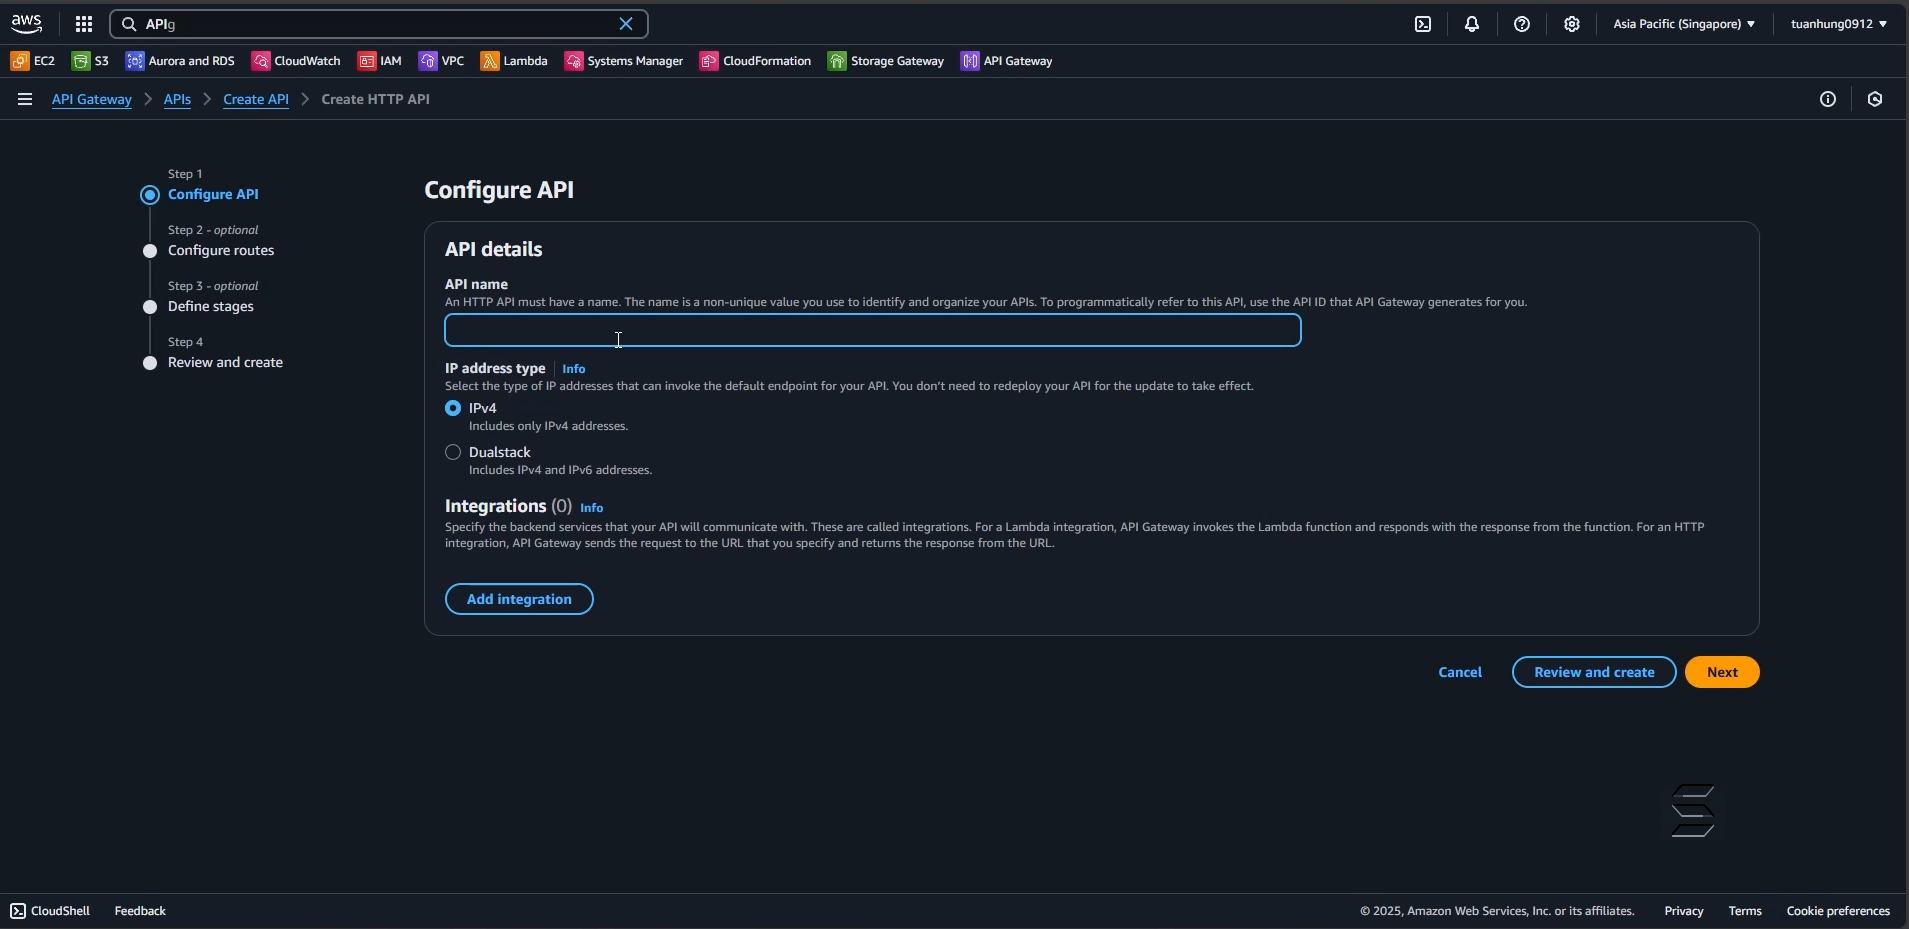
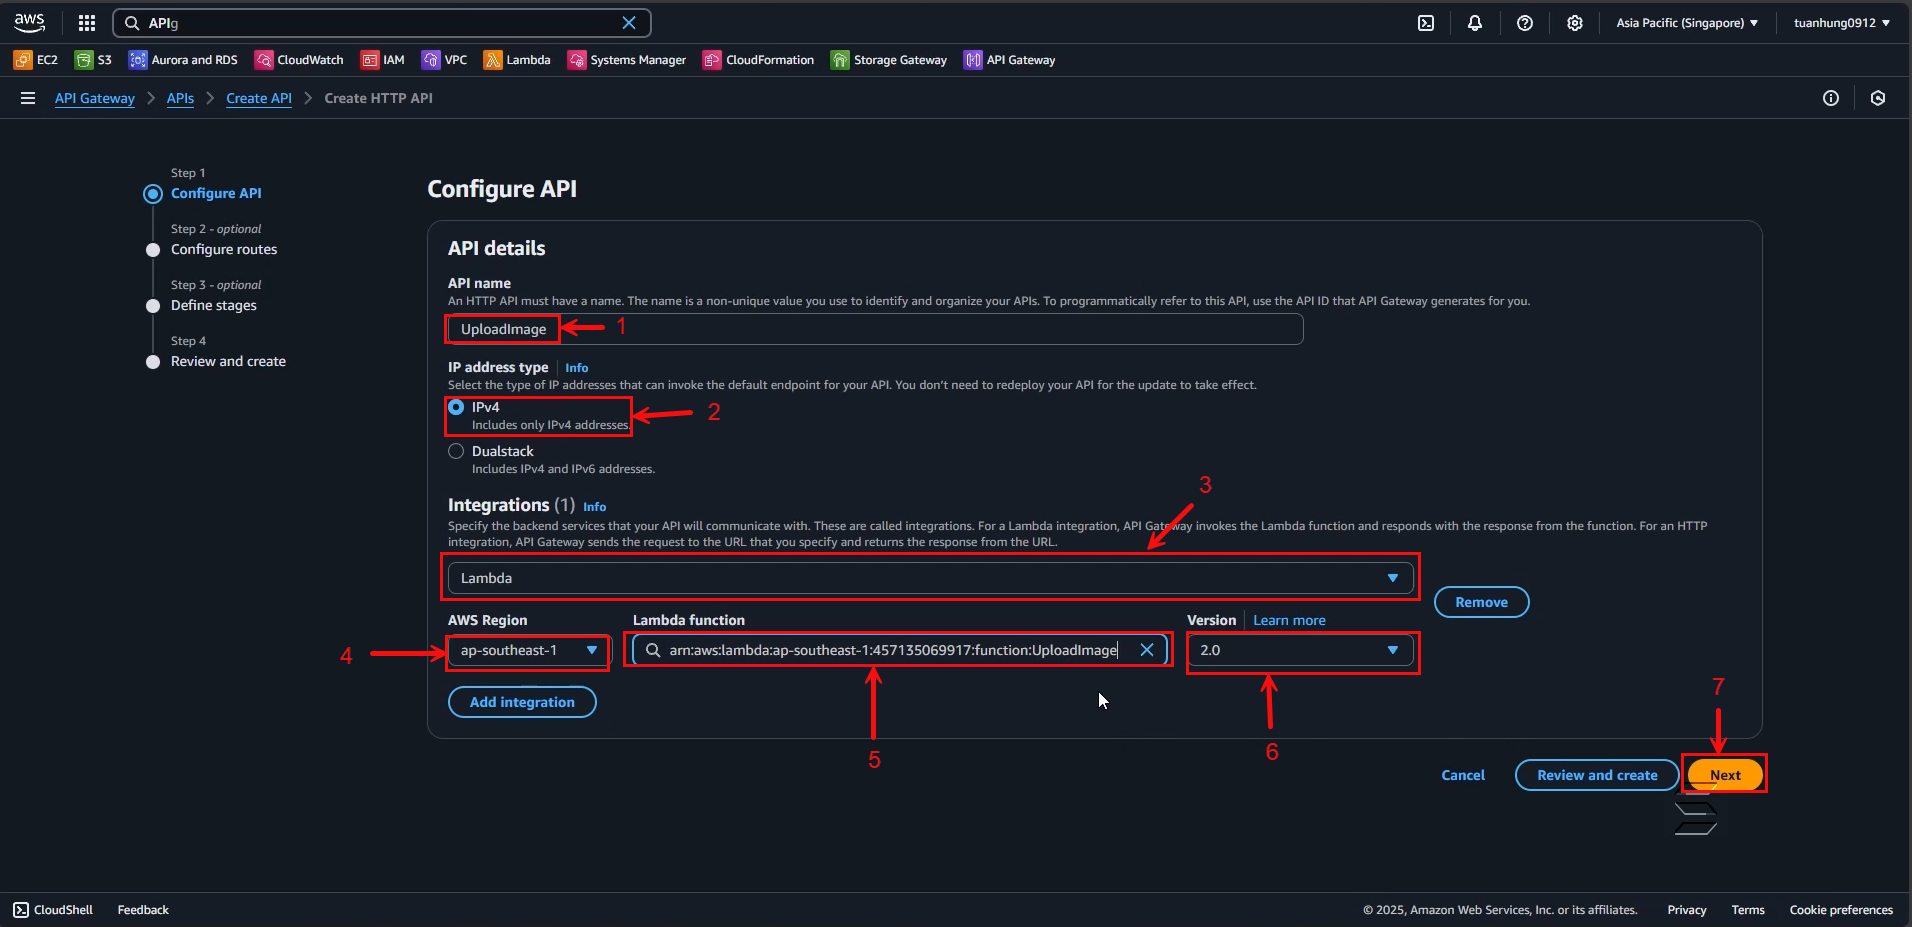
In the Configure API: section:
- API name: enter a name for the API. For example: UploadImage
- IP address type: select IPv4
In the Integration: section:
- Here is where you will connect one of the services to the API
- Select Add Integration
- Choose the Lambda service
- AWS Region: select your current Region. For example, in this lab: ap-southeast-1
- Lambda function: select the function created in the previous section, here we choose UploadImage
- Version: select 2.0
- After configuring the above steps, click the Next button
- Next, you will be taken to Step 2: Configure routes
- On this page, you will configure the API to perform the upload image function using the path and one of the API methods as shown below:
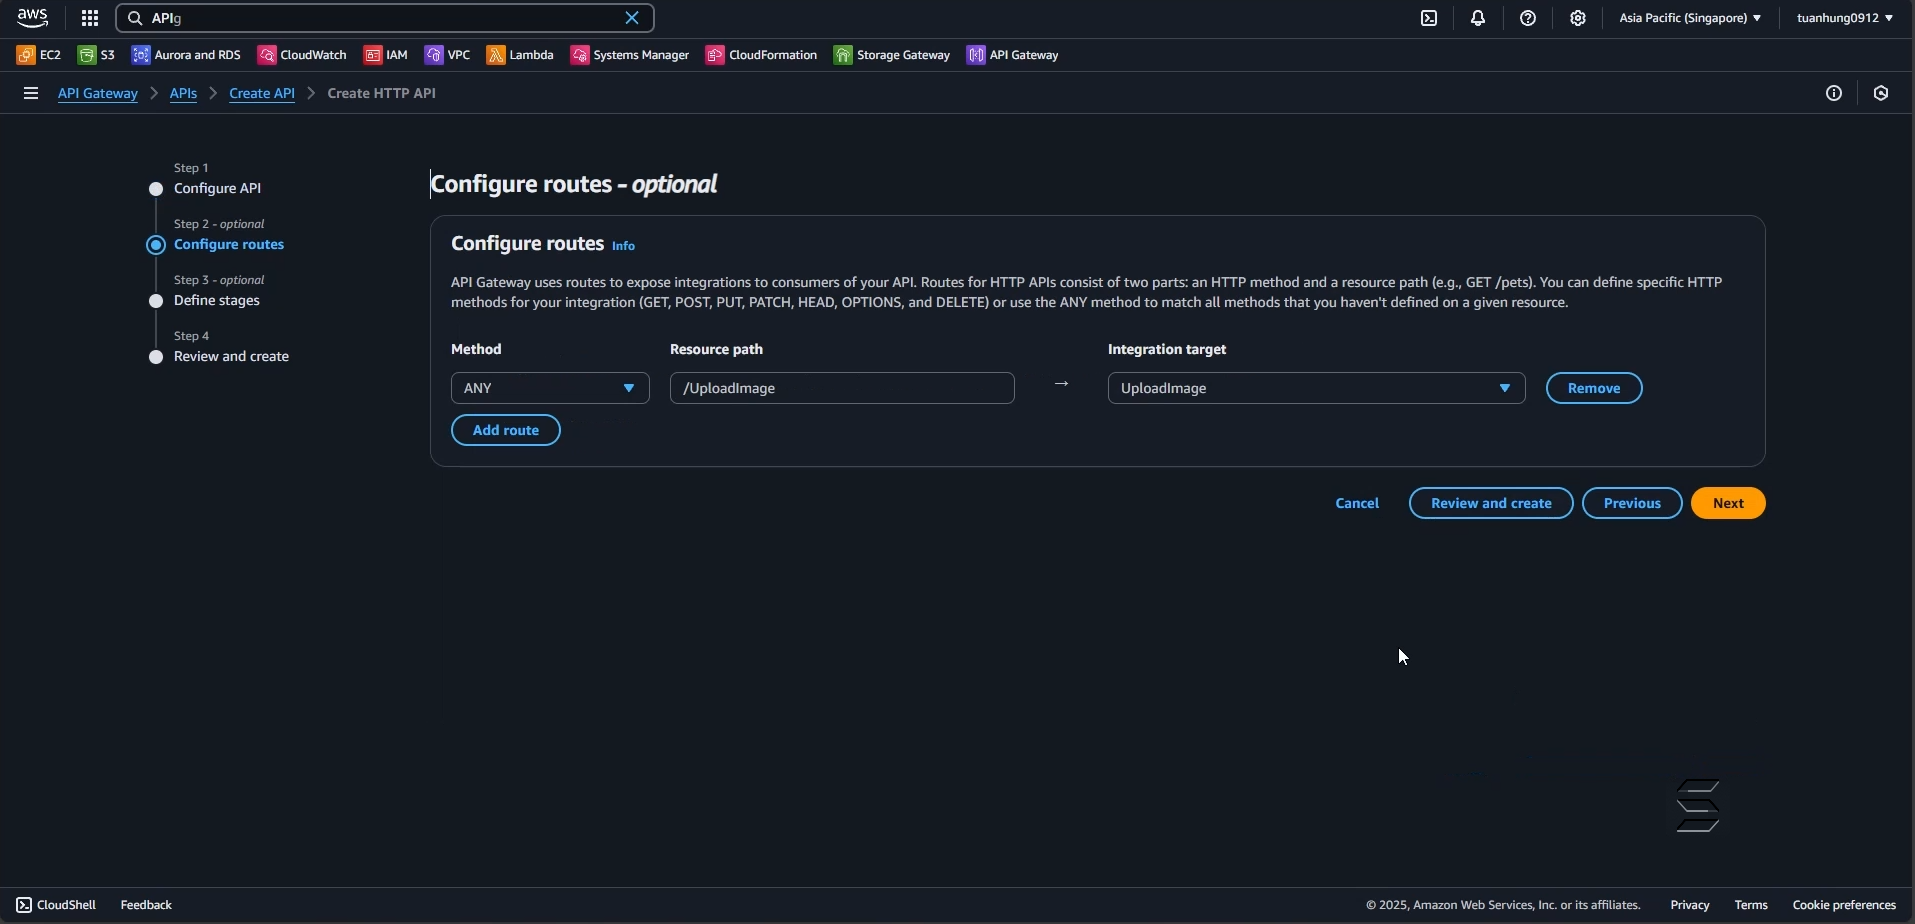
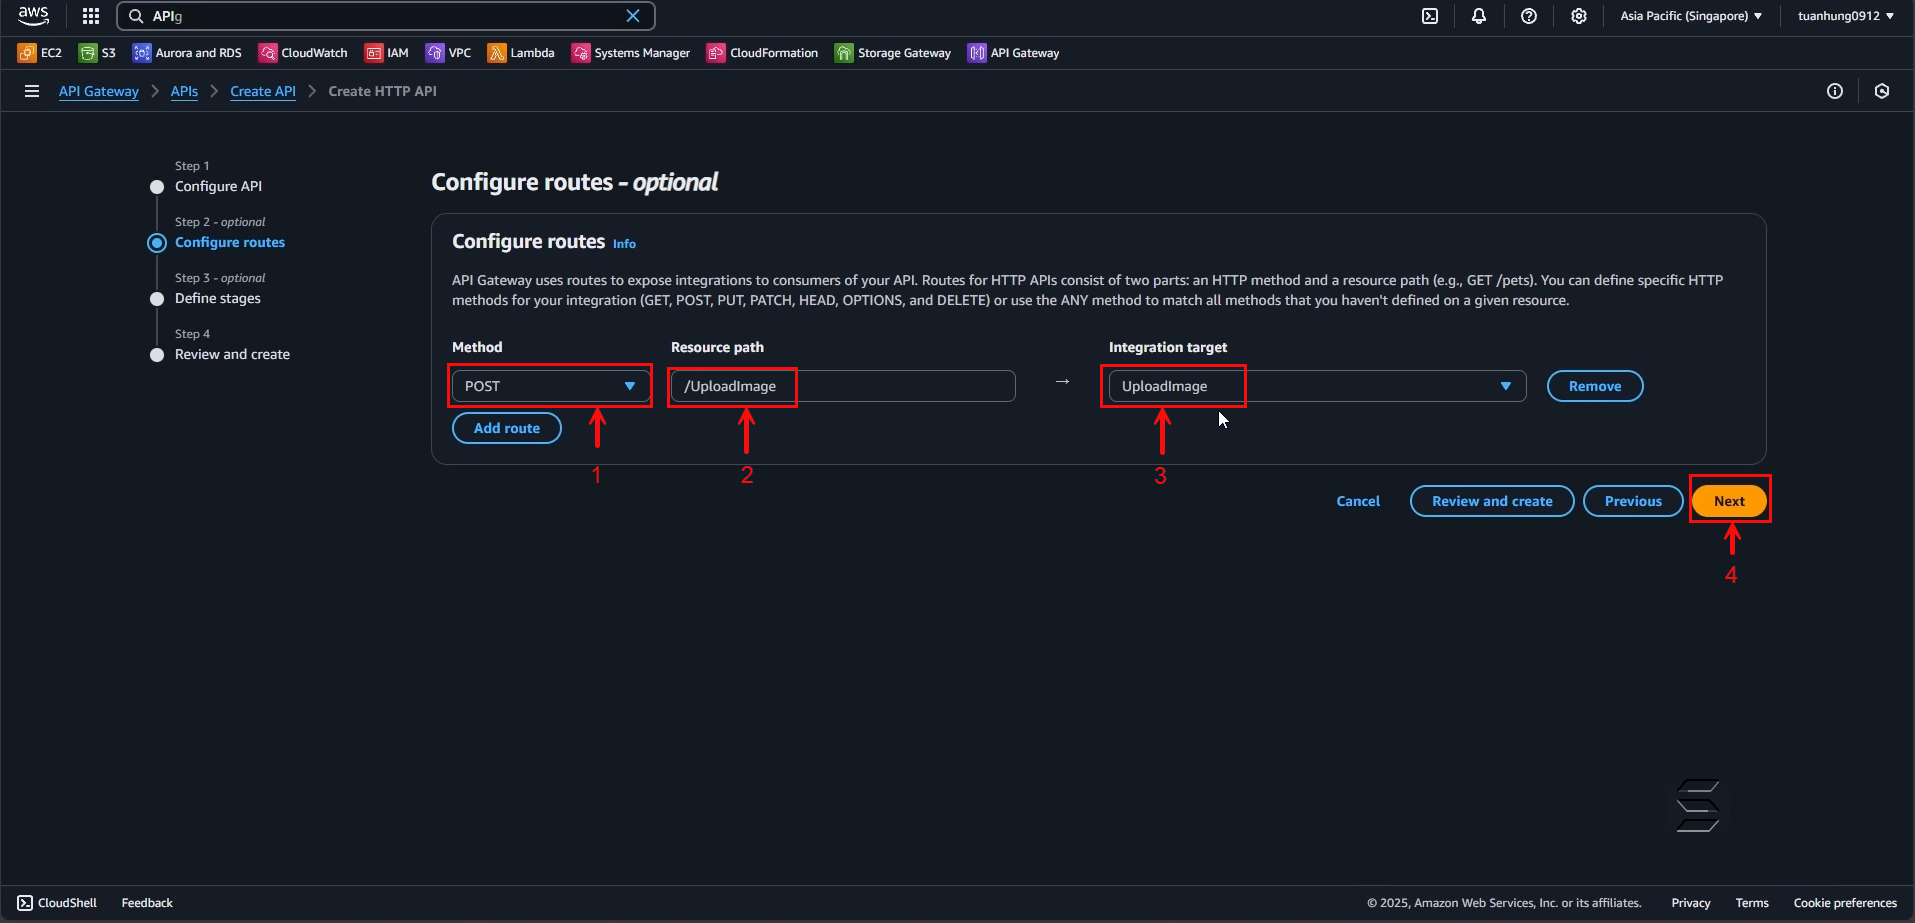
In the Configure routes: section:
- Method: select POST
- Resource path: you can freely set the API path. For example: /UploadImage
- Integration target: select UploadImage
- After configuring the above steps, click the Next button
In Step 3: Define stages
- Leave the default values for Stages
- You can choose to Deploy the API manually or automatically whenever there are changes
- In this example, I will leave it as the default Auto-deploy
- After configuring the above steps, click the Next button

In Step 4: Review and create
- On this page, you will review all the configurations from the previous 3 steps
- If there are any mistakes, you can click the Edit button in each section
- After checking all the API configurations, click Create to create the API
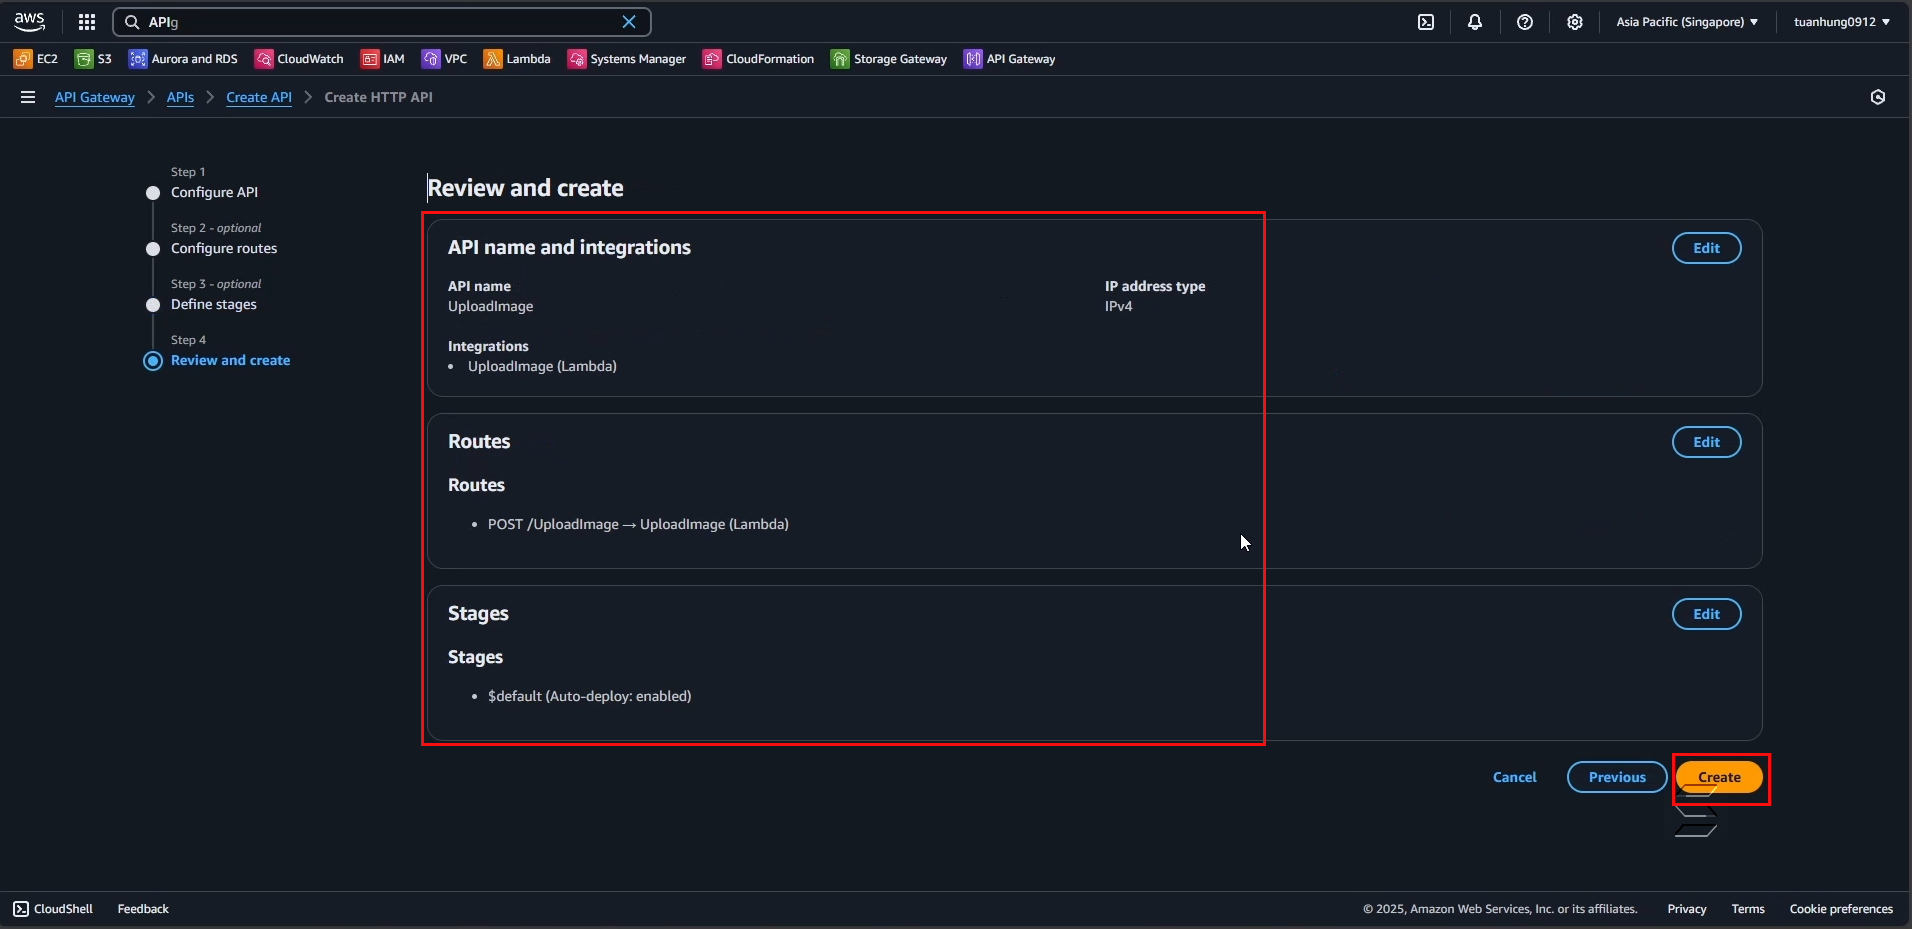
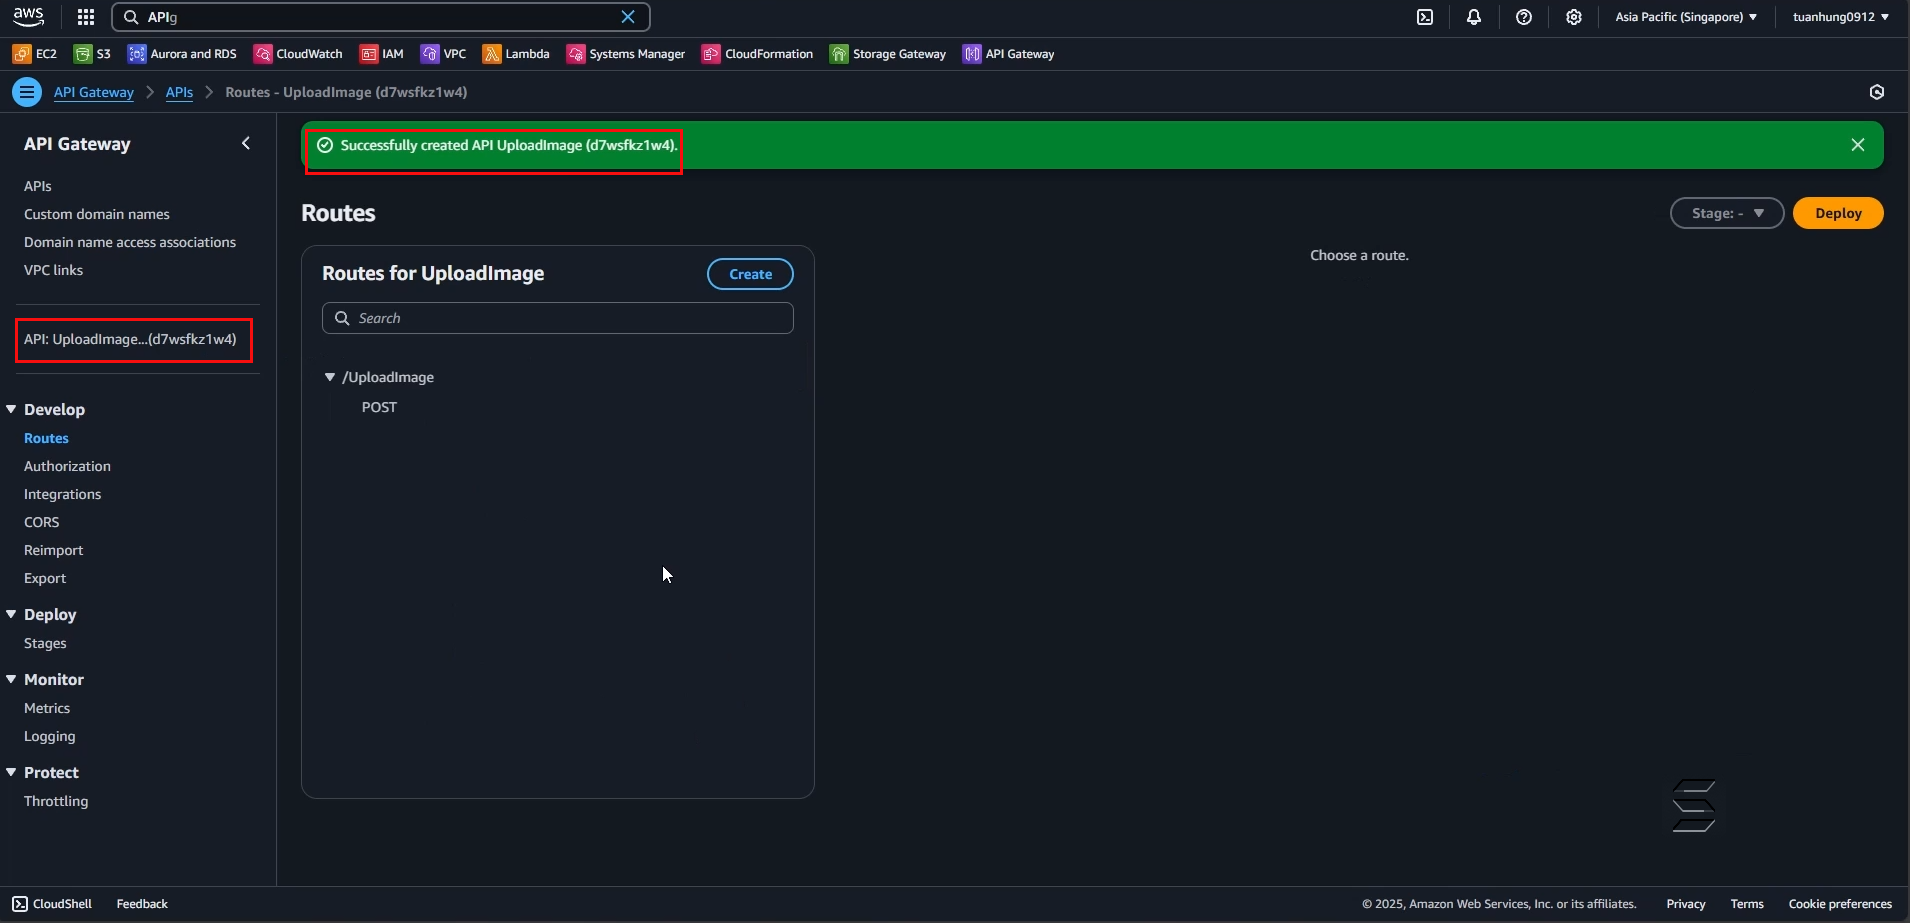
- Wait a moment, the system will successfully create your API and return a success notification as shown below:
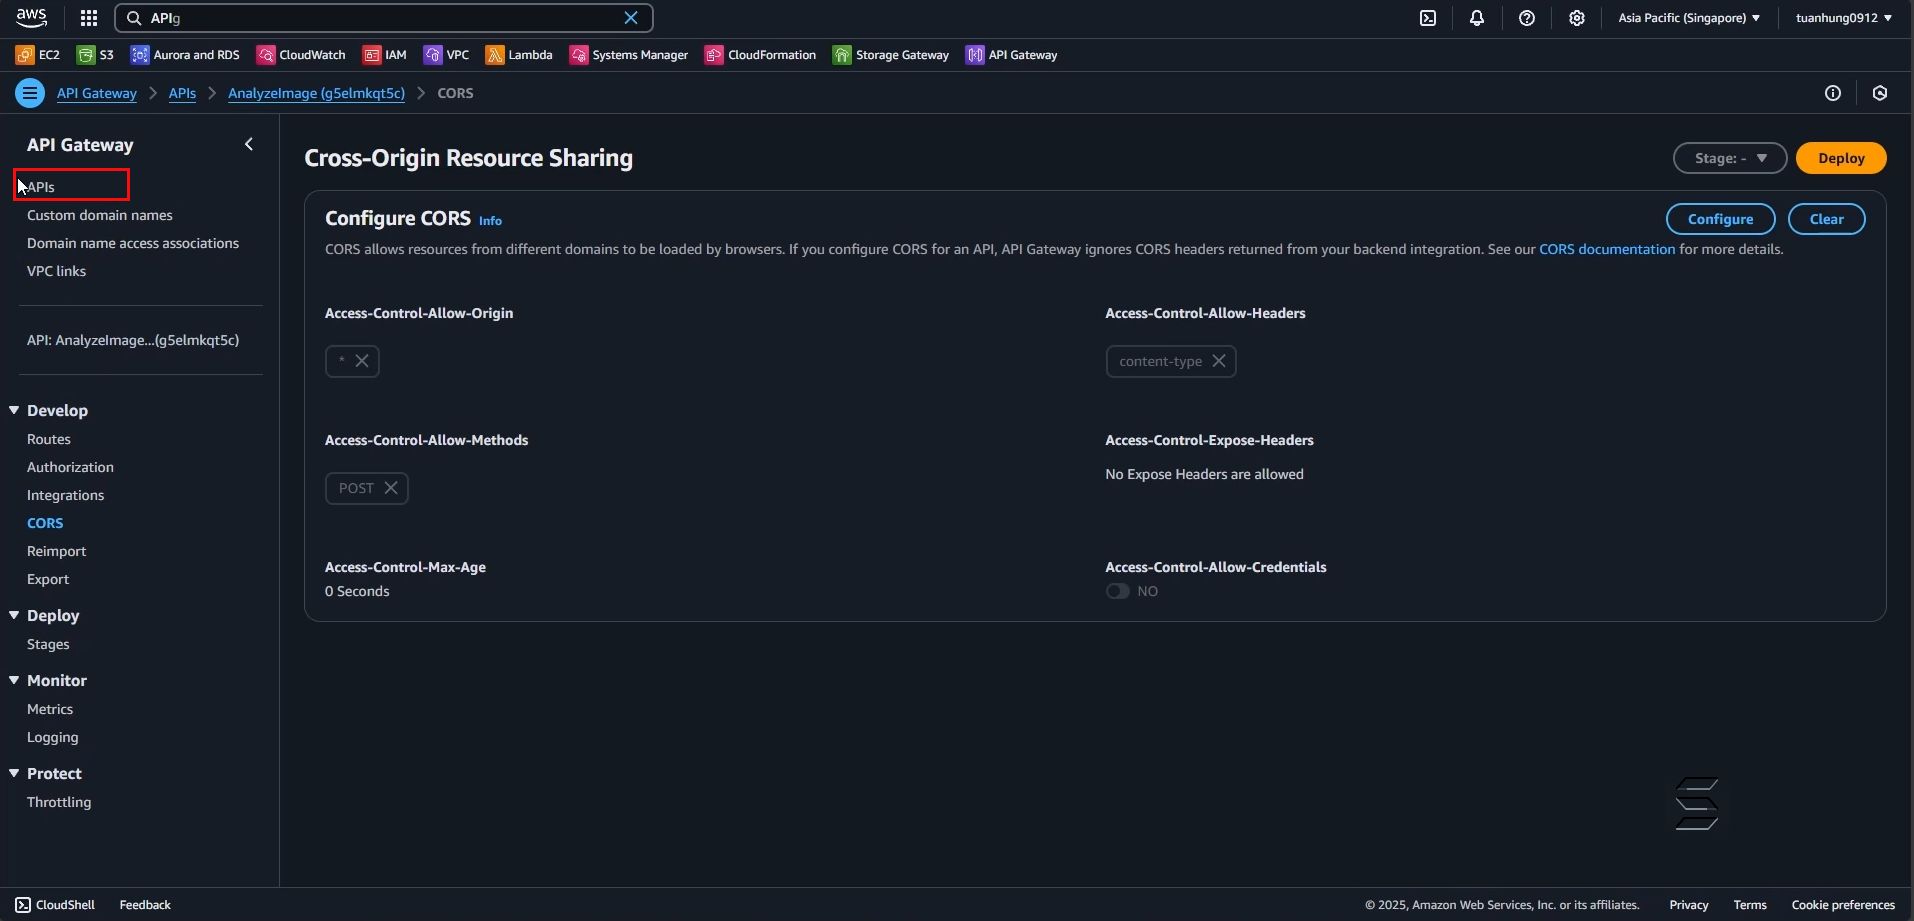
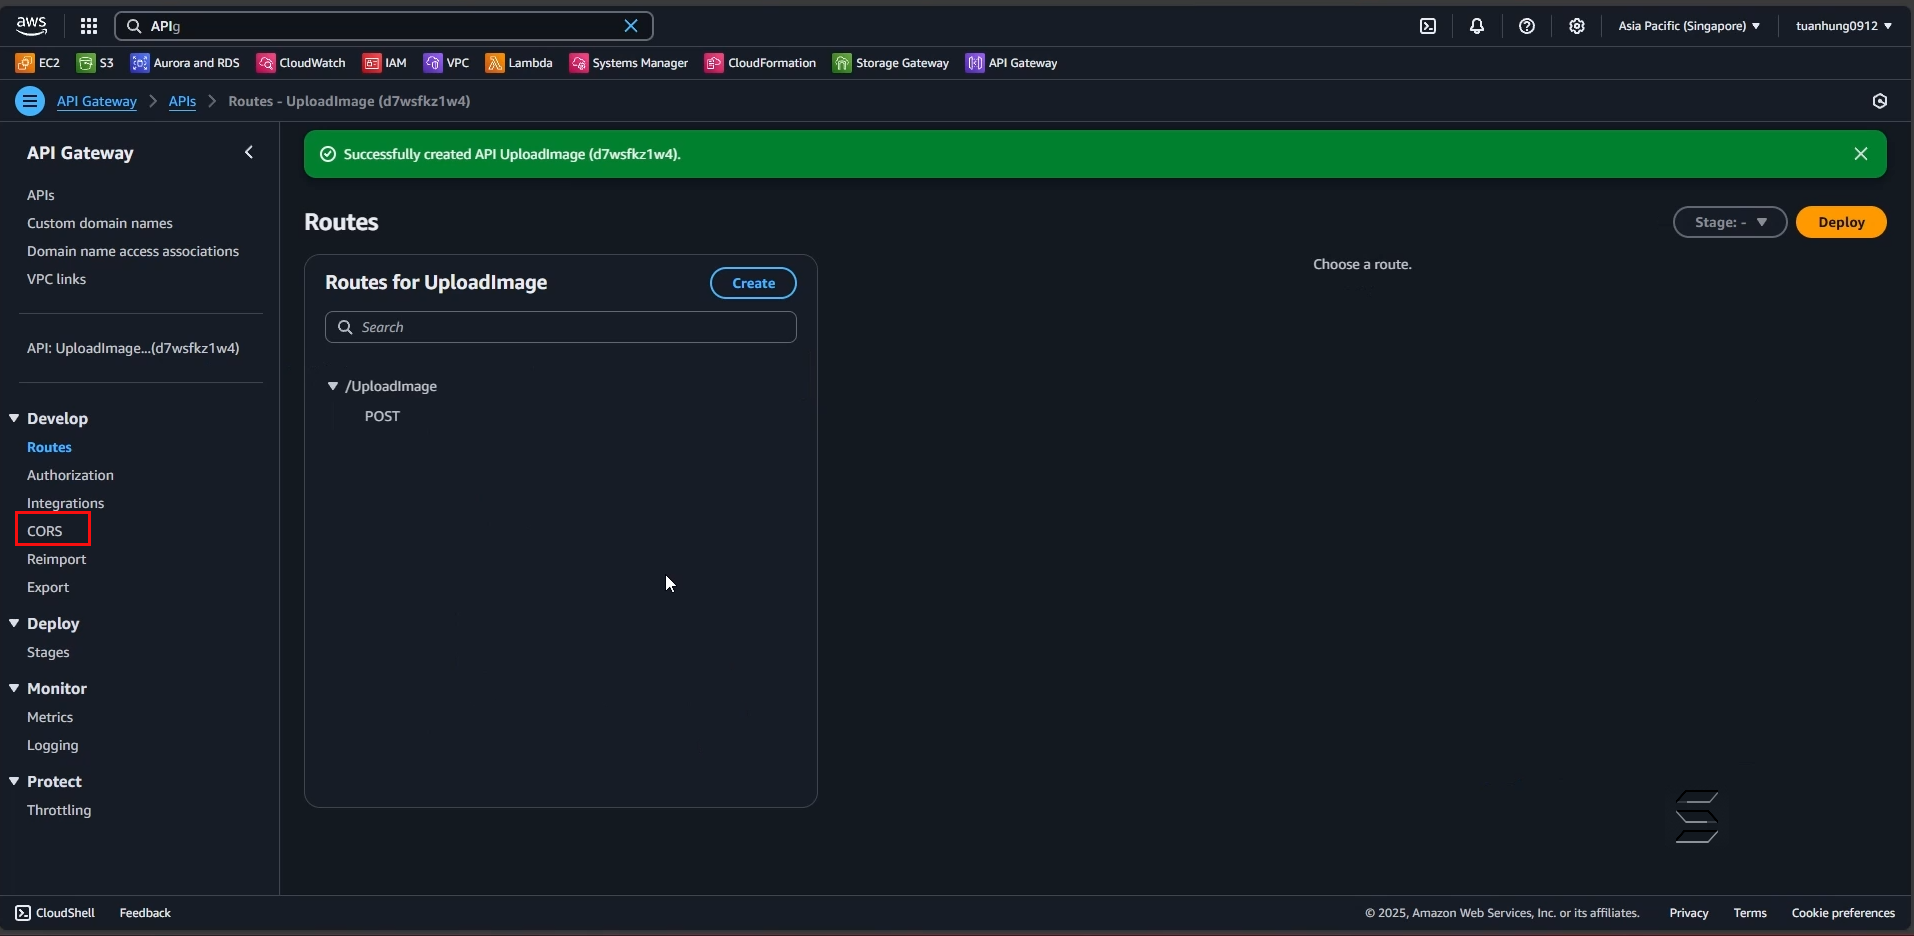
3. Configure CORS for the API to communicate with the Front-End and read JSON data
- On the right side of the Navigation Panel, in the Develop section, select CORS as shown below:
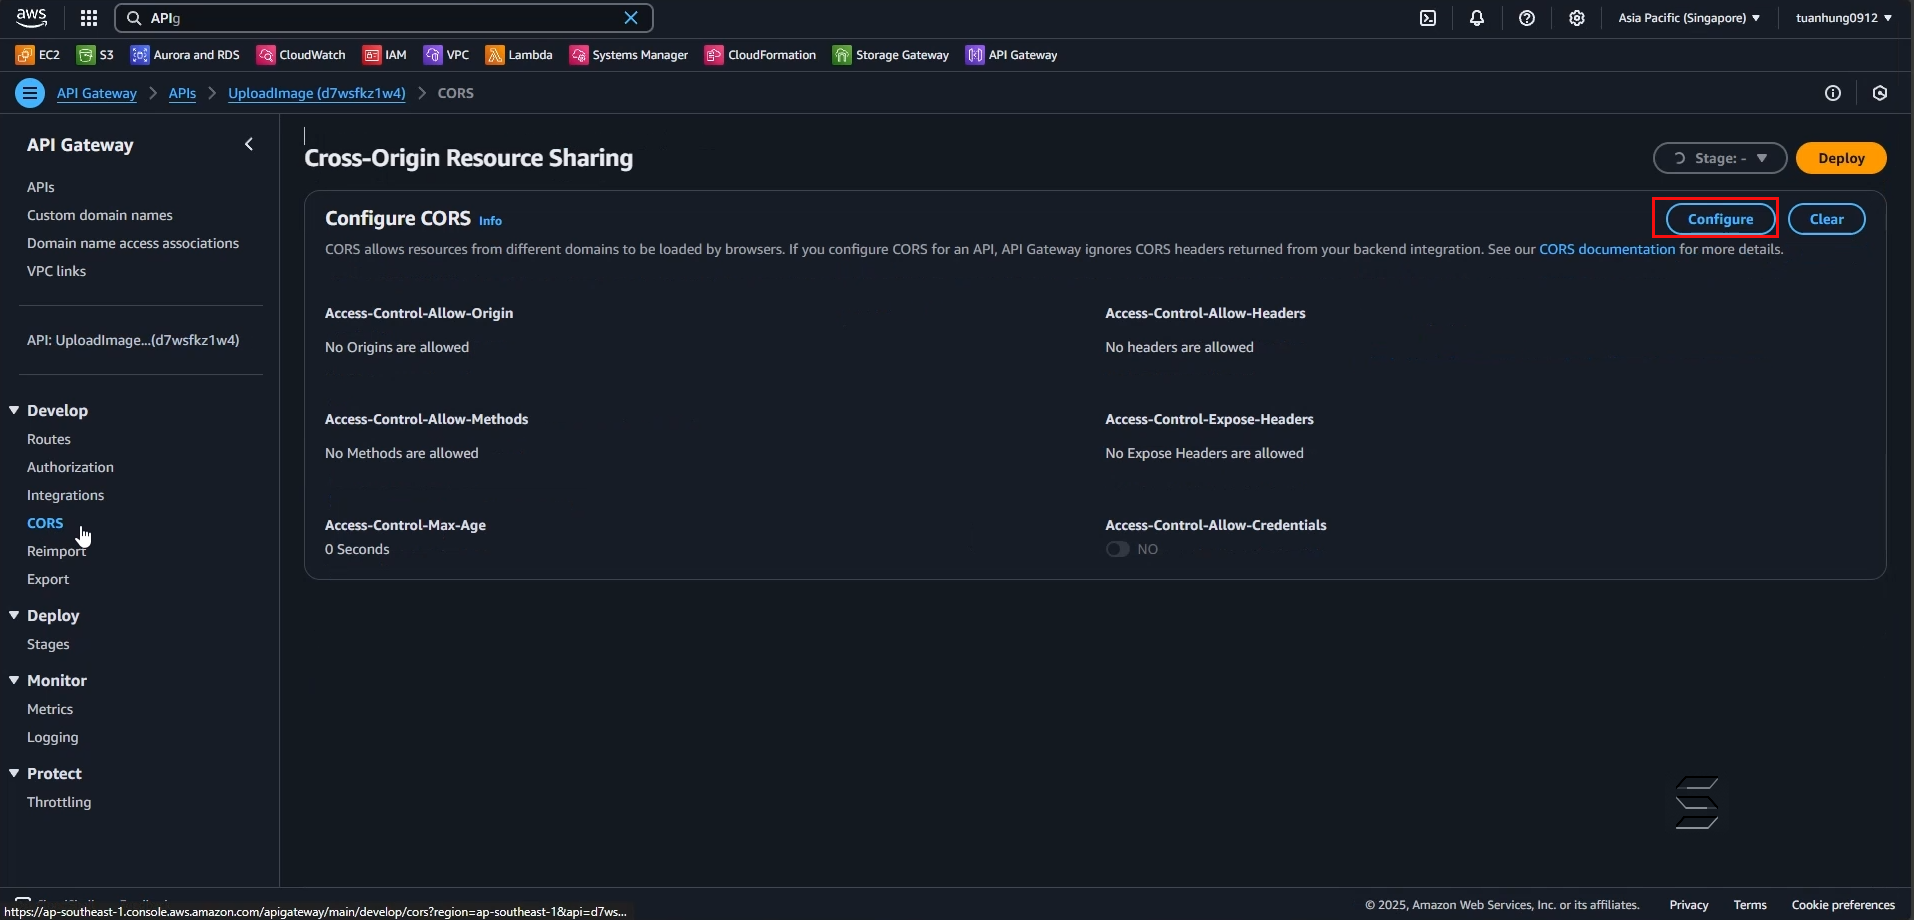
- On the CORS page, you can see the configurable parts of CORS including: Access-Control-Allow-Origin, Access-Control-Allow-Headers, Access-Control-Allow-Methods, Access-Control-Expose-Headers, Access-Control-Max-Age, Access-Control-Allow-Credentials.
- Click the button in the top right corner: Configure
In the Configure CORS: section:
- Access-Control-Allow-Origin: enter (*) to allow all domains to access, or you can specify the exact domain you want the API to communicate with
- Access-Control-Allow-Headers: enter content-type to allow reading input in JSON format
- Access-Control-Allow-Methods: select POST to match the routes configured earlier
- Leave the remaining CORS settings as default
- After configuring all the above steps, click the Save button
Note, this is a required configuration step. If you skip this step, the API will not be able to communicate with the Front-End.

You have completed the API configuration for uploading images and analysis results to S3 Bucket