Experiment Results
Check and execute the application’s results for both functions
In this section, you will deploy the application with all the components configured, including API Gateway, Lambda function, and S3 Bucket. You will connect the frontend user interface with the serverless backend to handle image analysis requests. This process starts when the user uploads an image through the web interface, and the application sends the image to API Gateway, where the request is forwarded to the Lambda function to perform image recognition with Amazon Rekognition. After recognition, the result will be stored in the S3 Bucket and returned to the user as a link for easy access.
1. Save the Endpoint and Routes links of the APIs
- In the previous section, after creating and configuring 2 APIs: AnalyzeImage and UploadImage
- In this section, you need to save the 2 Endpoint and Routes links
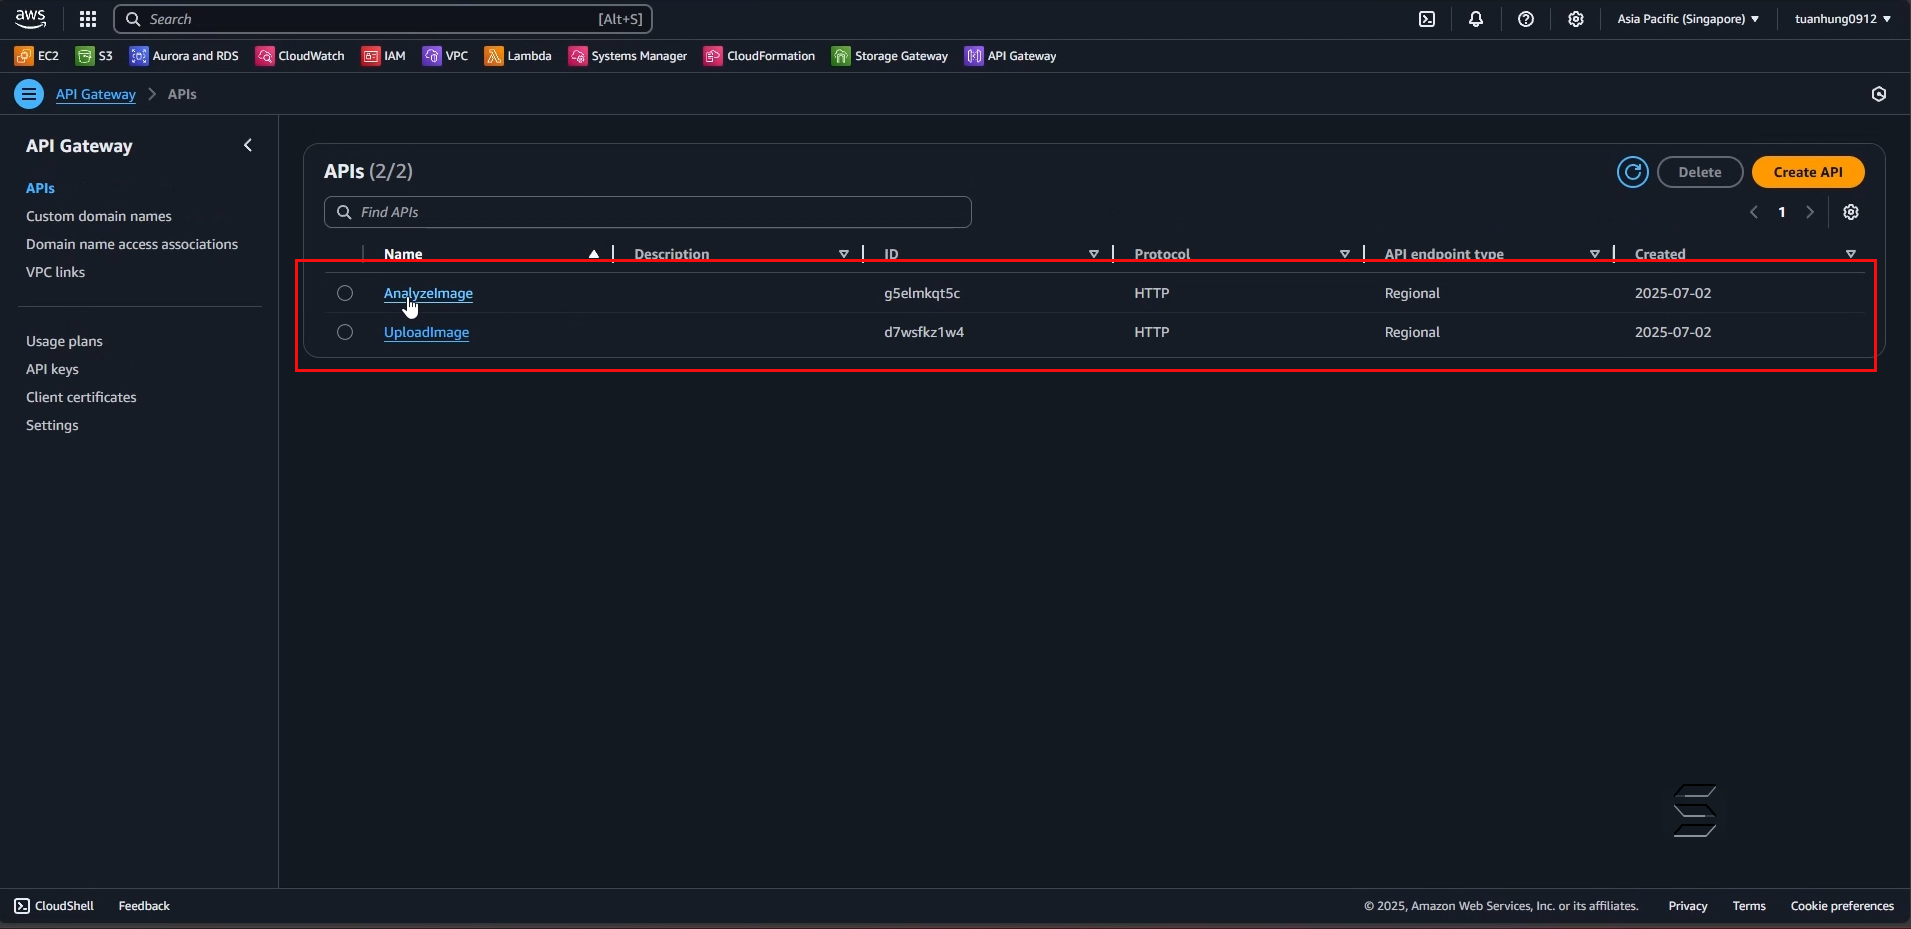
- On the left Navigation Panel, select the section as shown below:
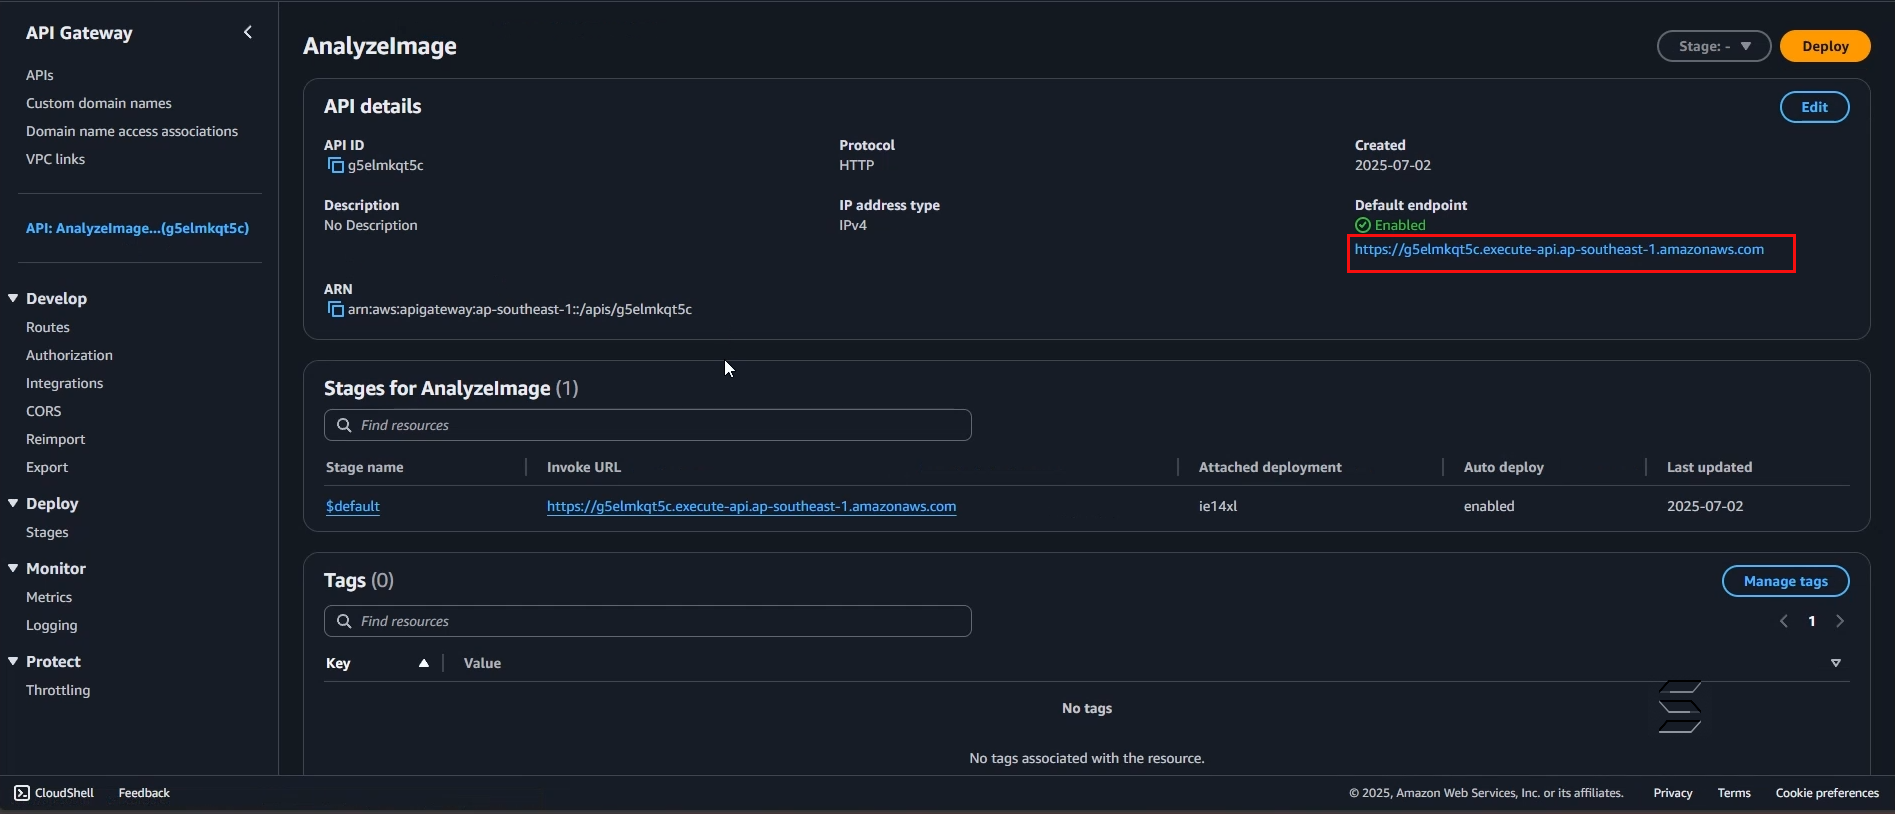
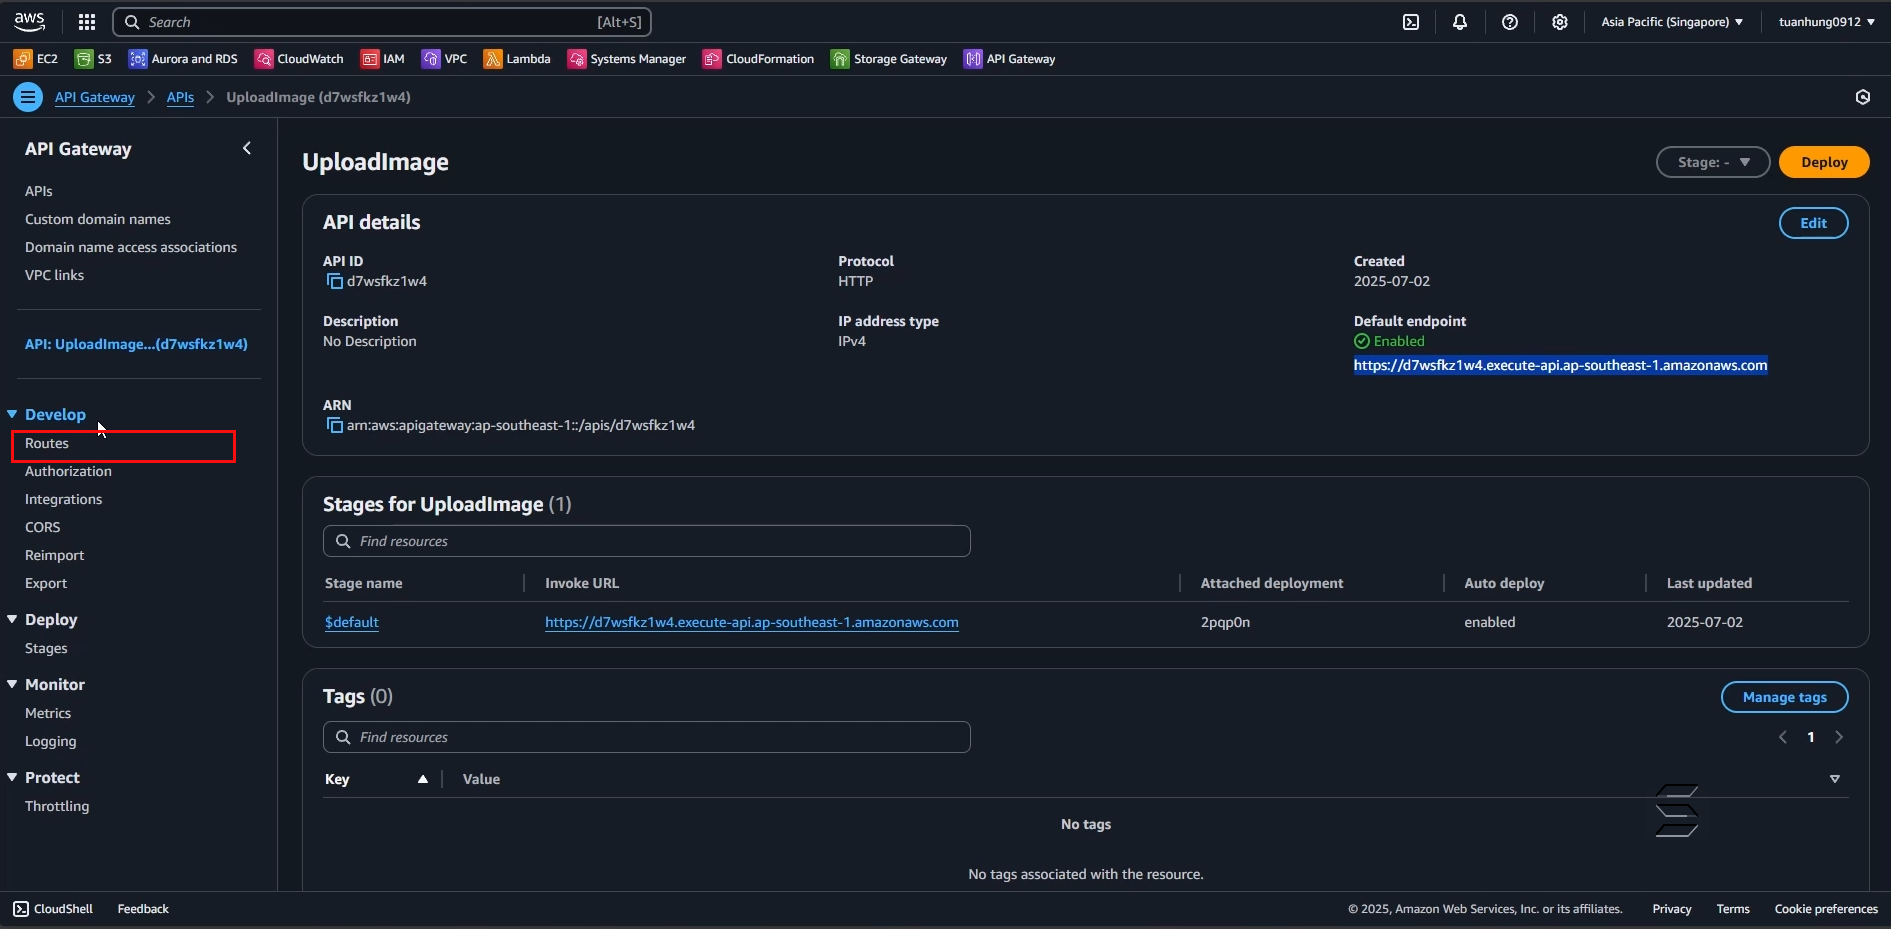
- On this page, all detailed information of this API will be displayed
- In the API details section, at the top right, there is the Default Endpoint
- Here, the Invoke URL of the API and its status will be displayed
- Copy this Endpoint link as shown below:
Note, this is a random API Endpoint, each API will have a different link, so please replace it with your own API link
2. Replace the Endpoint and Routes links of the AnalyzeImage API
- Go back to the Front-End Project in section 1
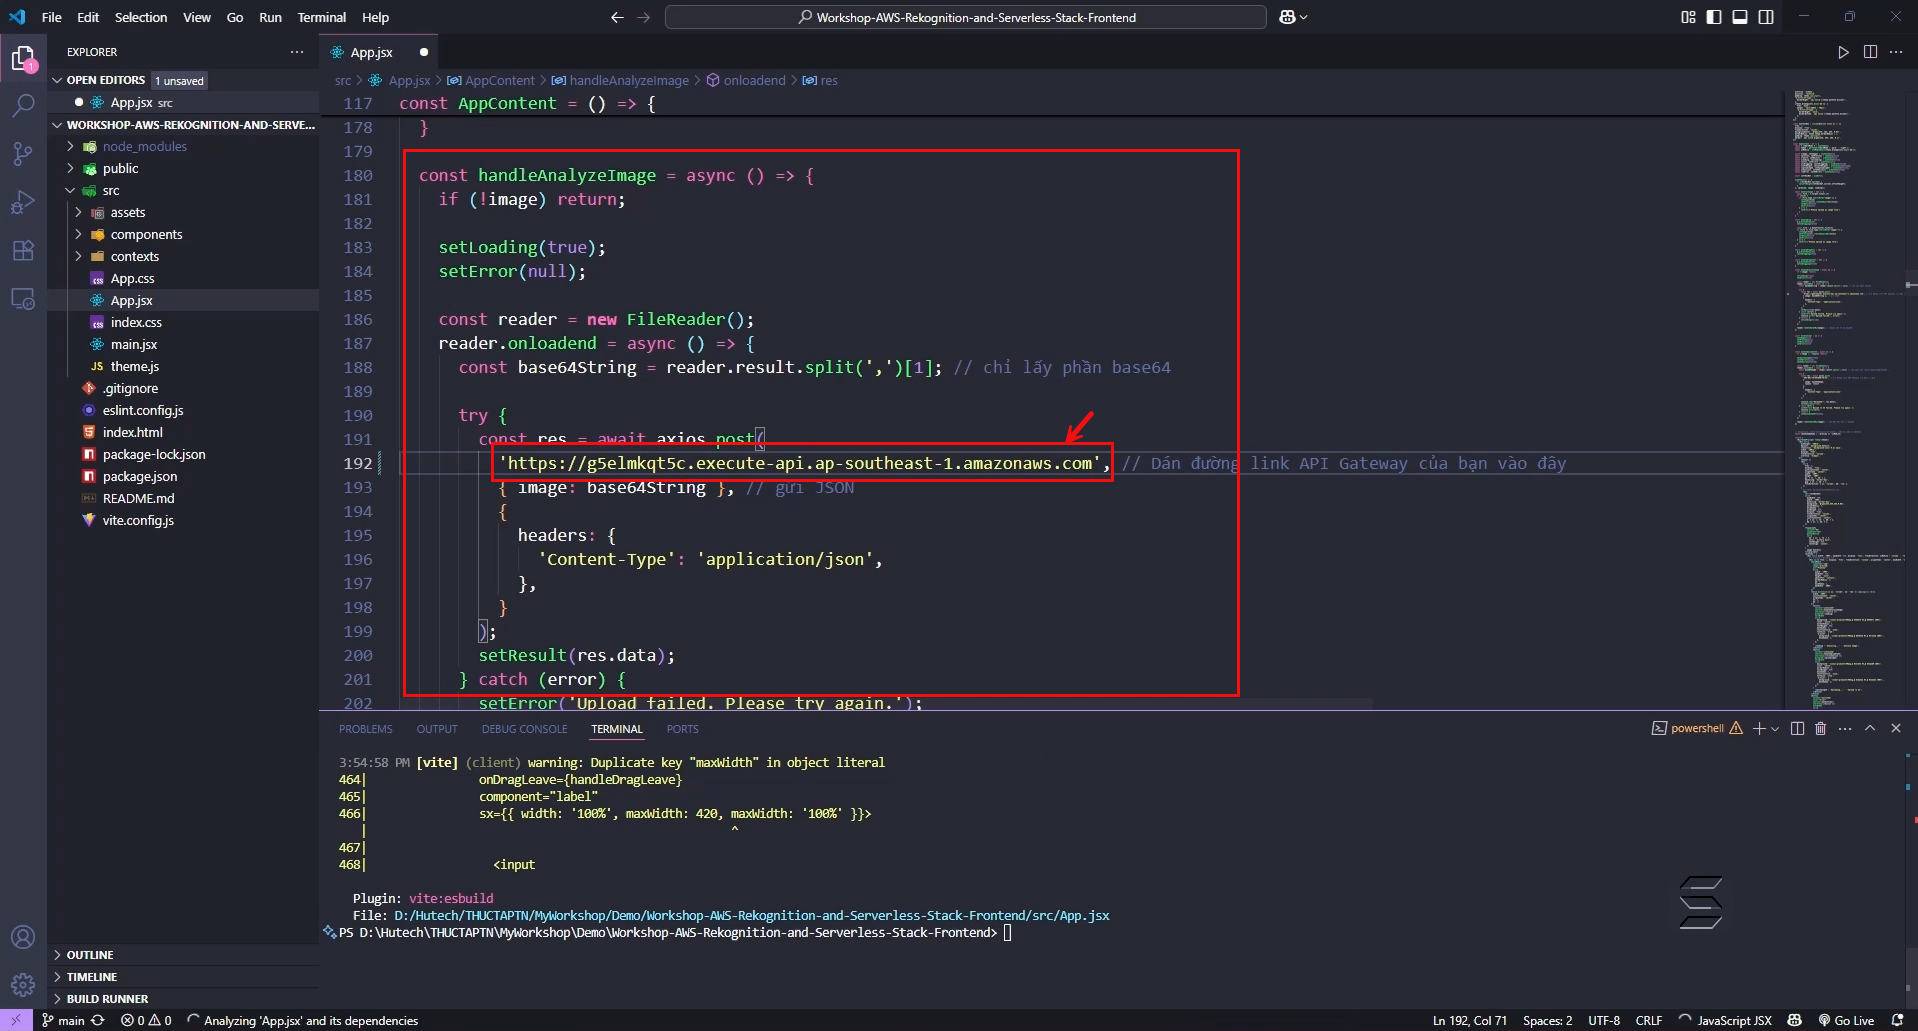
- Find the configuration folder and file at: src/App.jsx
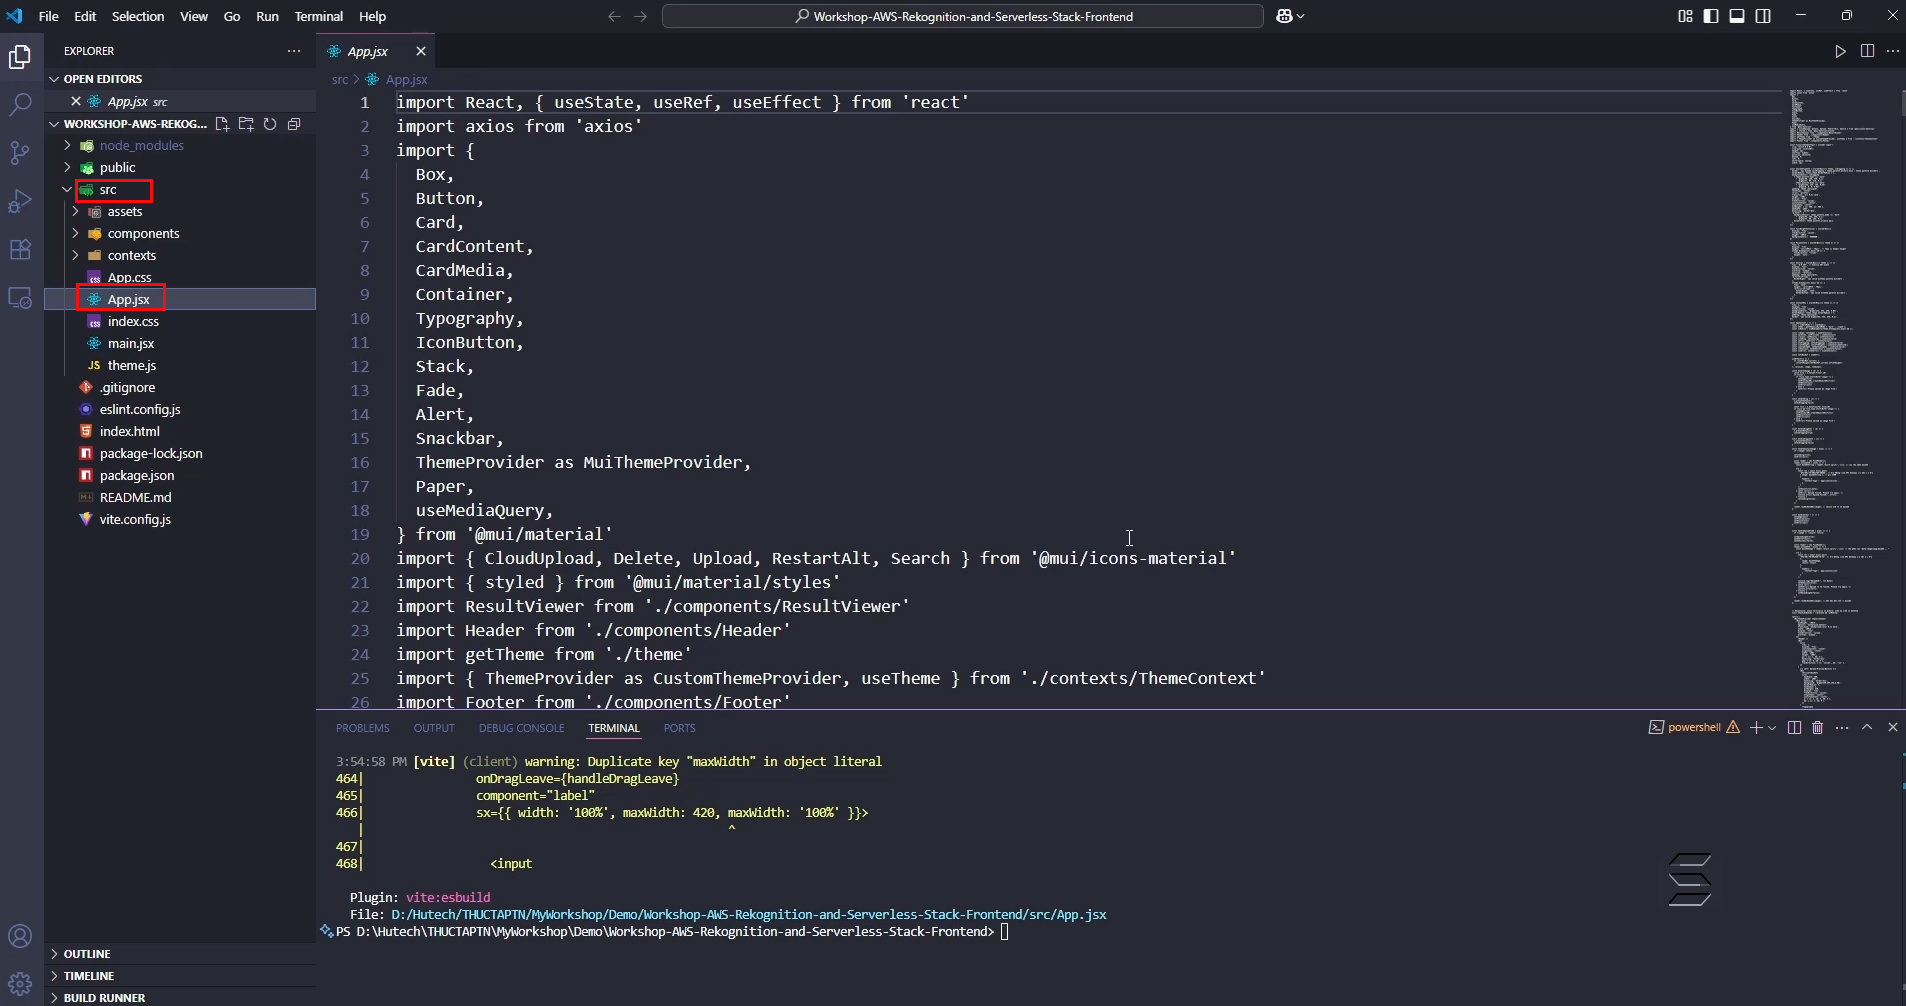
- Next, find the handleAnalyzeImage function
- In this function, replace the API link you just copied in the previous step
- Result as shown below:

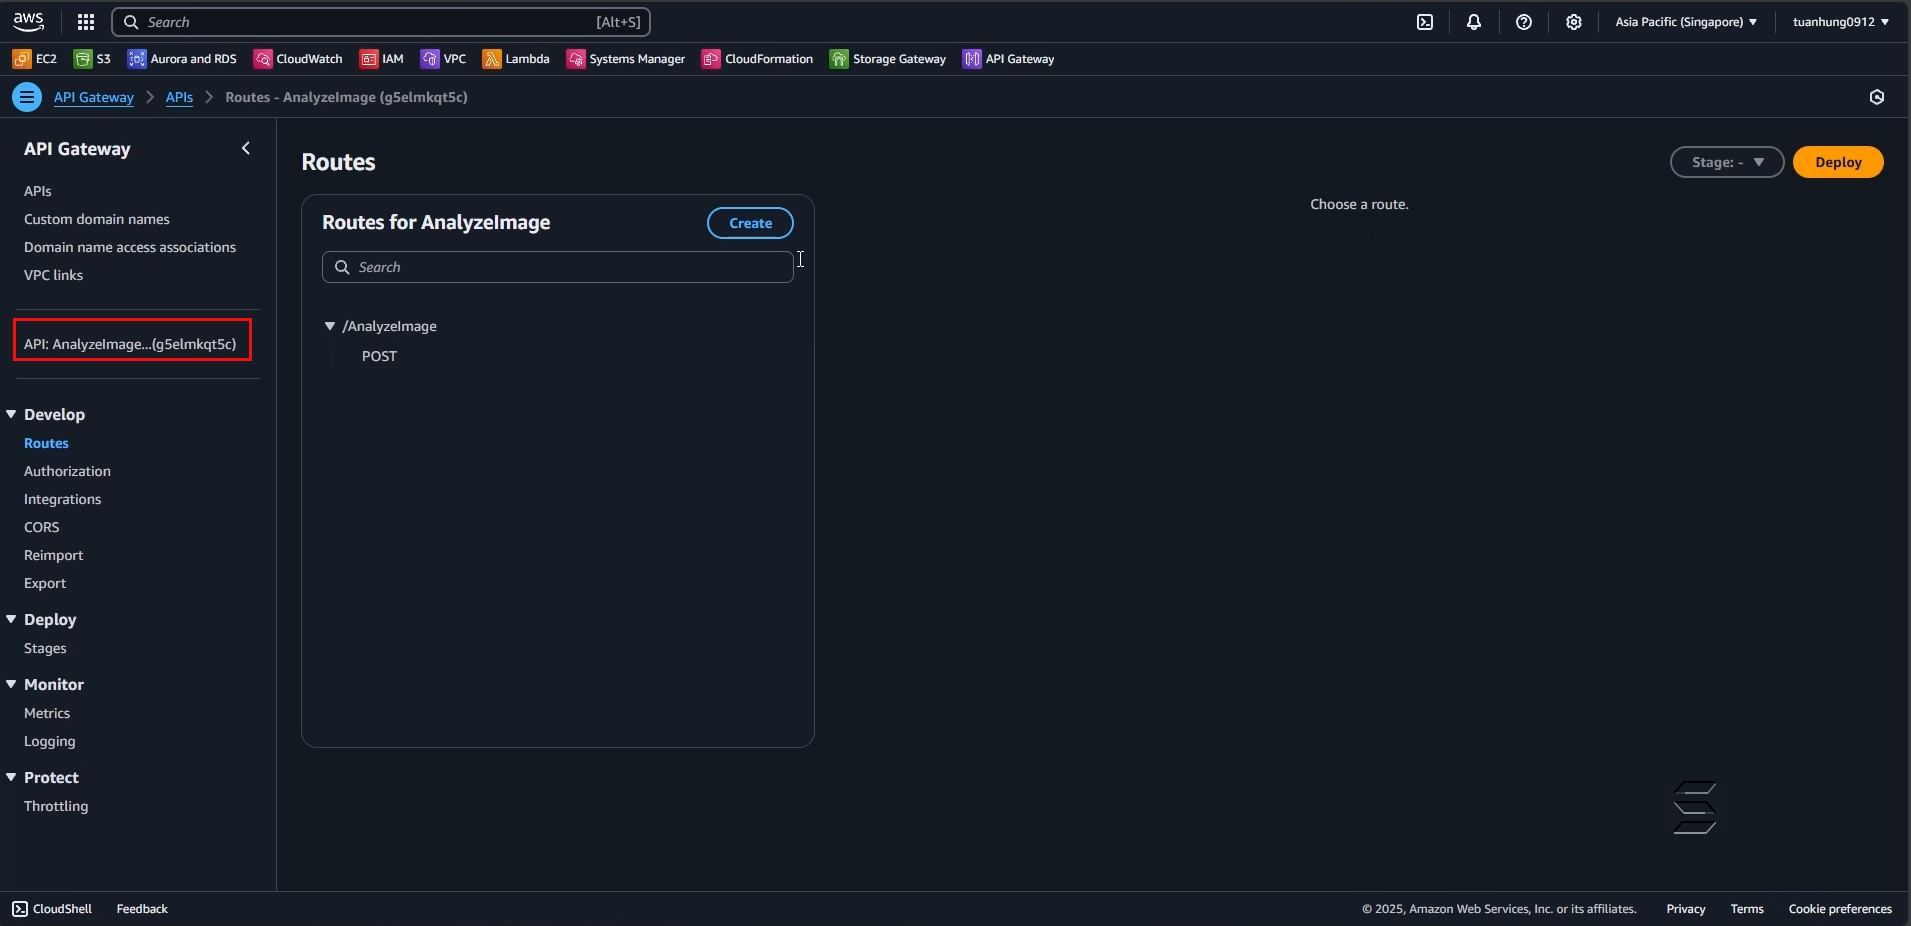
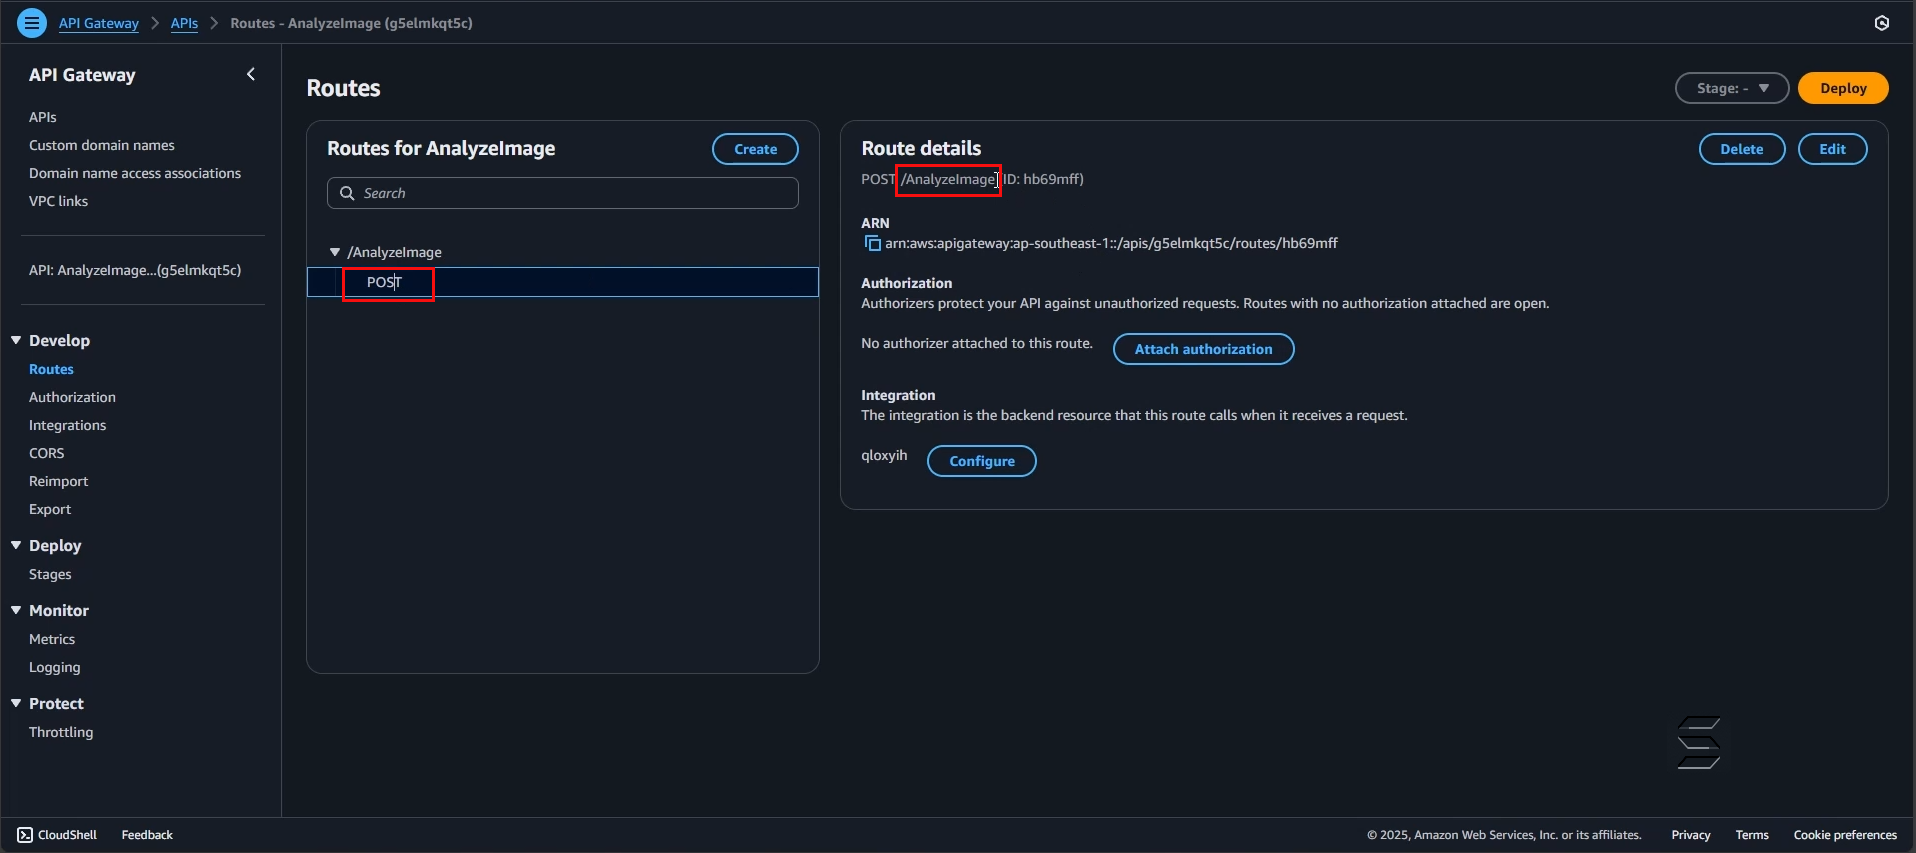
- Next, find the routes of the API configured earlier
- And copy the routes of the POST method with the path /AnalyzeImage
- Result as shown below:

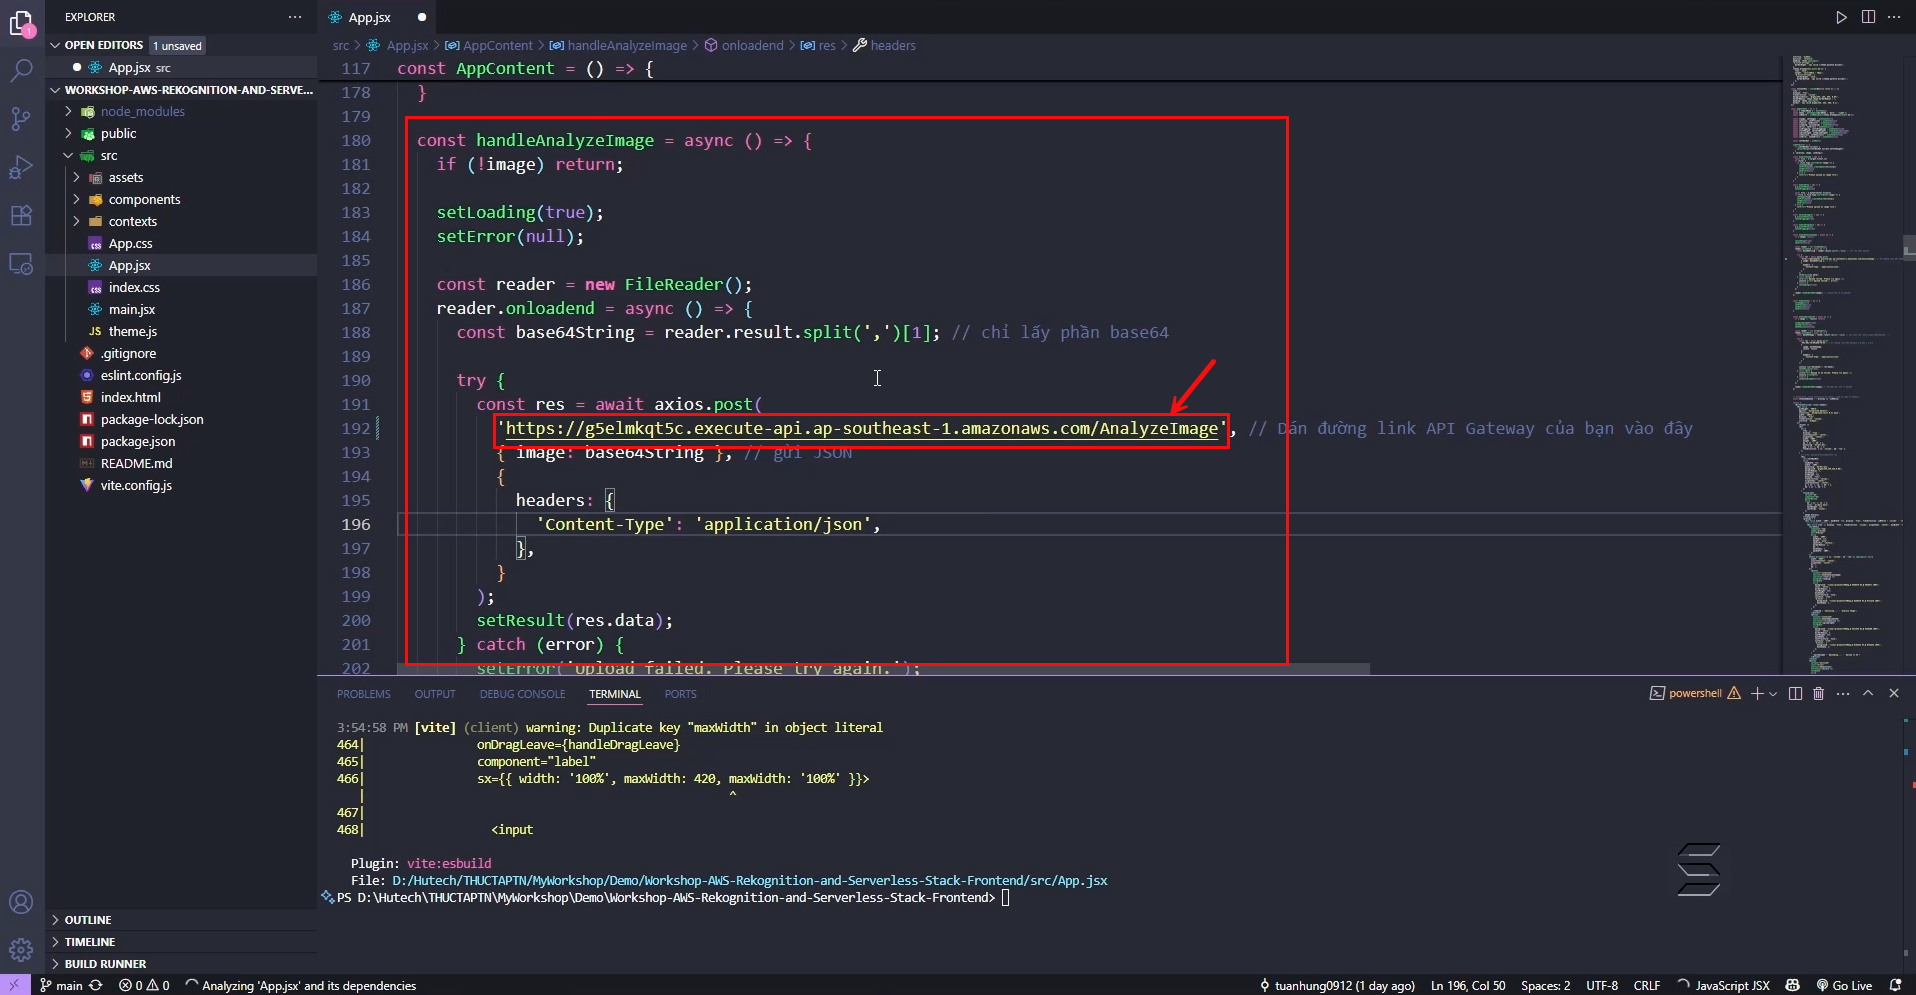
- Next, append it to the end of the API Endpoint in the code and save as follows:
3. Replace the Endpoint and Routes links of the UploadImage API
- Go back to the Front-End Project in section 1
- Find the configuration folder and file at: src/App.jsx
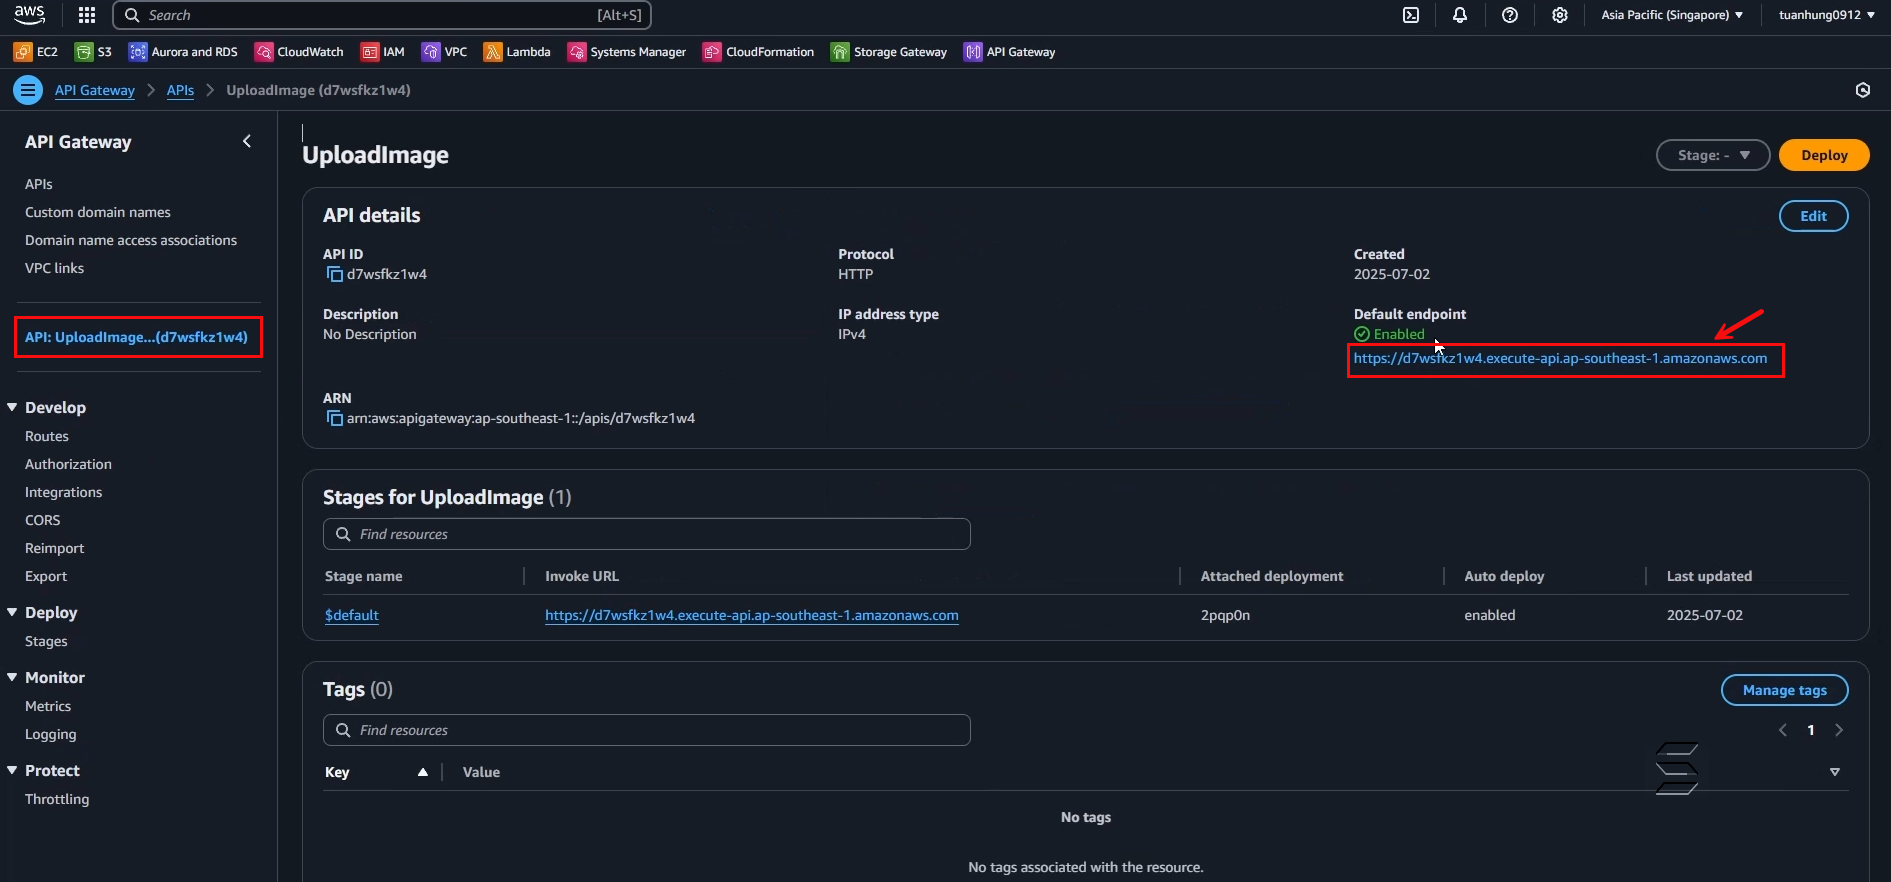
- Next, find the UploadImage API on the system page
- Then copy the EndPoint of the UploadImage API
- Result as shown below:
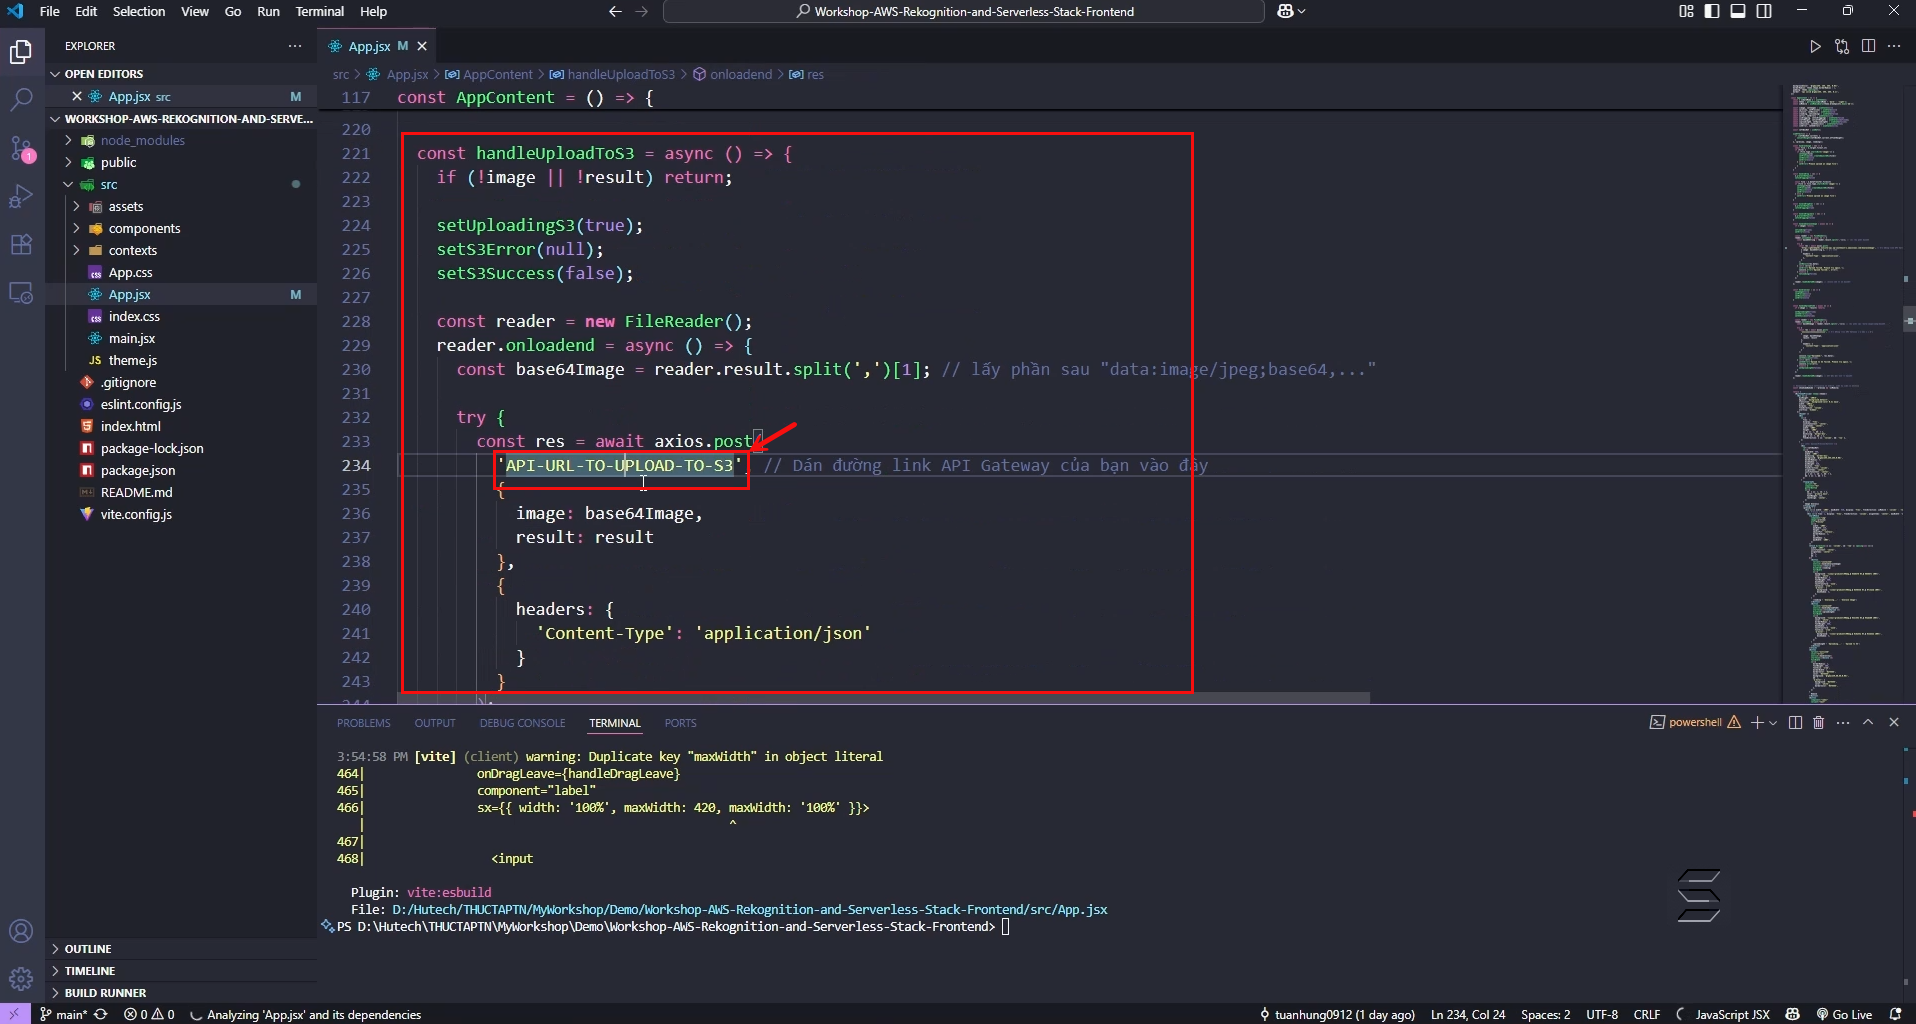
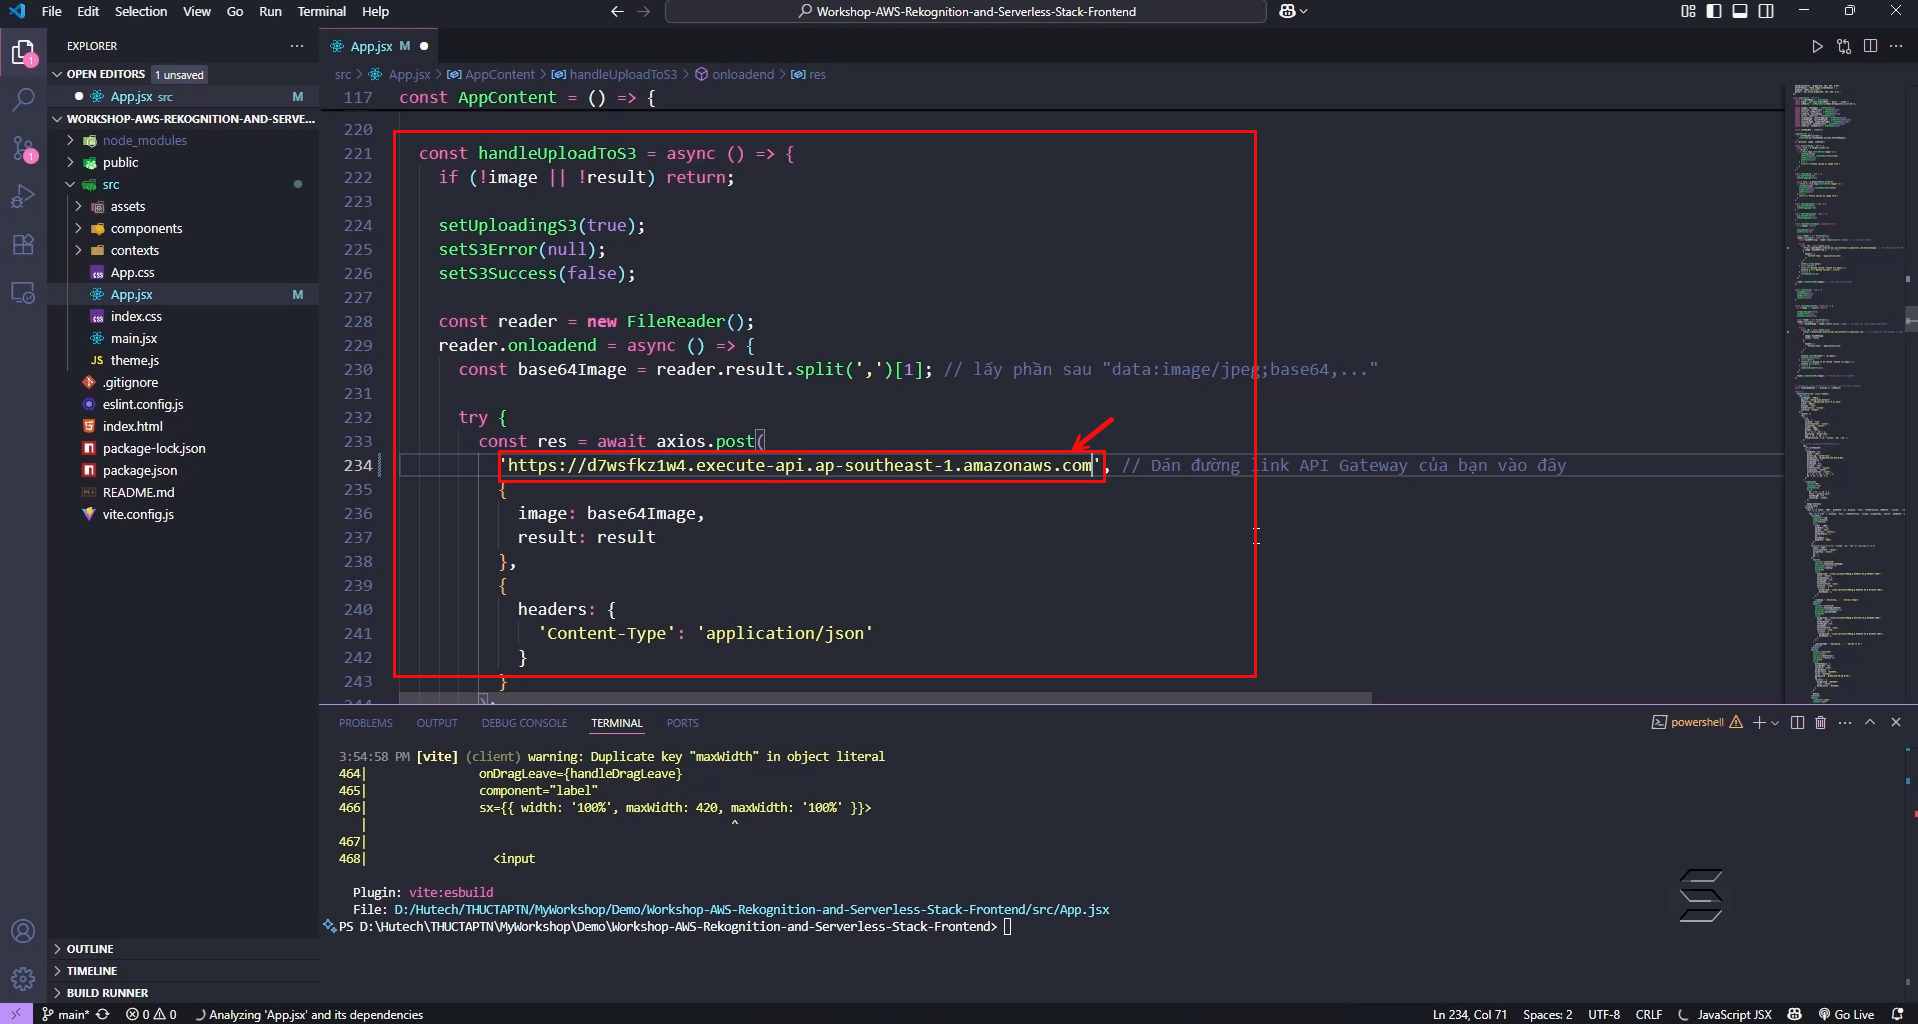
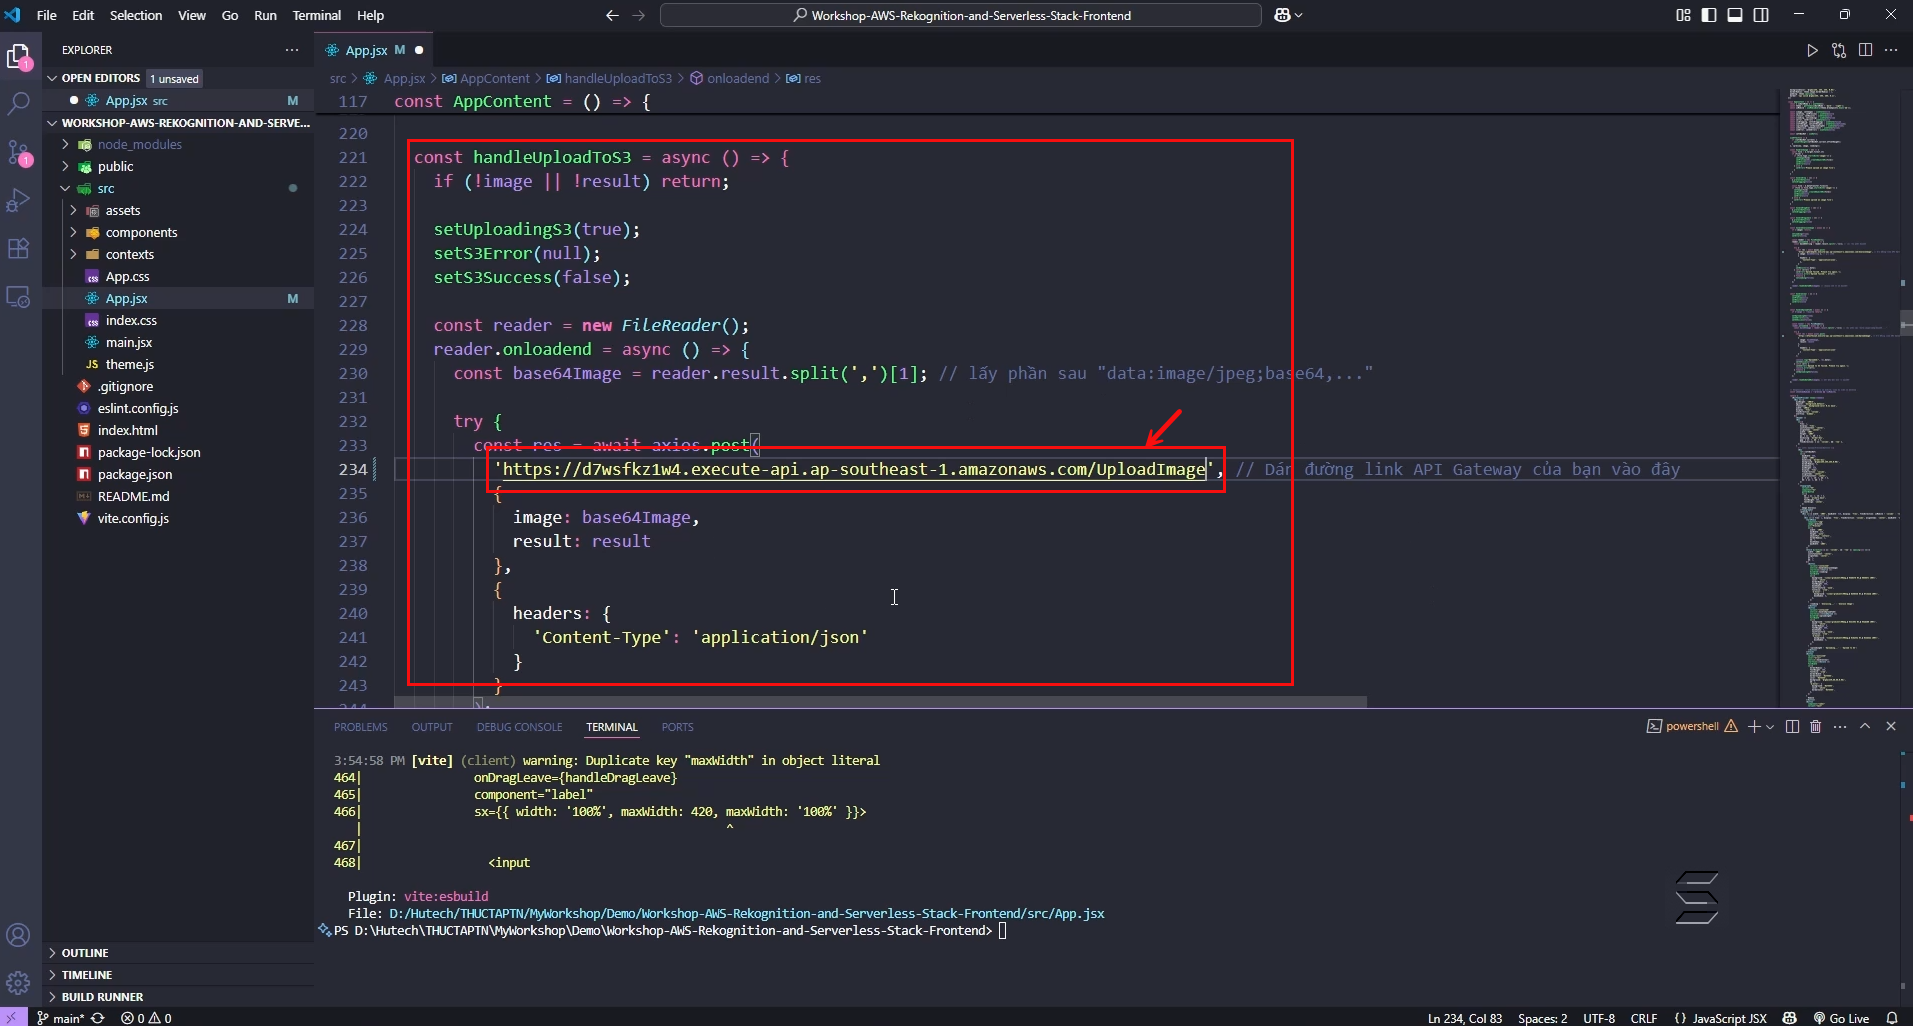
Next, find the handleUploadToS3 function
In this function, replace the API link you just copied in the previous step
Result as shown below:
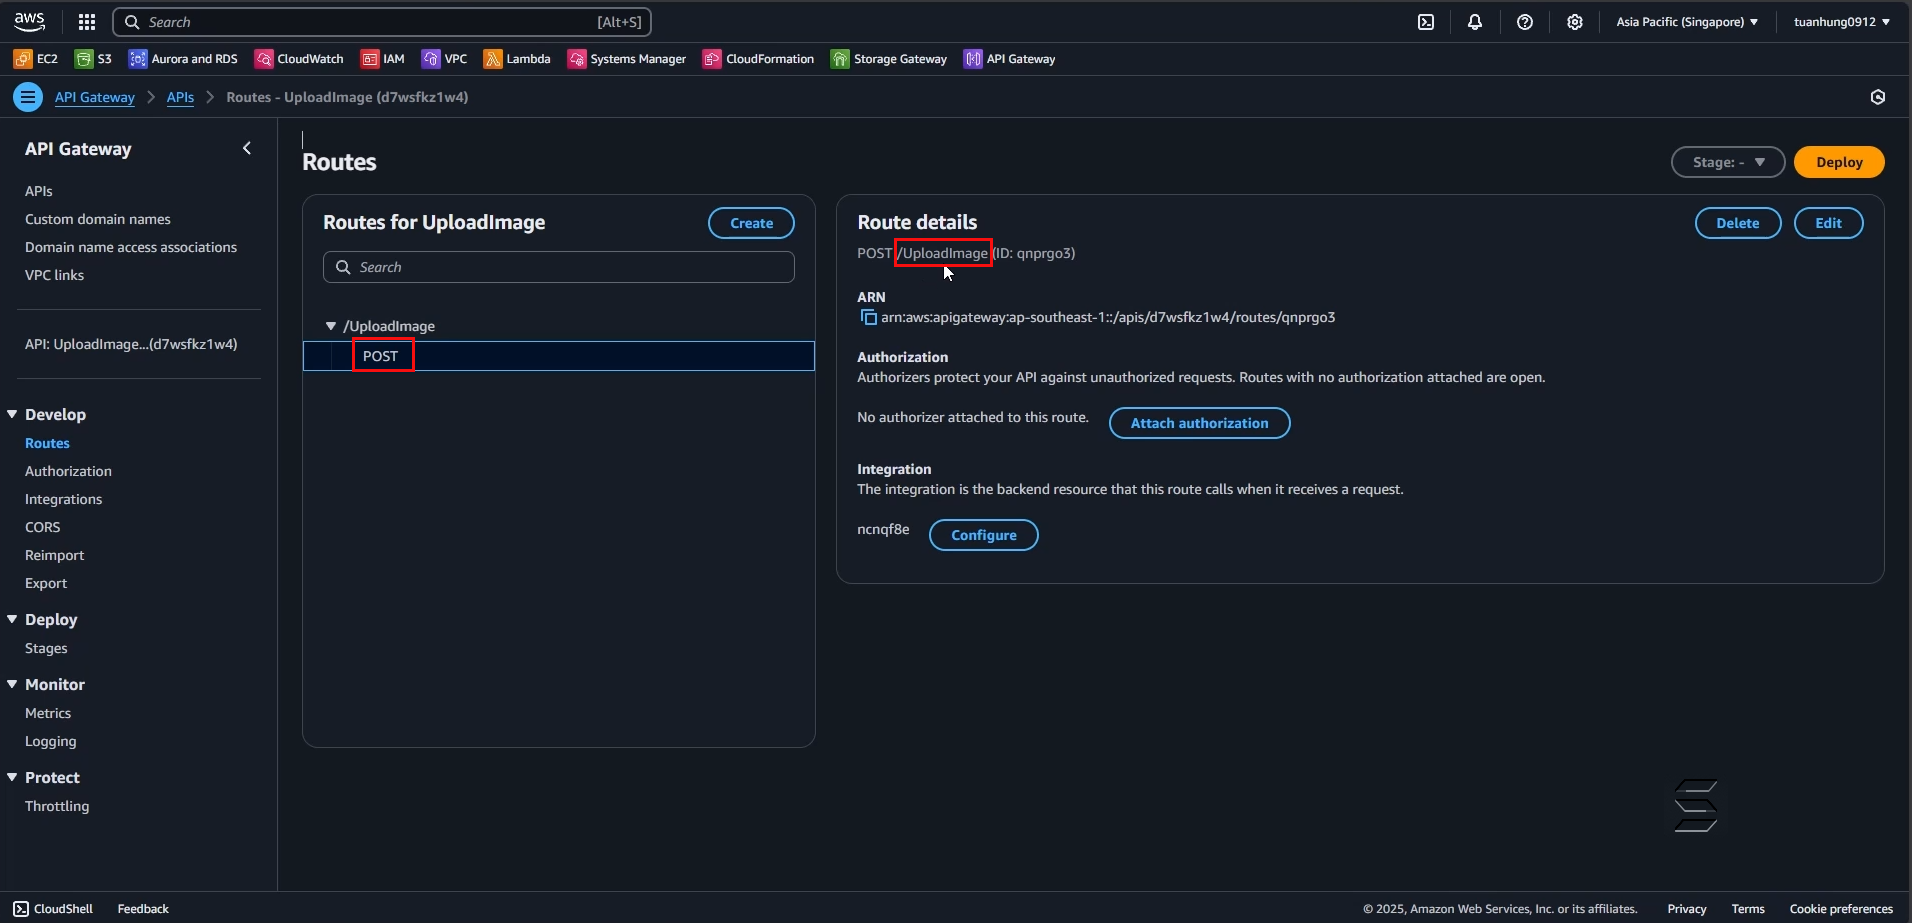
- Next, find the routes of the API configured earlier
- And copy the routes of the POST method with the path /UploadImage
- Result as shown below:
- Next, append it to the end of the API Endpoint in the code and save as follows:
4. Check the results
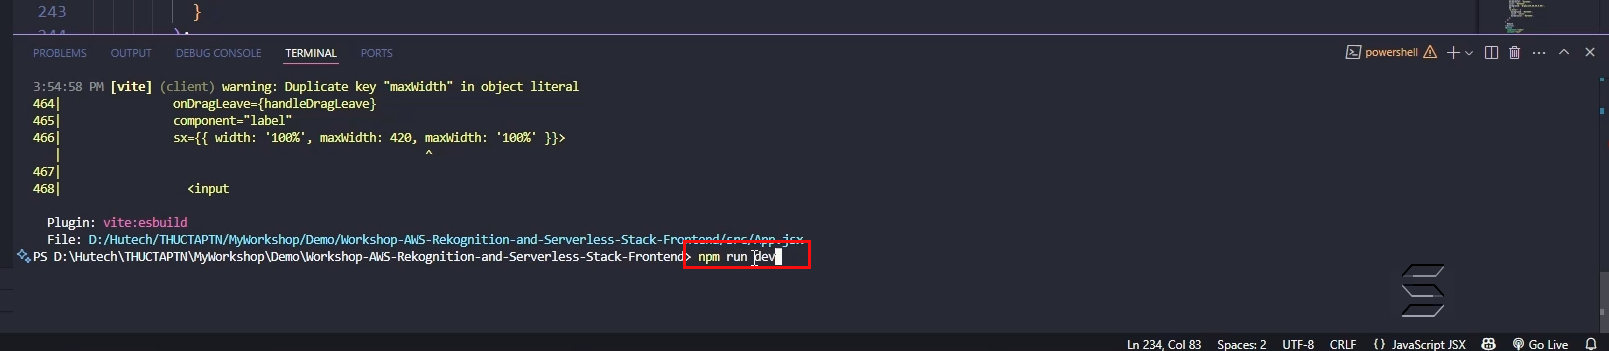
- In the Project, under the terminal window
- Enter the following command to run the Web page:
npm run dev
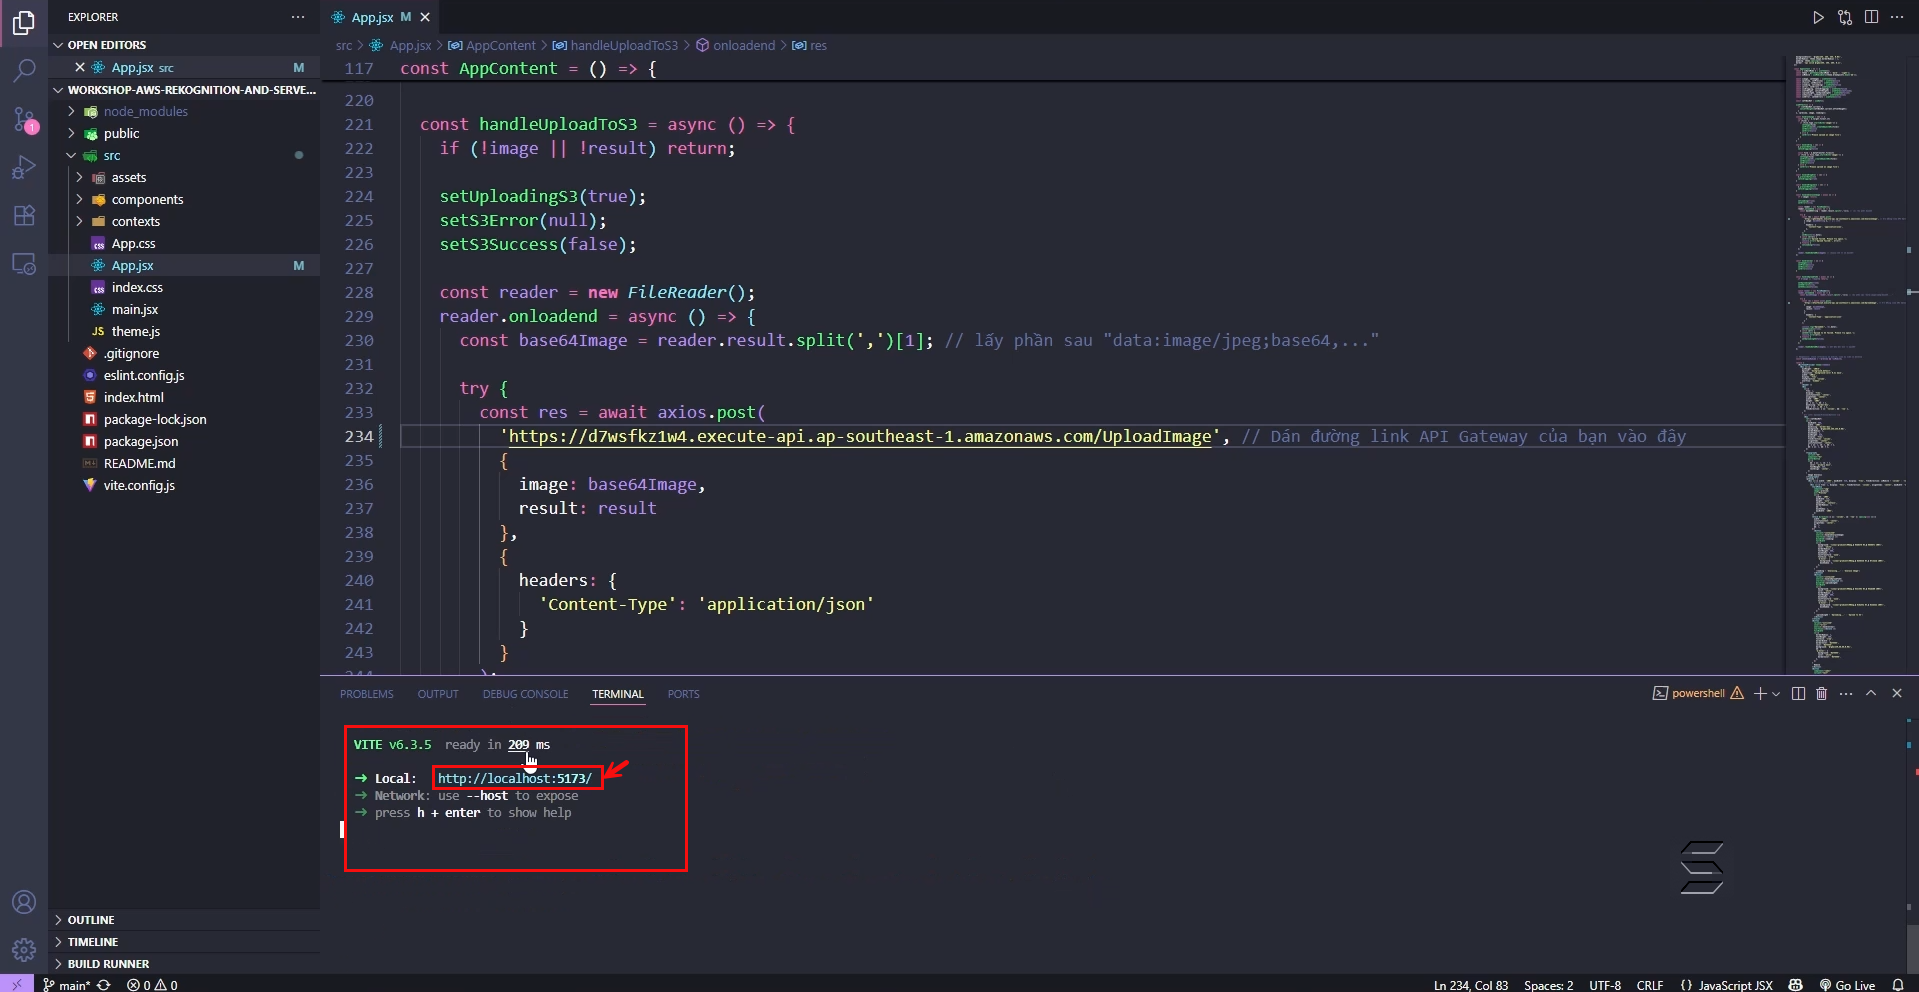
- Wait a few seconds, the code will run and display the link to access the website
- You can hover over the link in the Terminal and press: Ctrl + Left Click
- Or access http://localhost:5173/ to open the website
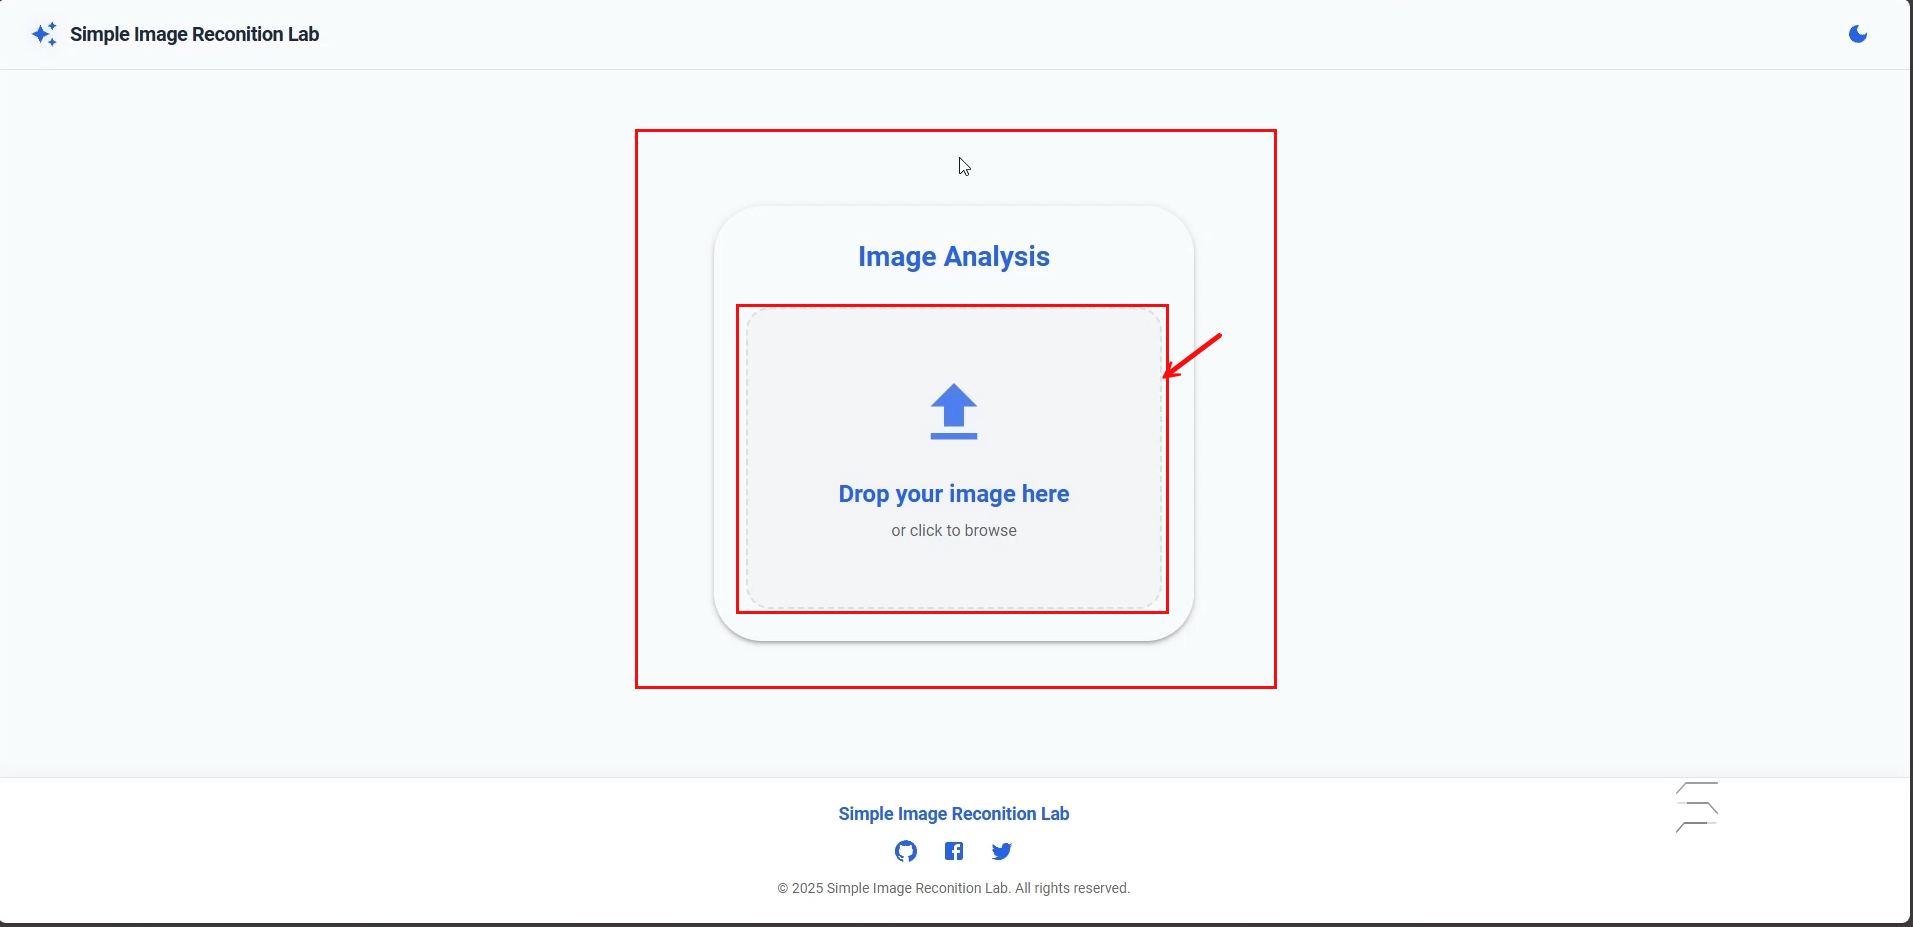
- On the website, there will be a section for you to drop an image or select an image from your computer as follows:
- After uploading any image from your computer
- You will see that the website can perform 2 functions: AnalyzeImage, Upload To S3
- Follow the steps numbered in the images as follows:
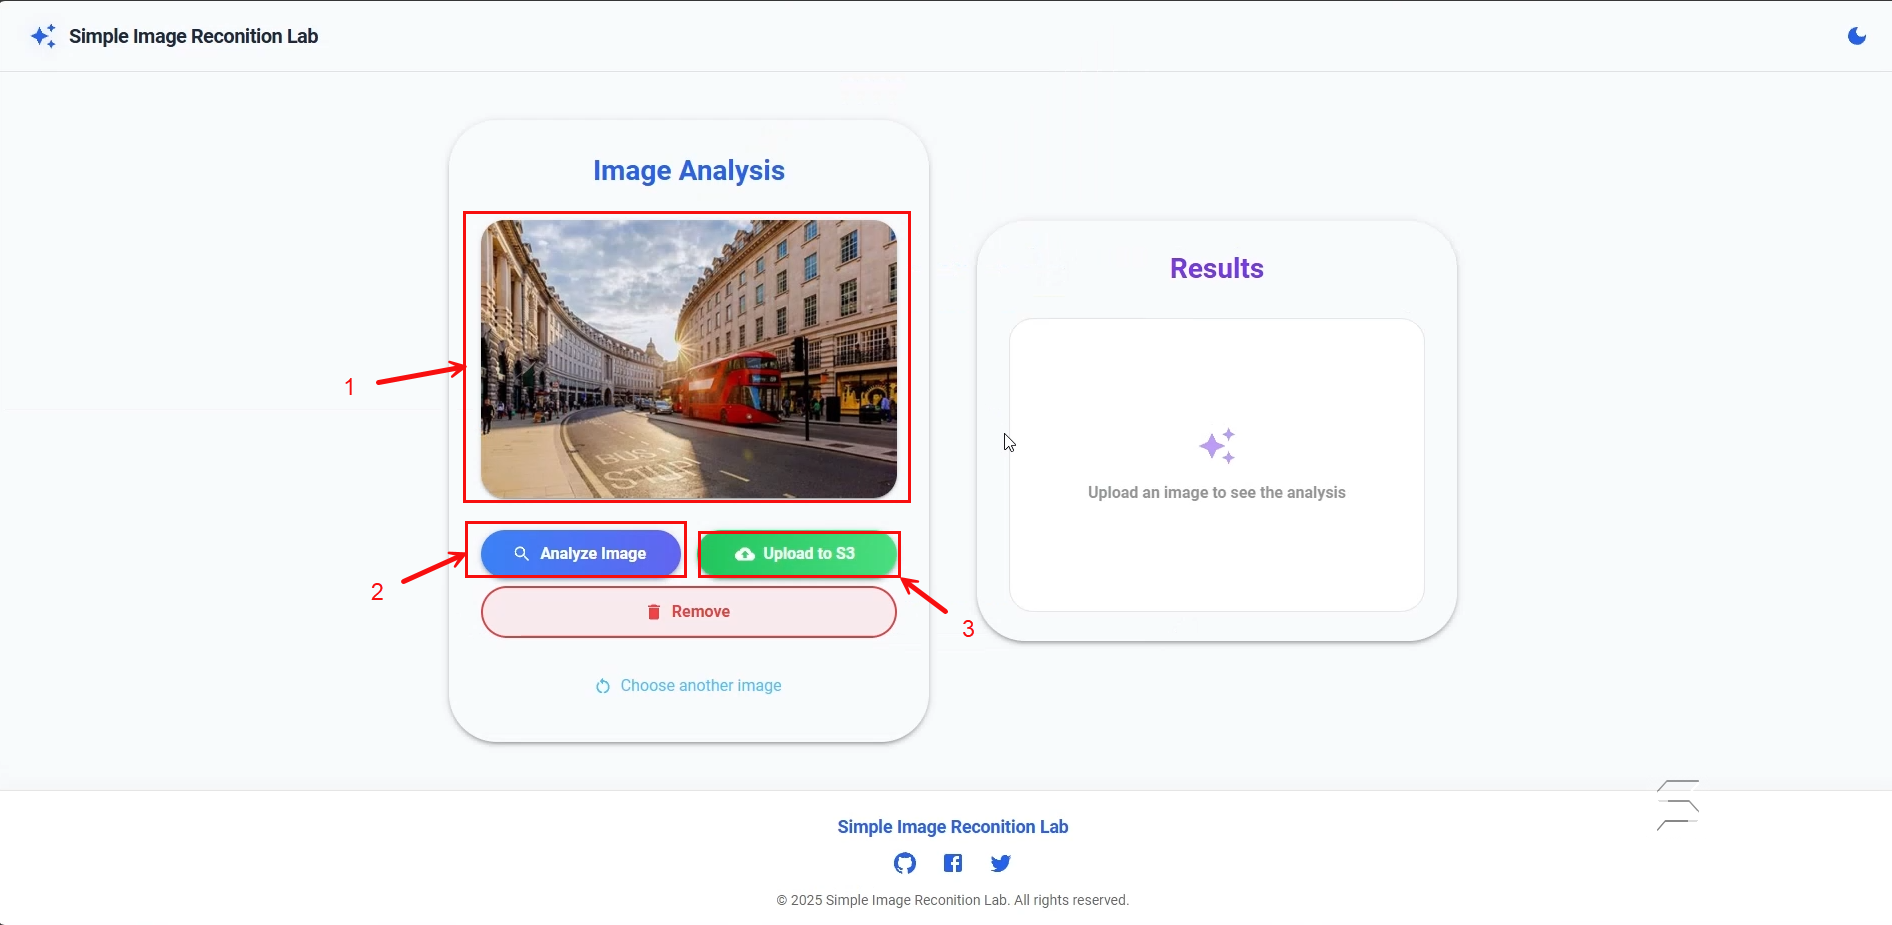
Analyze Image function:
- After successfully uploading the image
- Click the Analyze Image button to perform the function
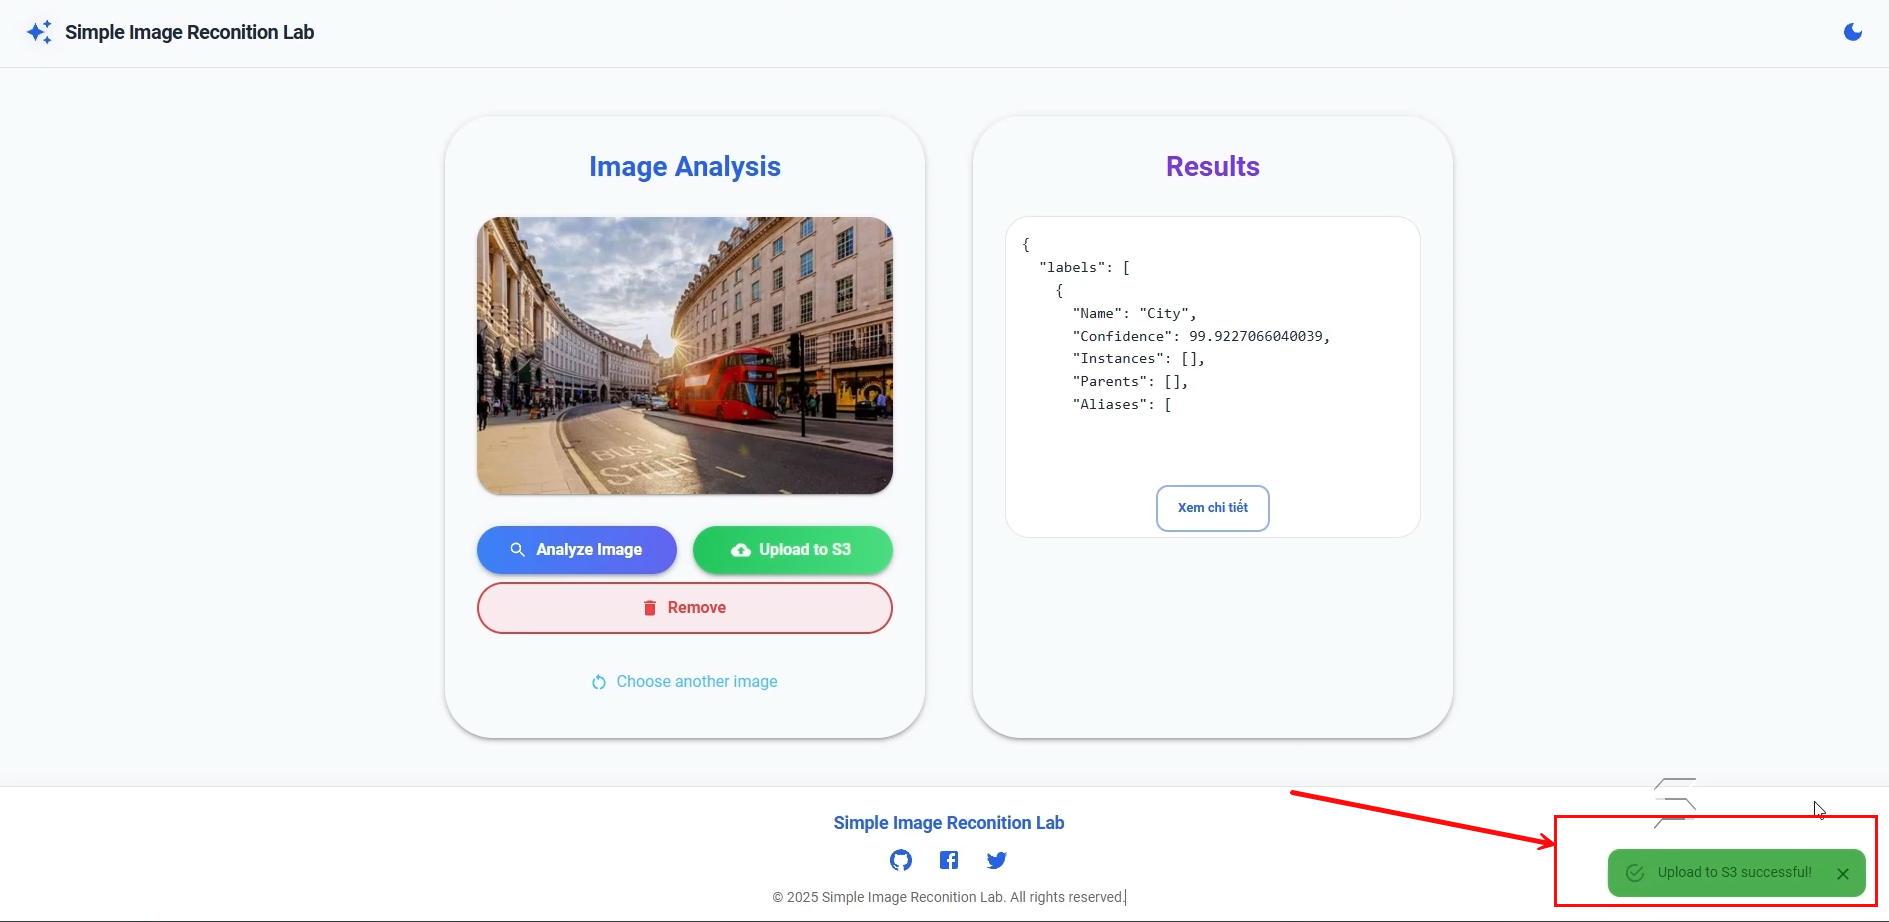
- Wait a moment, then the website will display the analysis result in the Component Result
- Result as shown below:

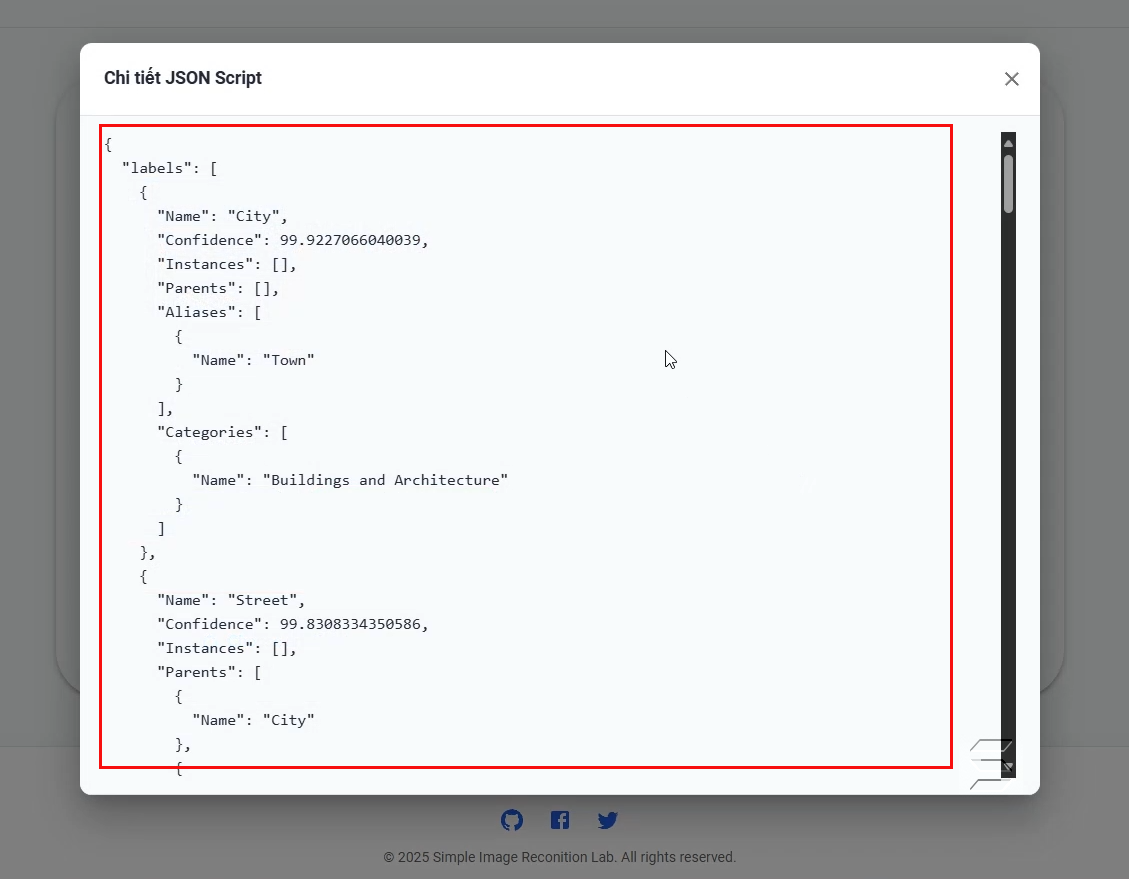
- You can view the detailed JSON Script that contains the image analysis result returned by AWS Rekognition with information such as Label, Name, Confidence, etc. The result will include up to 10 labels with confidence above 75%
- Labels: label
- Name: Name of the object
- Confidence: Confidence level
- Categories: Category
- Detailed result as shown below:
Upload Image function (Upload image and analysis result to S3):
- After performing the image analysis function
- Next, you will upload the image to the S3 Bucket by clicking the Upload To S3 button
- Wait a moment, when the image and result have been successfully uploaded to the S3 Bucket, the system will return a success notification as shown below:
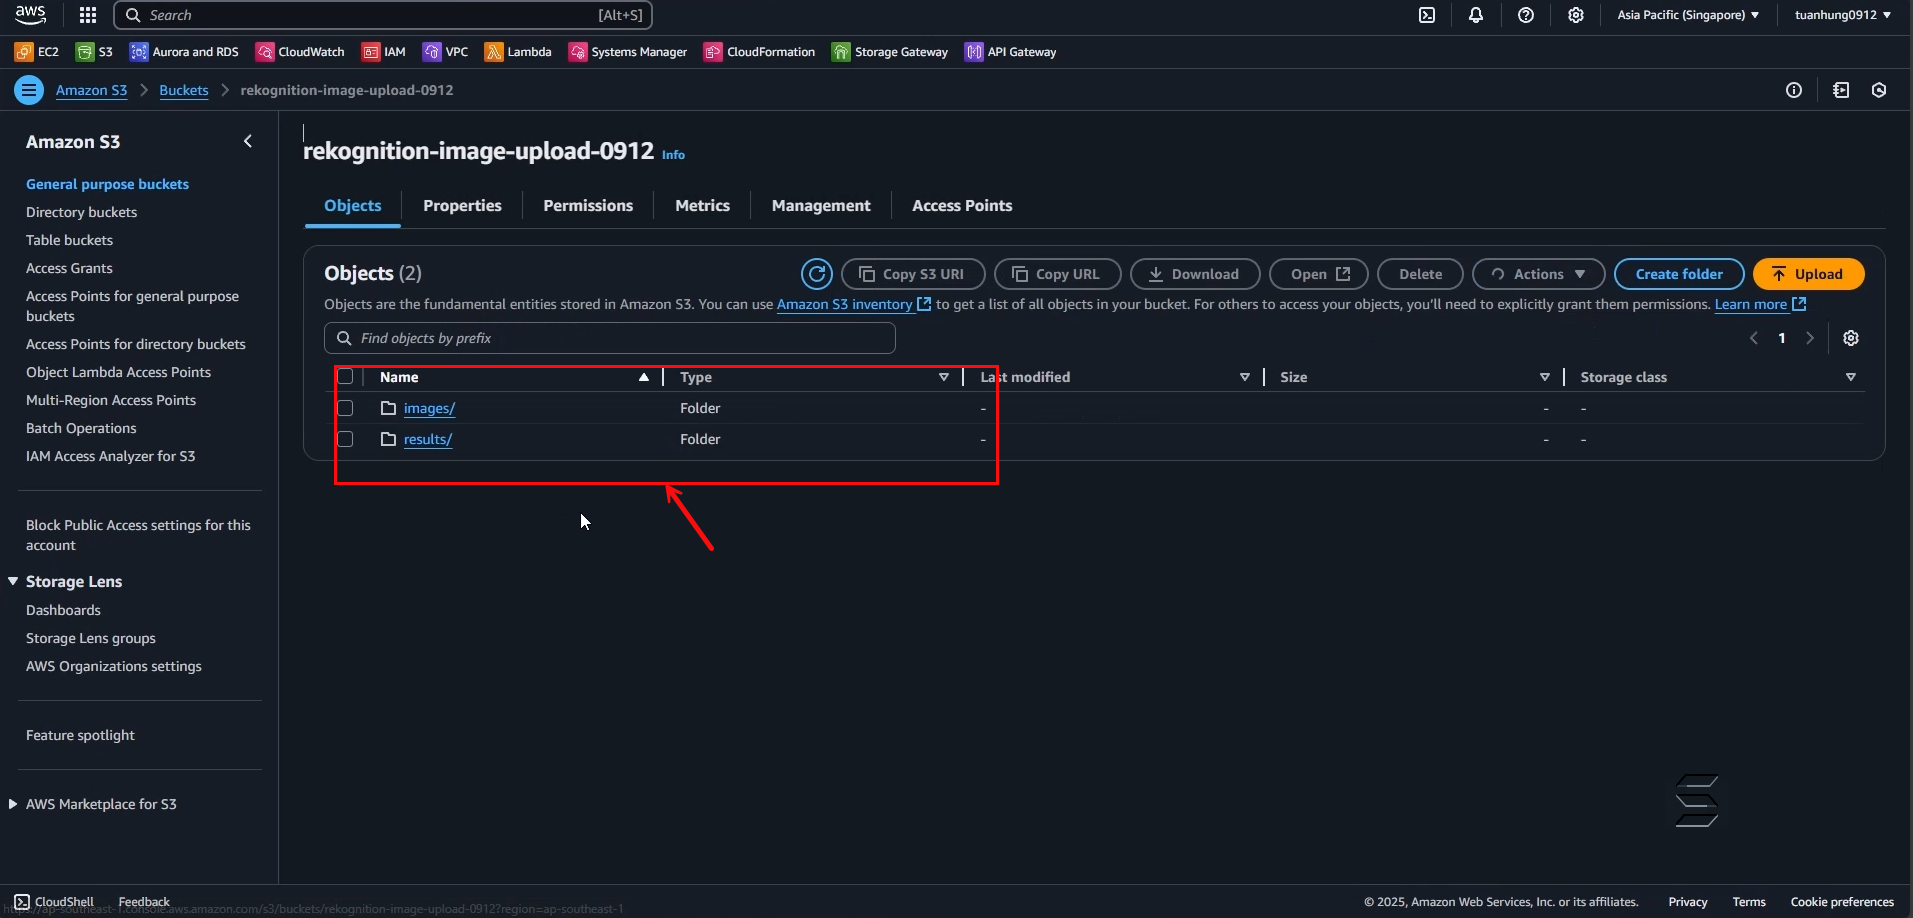
- Check the S3 Bucket to see if the image and analysis result have actually been uploaded as follows:
- Access the S3 Bucket and click on your Bucket name
- Result as shown in the images below:
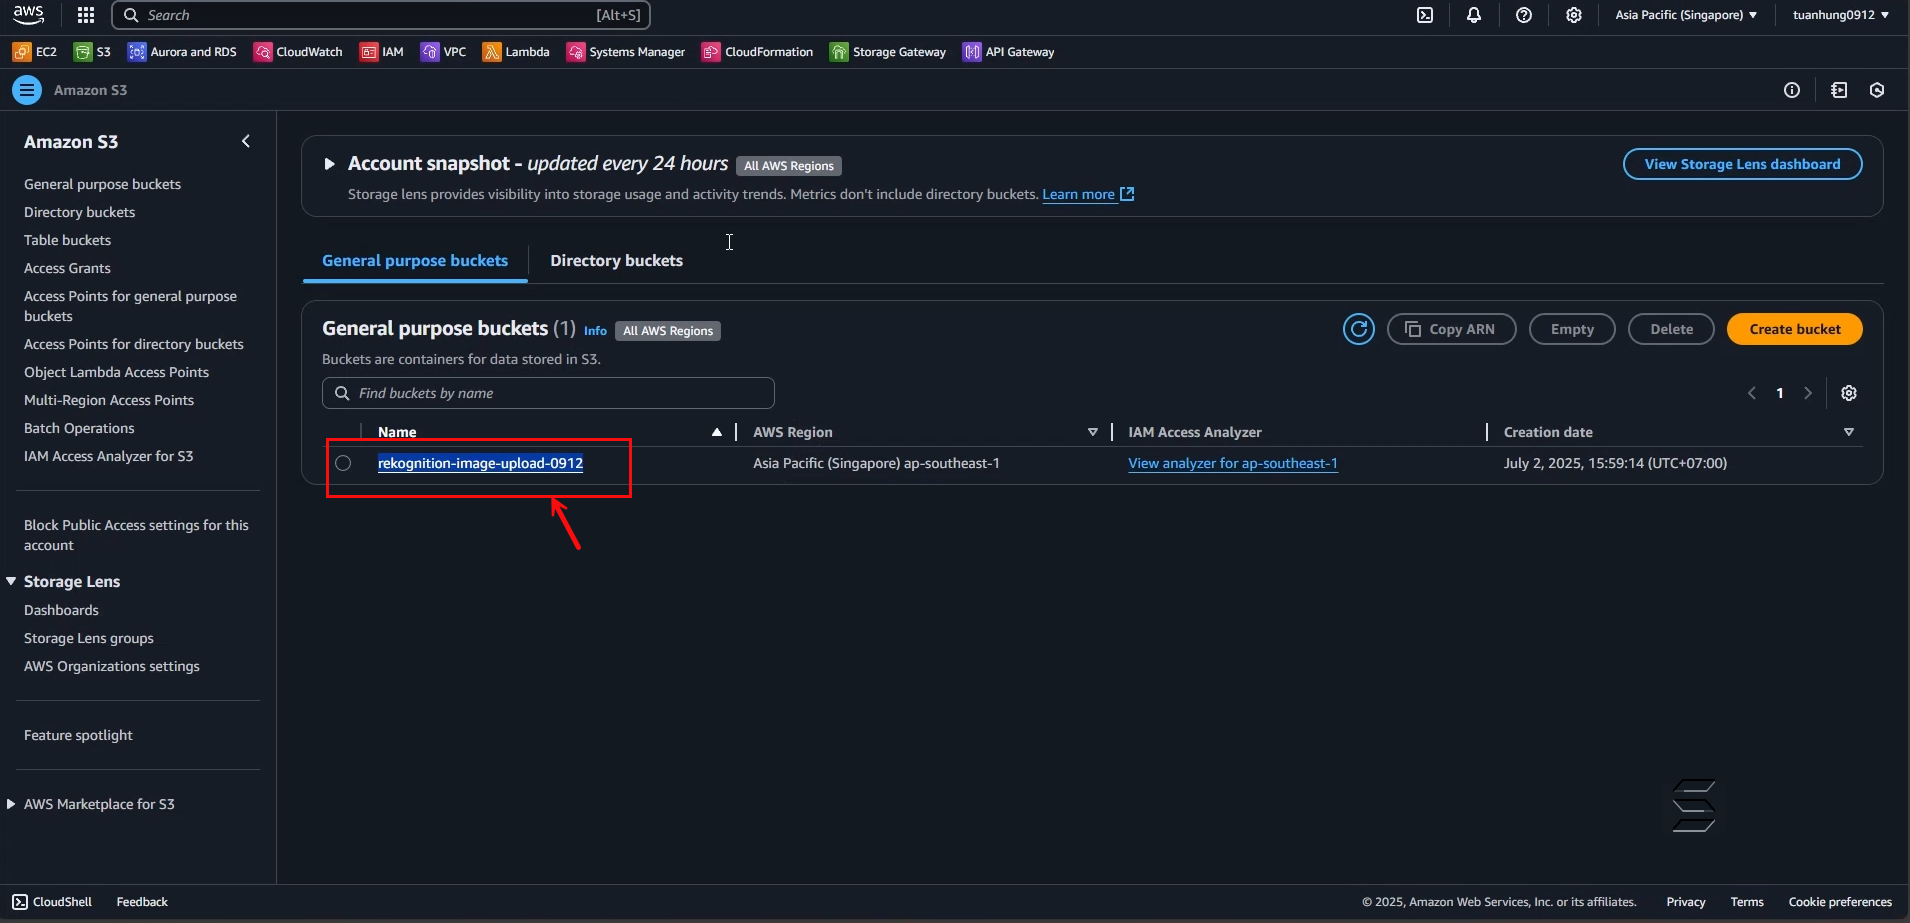
- You can see that the S3 Bucket will automatically create 2 folders: images and results
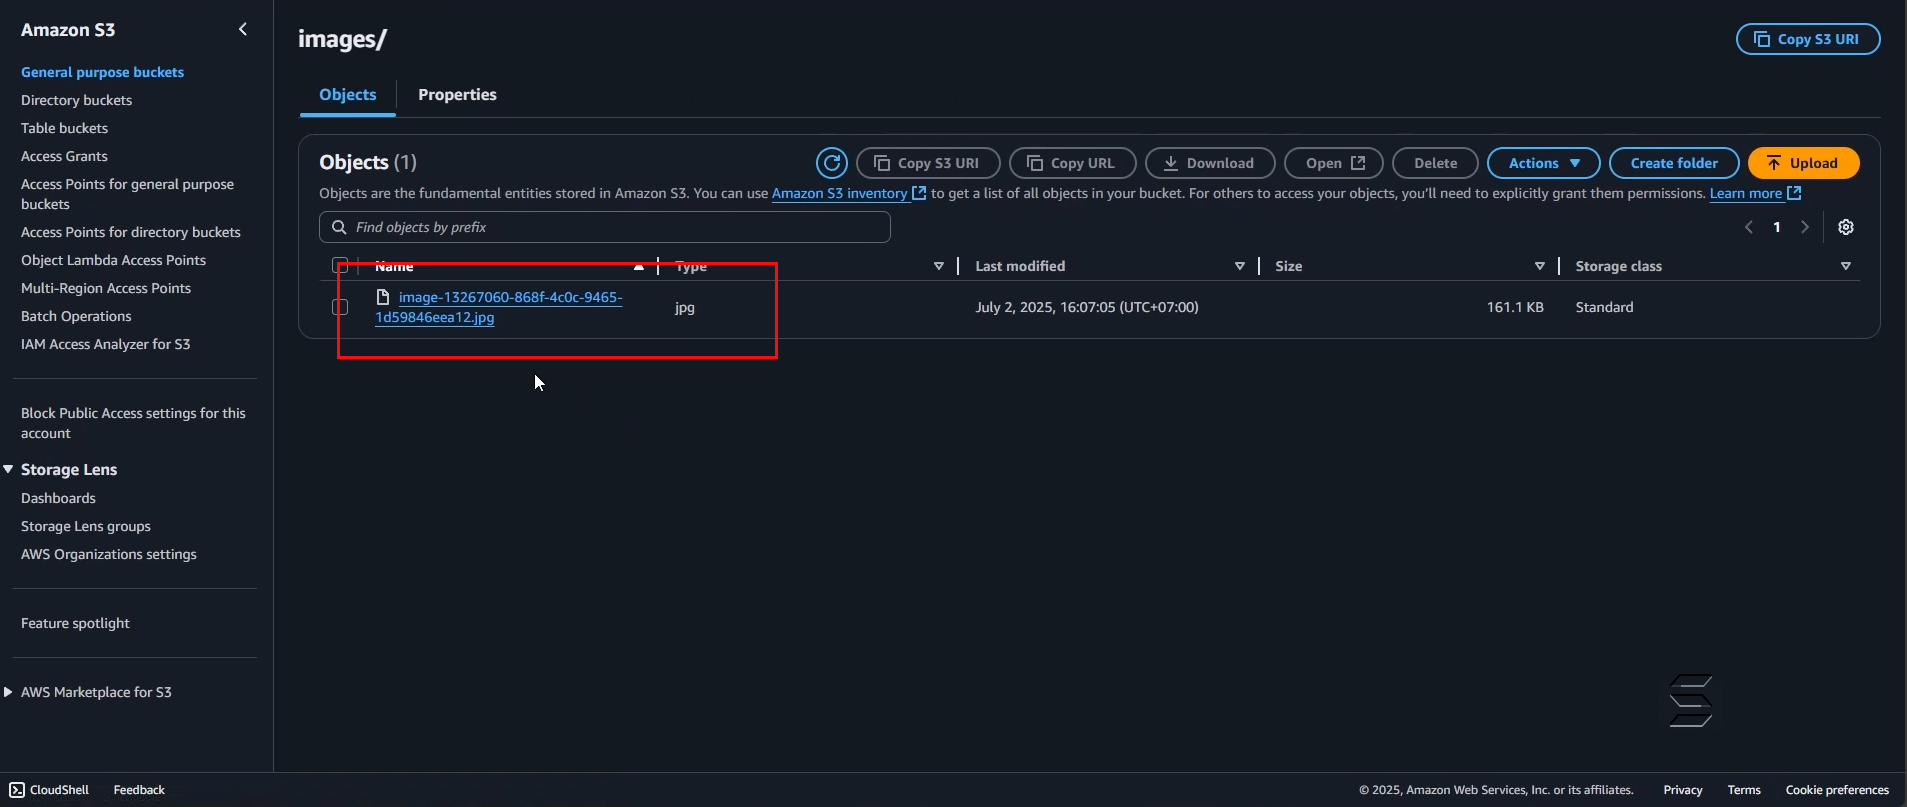
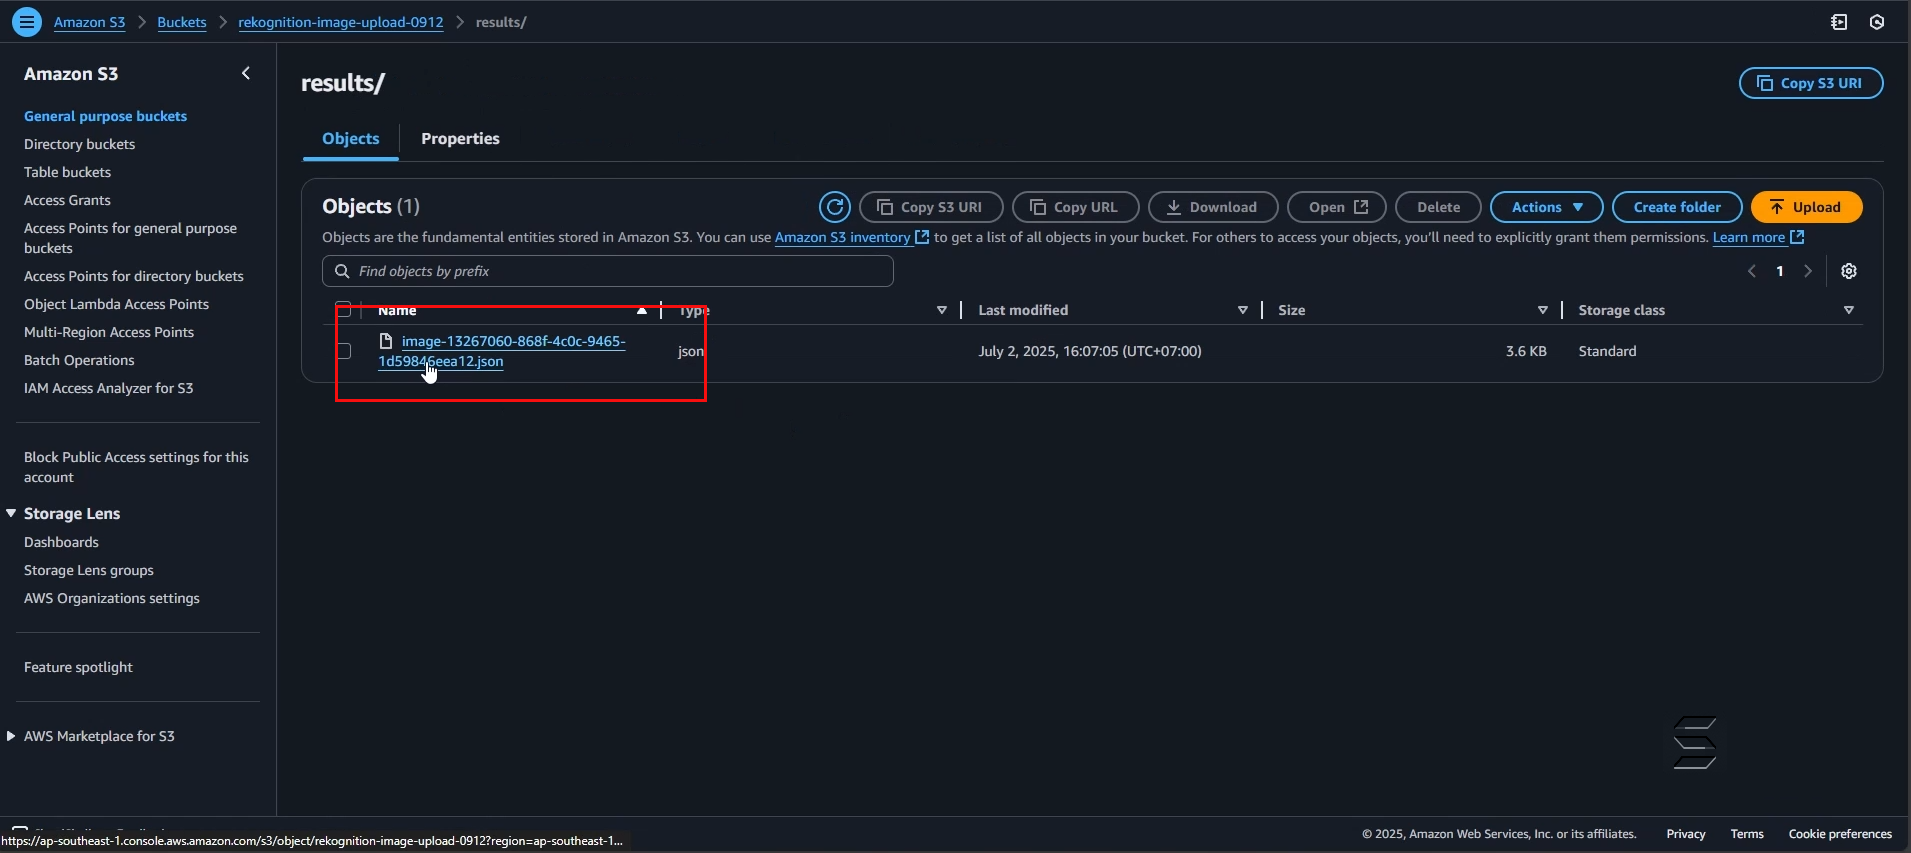
- After checking, you will see that there is 1 image and 1 JSON file in the corresponding folder as follows:
Congratulations, you have completed the experiment and can now refer to one of many ways to maximize the power of AWS services deployed in this lab.